Update June 2024: the latest version of this guide is now located here.
As you may know, Kodekloud Playground is an interactive learning platform that provides hands-on experience with various technologies, including Kubernetes and EKS. It offers a safe and sandboxed environment where you can experiment, practice, and master your skills without worrying about the underlying infrastructure. Besides, EKS is widely adopted by organizations of all sizes, making it an excellent choice for practicing Kubernetes skills that align with industry standards. By familiarizing yourself with EKS, you’ll gain valuable experience that can be directly applied in professional environments. In this post, we’ll explore how to create an EKS cluster in KodeKloud Playground.
Note:
Kubernetes version 1.28
For the availability zone us-east-1e, users cannot make changes or use it. So in our EKS Cluster creation, we will not select the subnet from the us-east-1e availability zone.
For an automated approach using Terraform, you can follow the guide created by @Alistair_KodeKloud here.
Prerequisites:
Premium KodeKloud subscription
Basic knowledge of AWS as well as Kubernetes.
Step 1: Provision AWS Cloud Playground lab
Access this link: Pricing Pro - KodeKloud and click START LAB to request a new AWS Cloud Playground instance, after a few seconds, you will receive your credential to access AWS Cloud console.
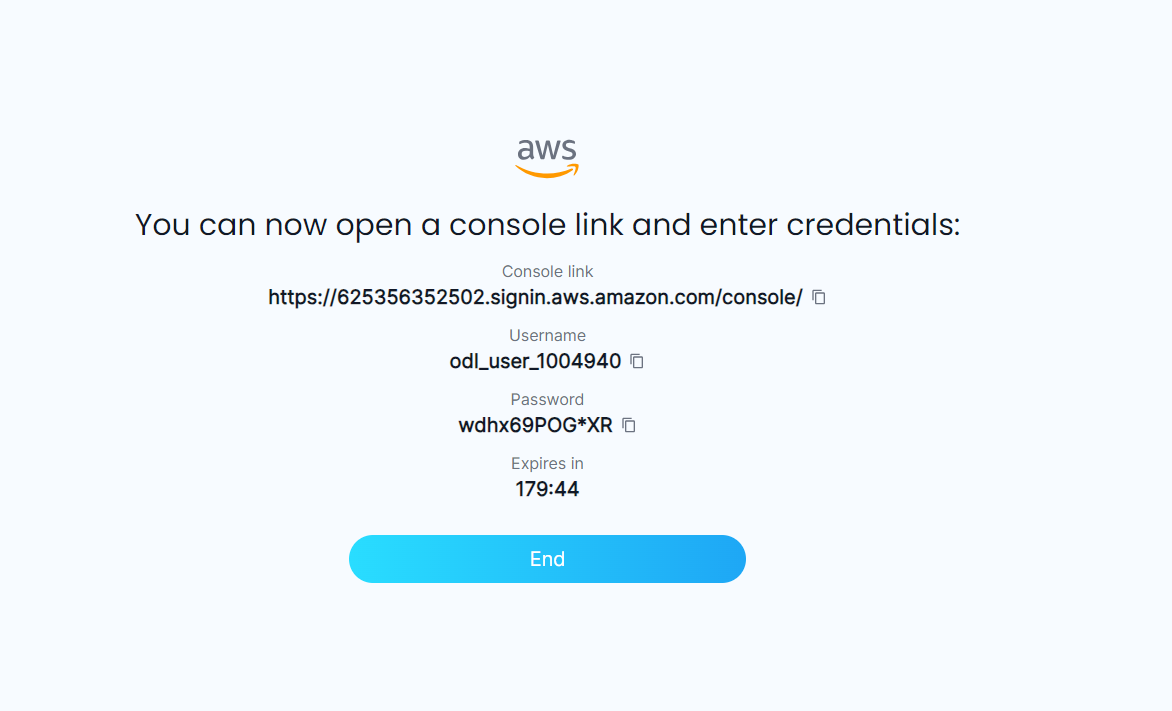
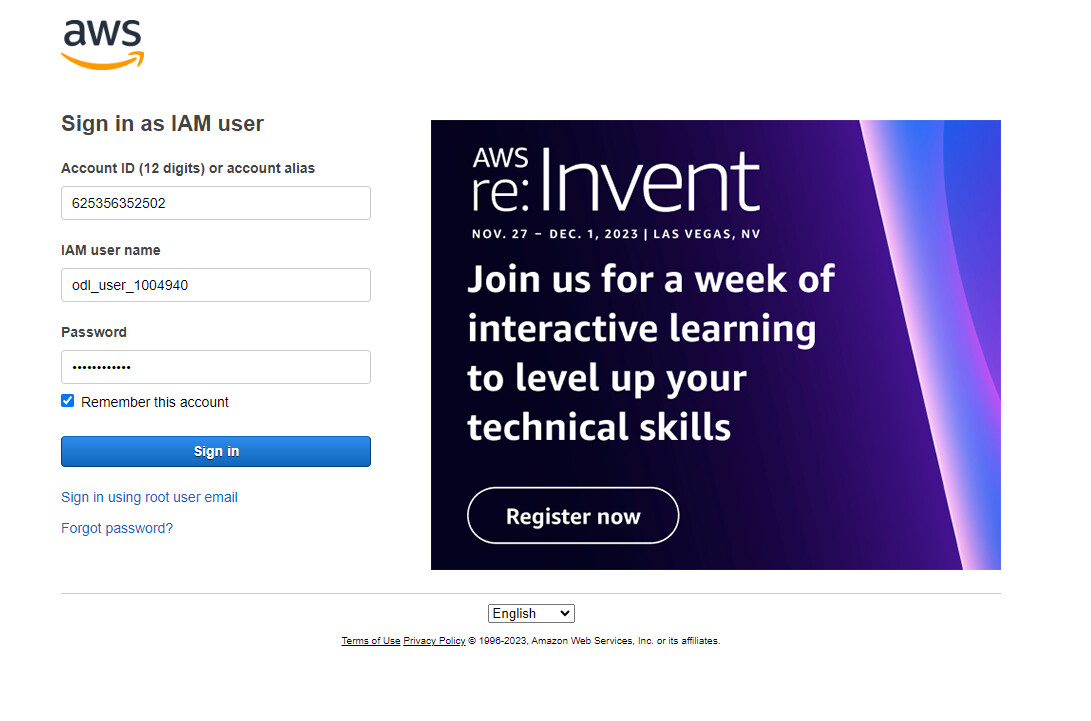
Access to Console link and using provided credentials.
Step 2: Creating cluster EKS
To make it simple, you can follow the steps below. For more information please refer to https://docs.aws.amazon.com/eks/latest/userguide/create-cluster.html
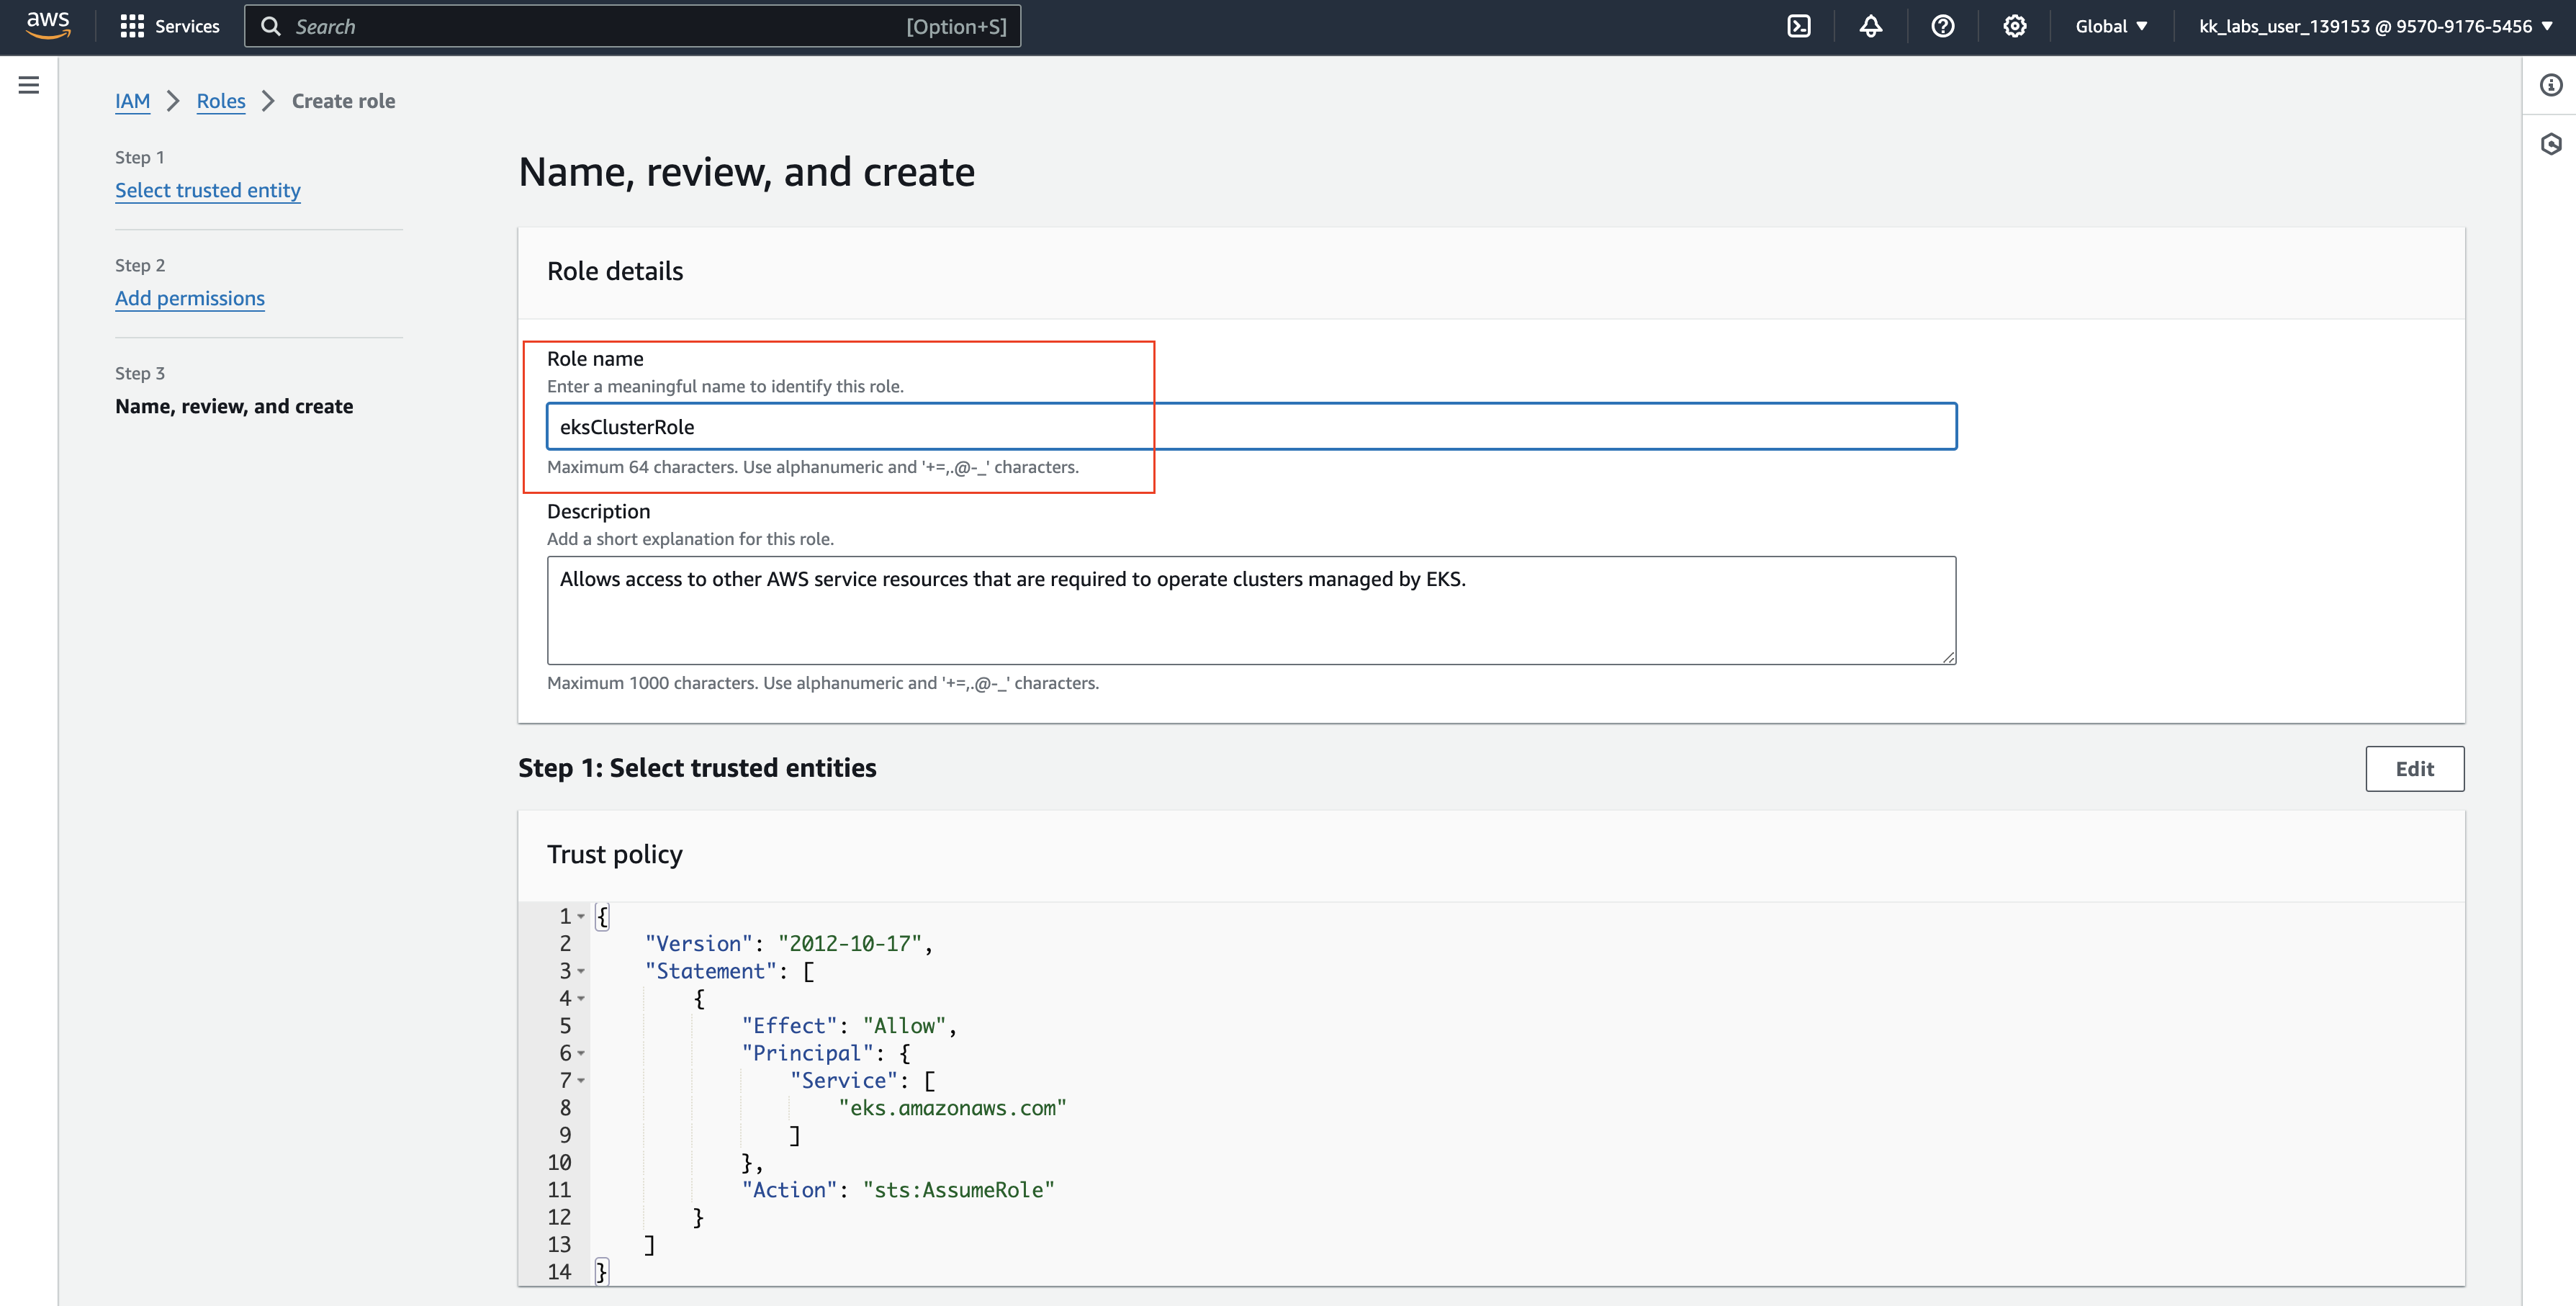
1 - Before create Amazone EKS cluste you need to create Cluster service role. To create a new IAM role for EKS in AWS, start by opening the IAM console at https://console.aws.amazon.com/iam/. Then, click on ‘Roles’ and select ‘Create role’. Under ‘Trusted entity type’, choose ‘AWS service’. In the ‘Use cases for other AWS services’ dropdown, select ‘EKS’ and then pick ‘EKS - Cluster’.

Click ‘Next’ and proceed without adding any additional permissions in the ‘Add permissions’ tab. Next, assign ‘eksClusterRole’ to your role. Finally, click on ‘Create role’ to complete the process.
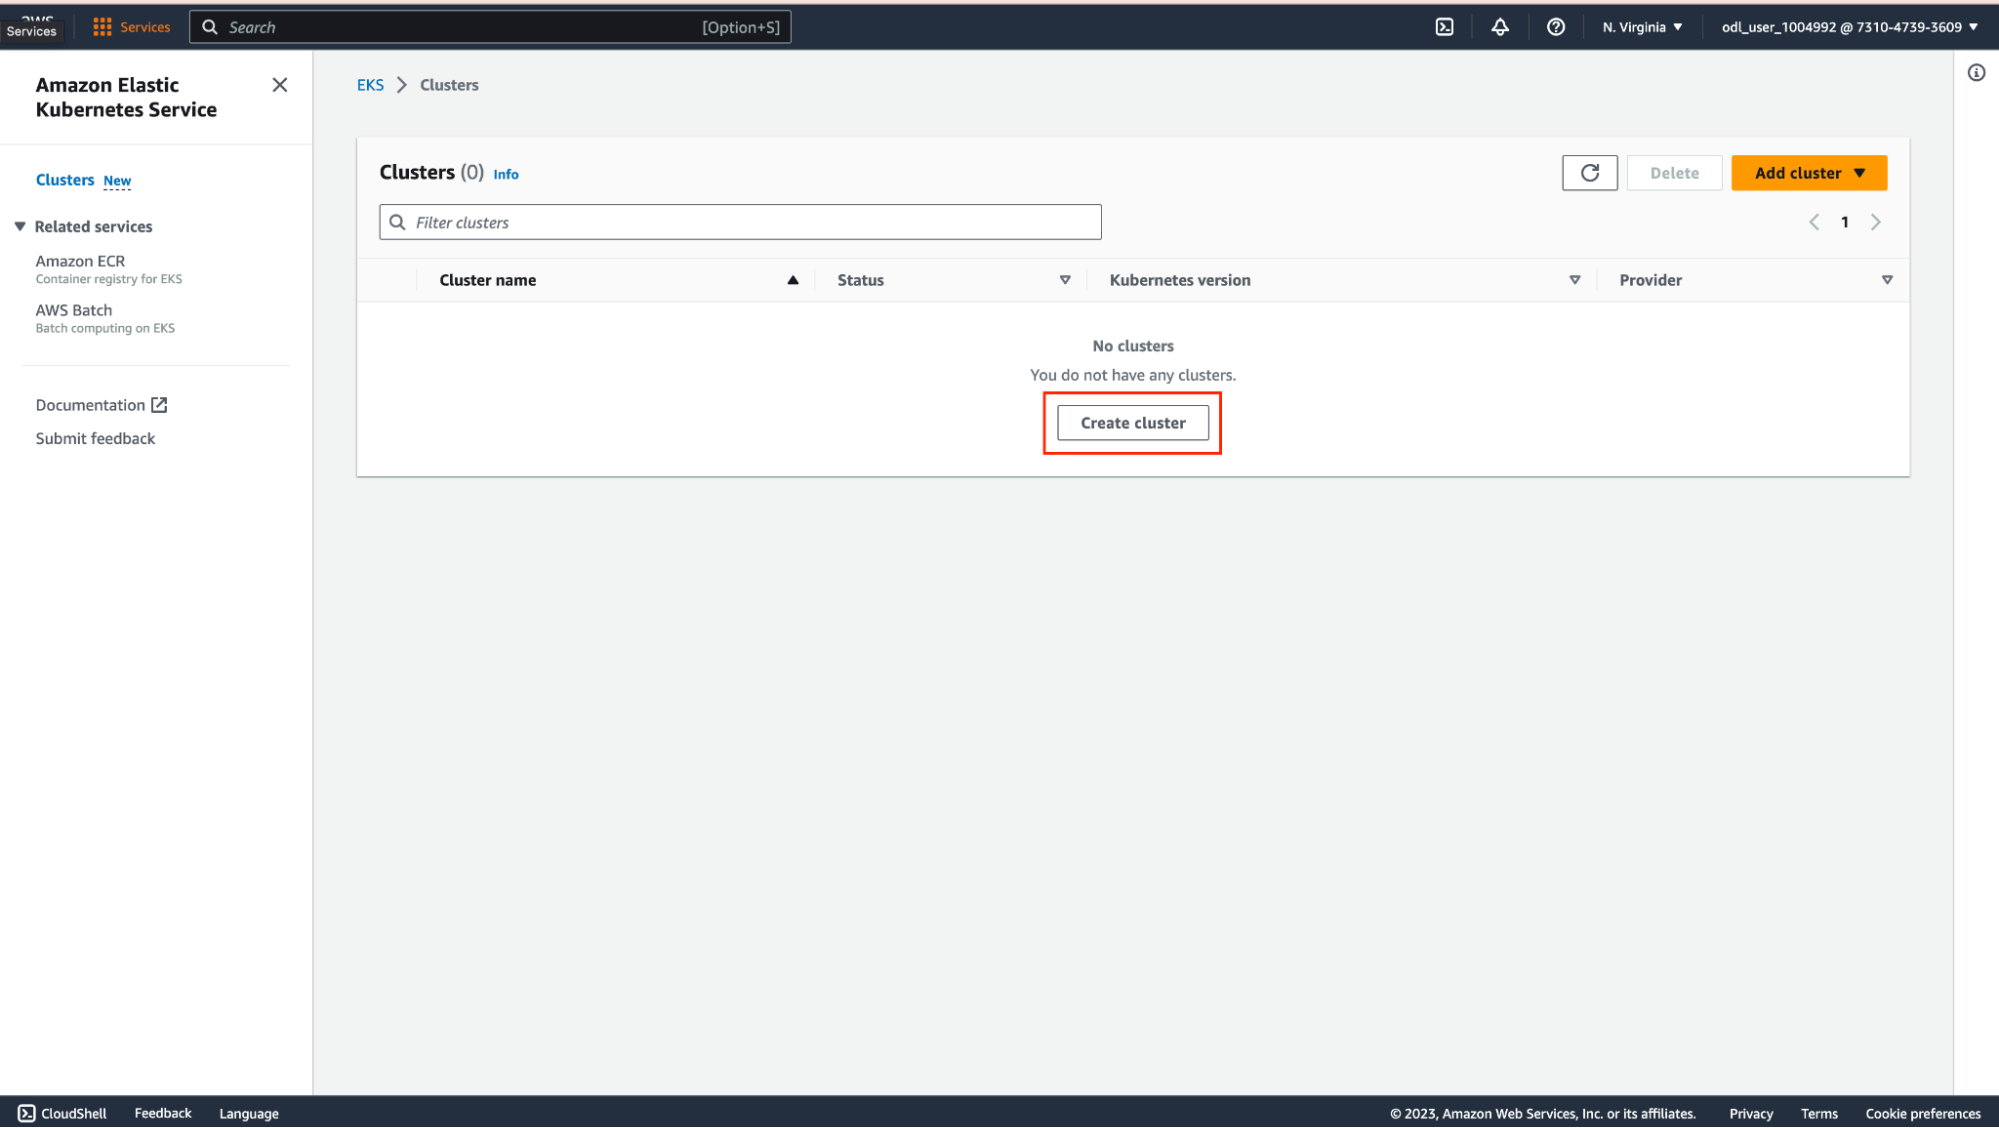
2 - Open the Amazon EKS console at https://console.aws.amazon.com/eks/home#/clusters Choose Create cluster.
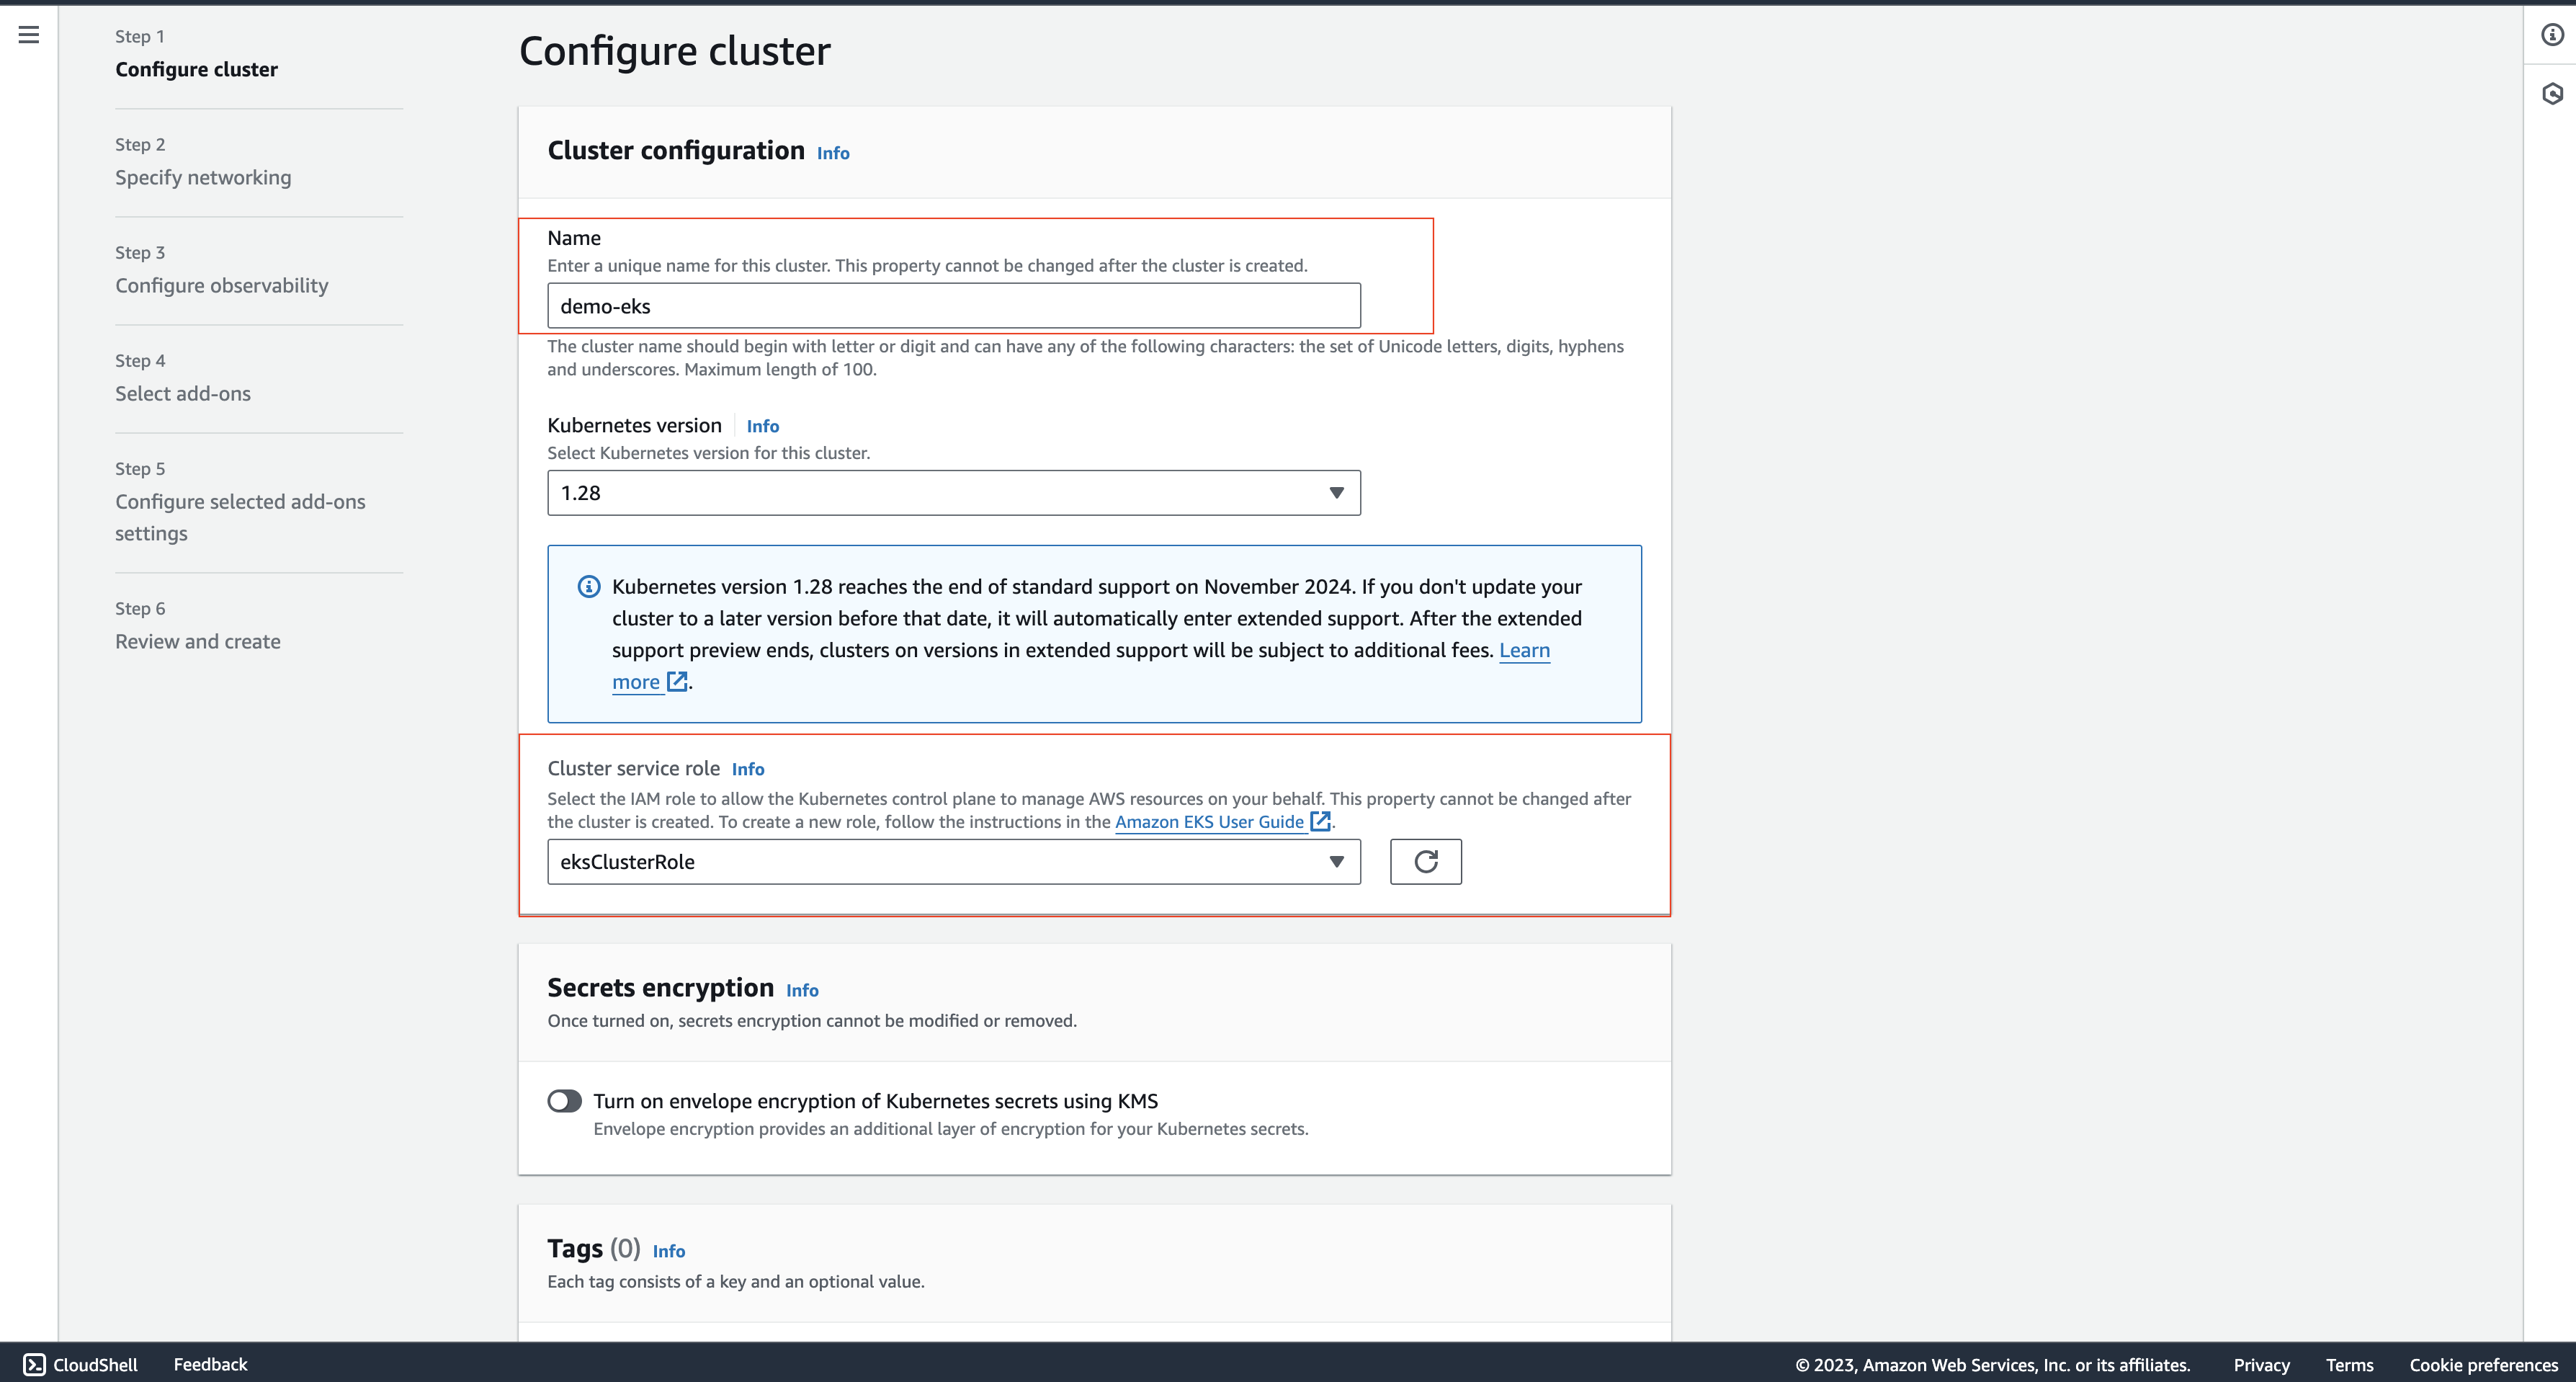
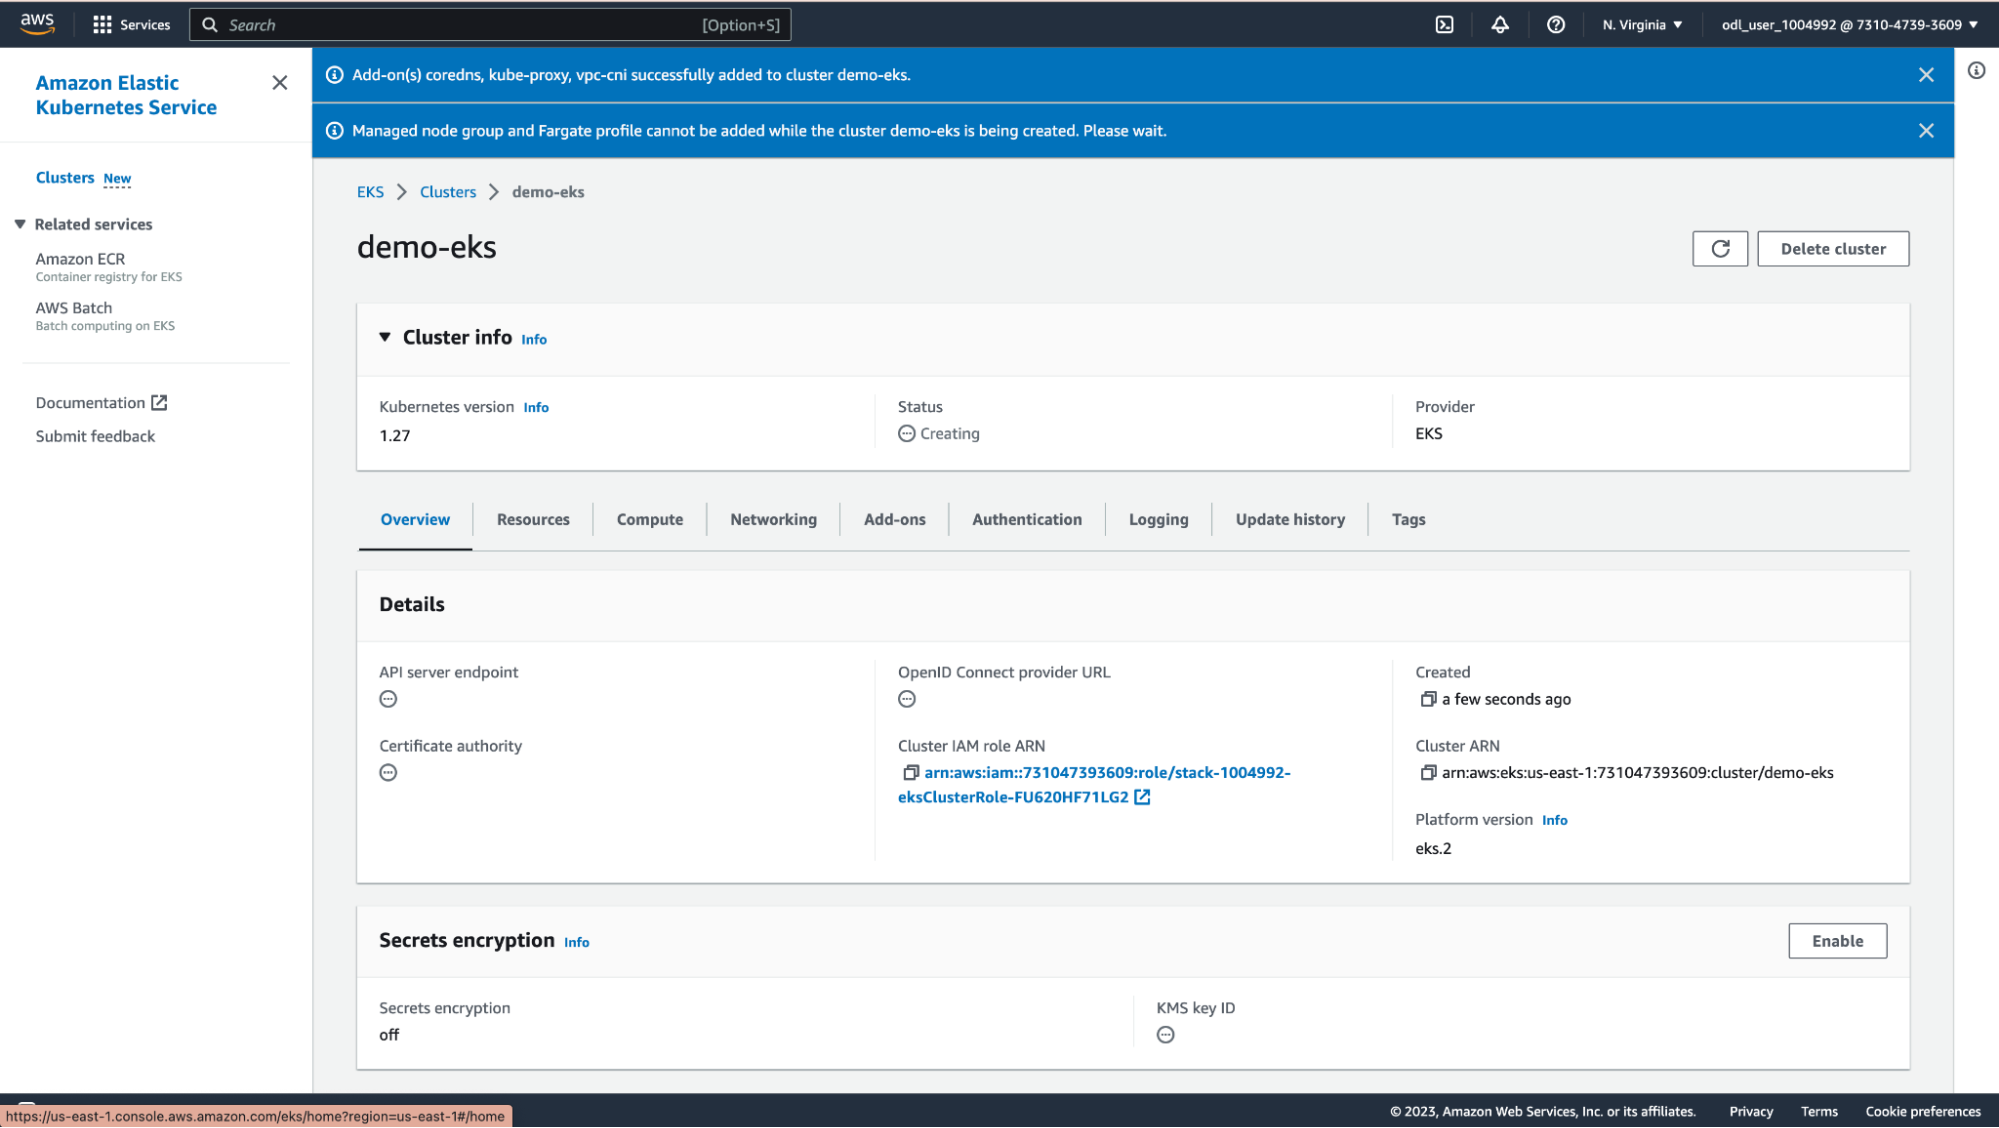
3 - On the Configure cluster page, enter the Name field, here is “demo-eks” and select Cluster service role which is created above and then choose Next.
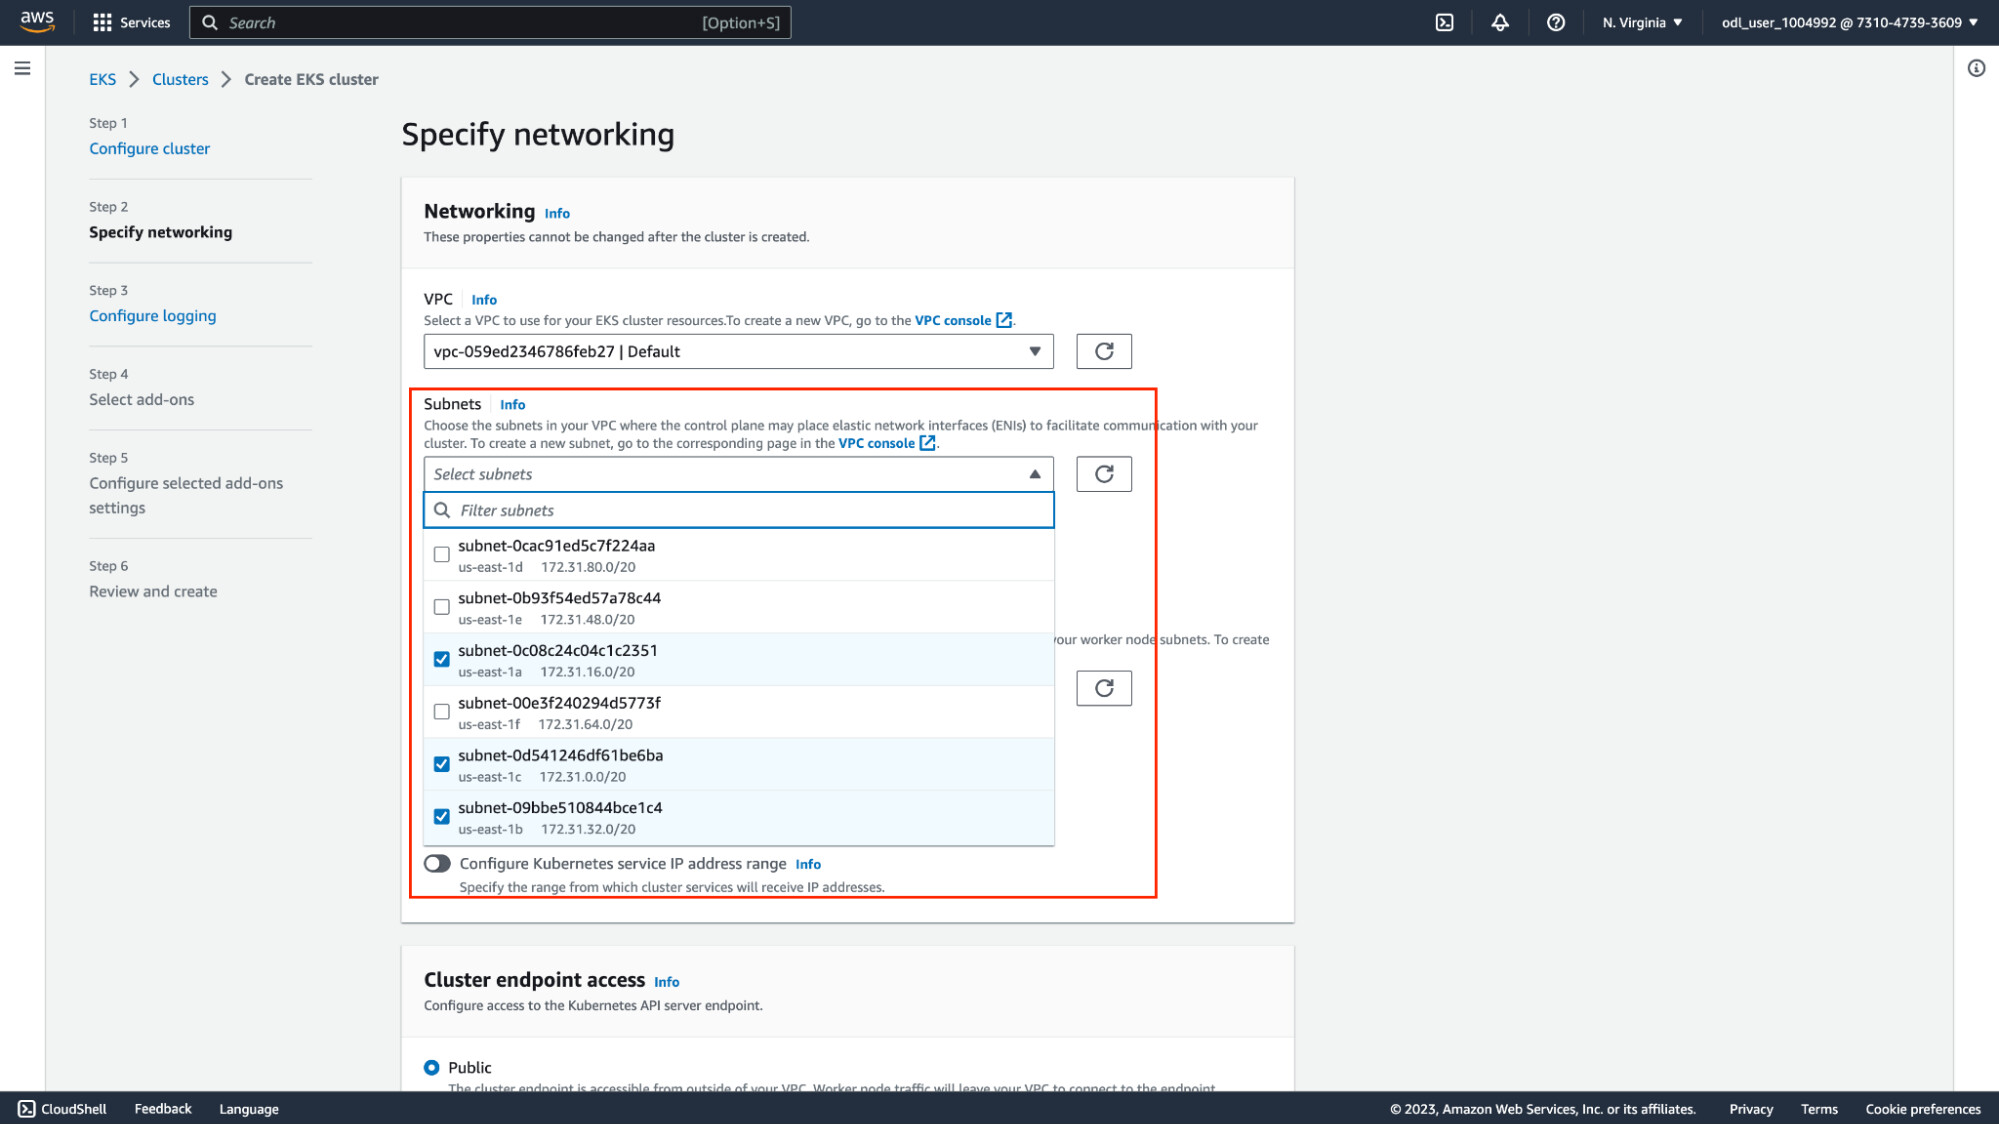
4 - On the Specify networking page, select values for the Subnets fields - You must select at least two values (Do not select the subnet from the us-east-1e availability zone). In this tutorial, subnets from us-east-1a, us-east-1b, us-east-1c availability zones are selected. Choose Next
5 - On the Configure logging and Select add-ons page, you can optionally choose which you want and then select Next.
6 - On the Review and Create page, review the information that you entered or selected on the previous pages. If you need to make changes, choose Edit. After that, choose Create. The Status field shows CREATING while the cluster is provisioned.
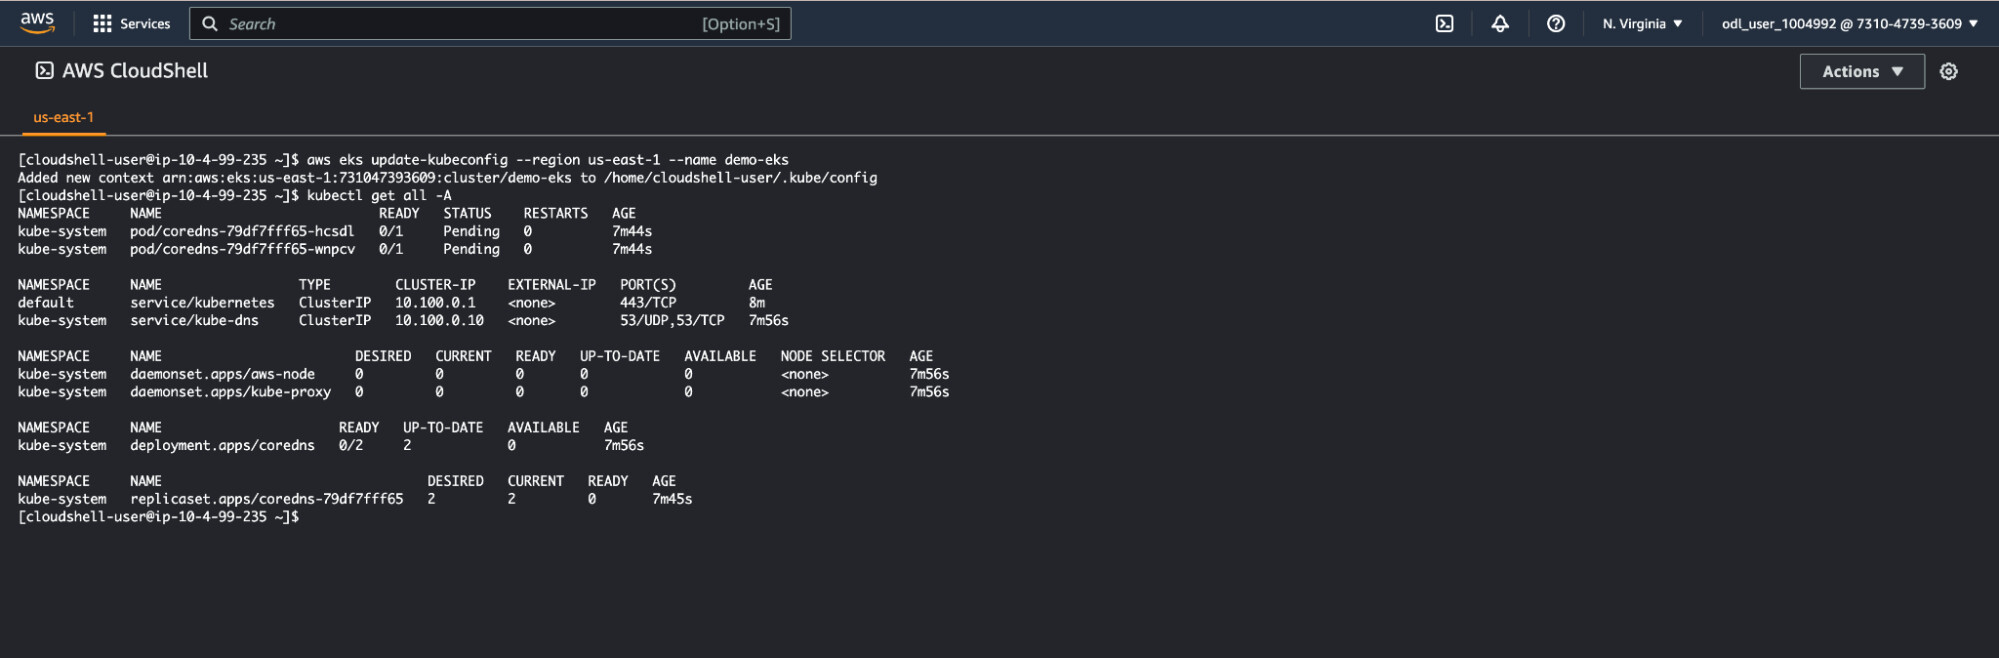
7 - Once the cluster is created, enable kubectl to communicate with your cluster by adding a new context to the kubectl config file by executing the following command in CloudShell
$ aws eks update-kubeconfig --region us-east-1 --name demo-eks
The following output as
Step 3: Computing self-managed nodes
To make it simple, you can follow the steps below. For more information please refer to https://docs.aws.amazon.com/eks/latest/userguide/launch-workers.html
Note: If you don’t provide a key pair here, the AWS CloudFormation stack creation fails. Therefore please ensure that you have at least a key pair before moving forward. You can create one in the AWS Management Console. To create a key pair, see https://docs.aws.amazon.com/AWSEC2/latest/UserGuide/create-key-pairs.html#having-ec2-create-your-key-pair
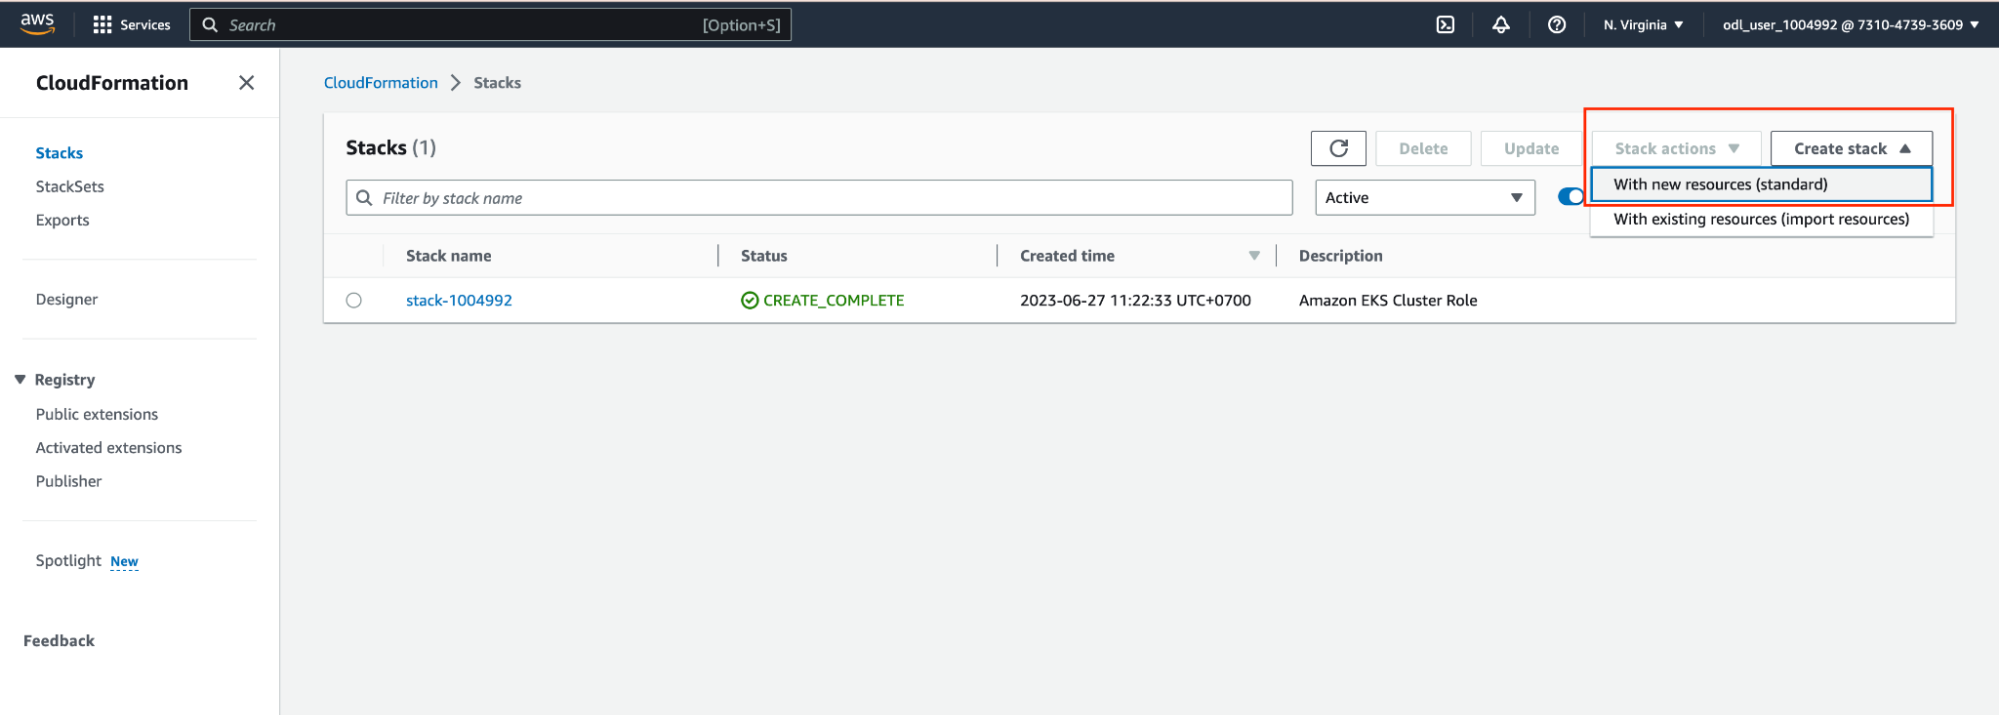
1 - Open the AWS CloudFormation console at https://console.aws.amazon.com/cloudformation. Choose Create stack and then select With new resources (standard).
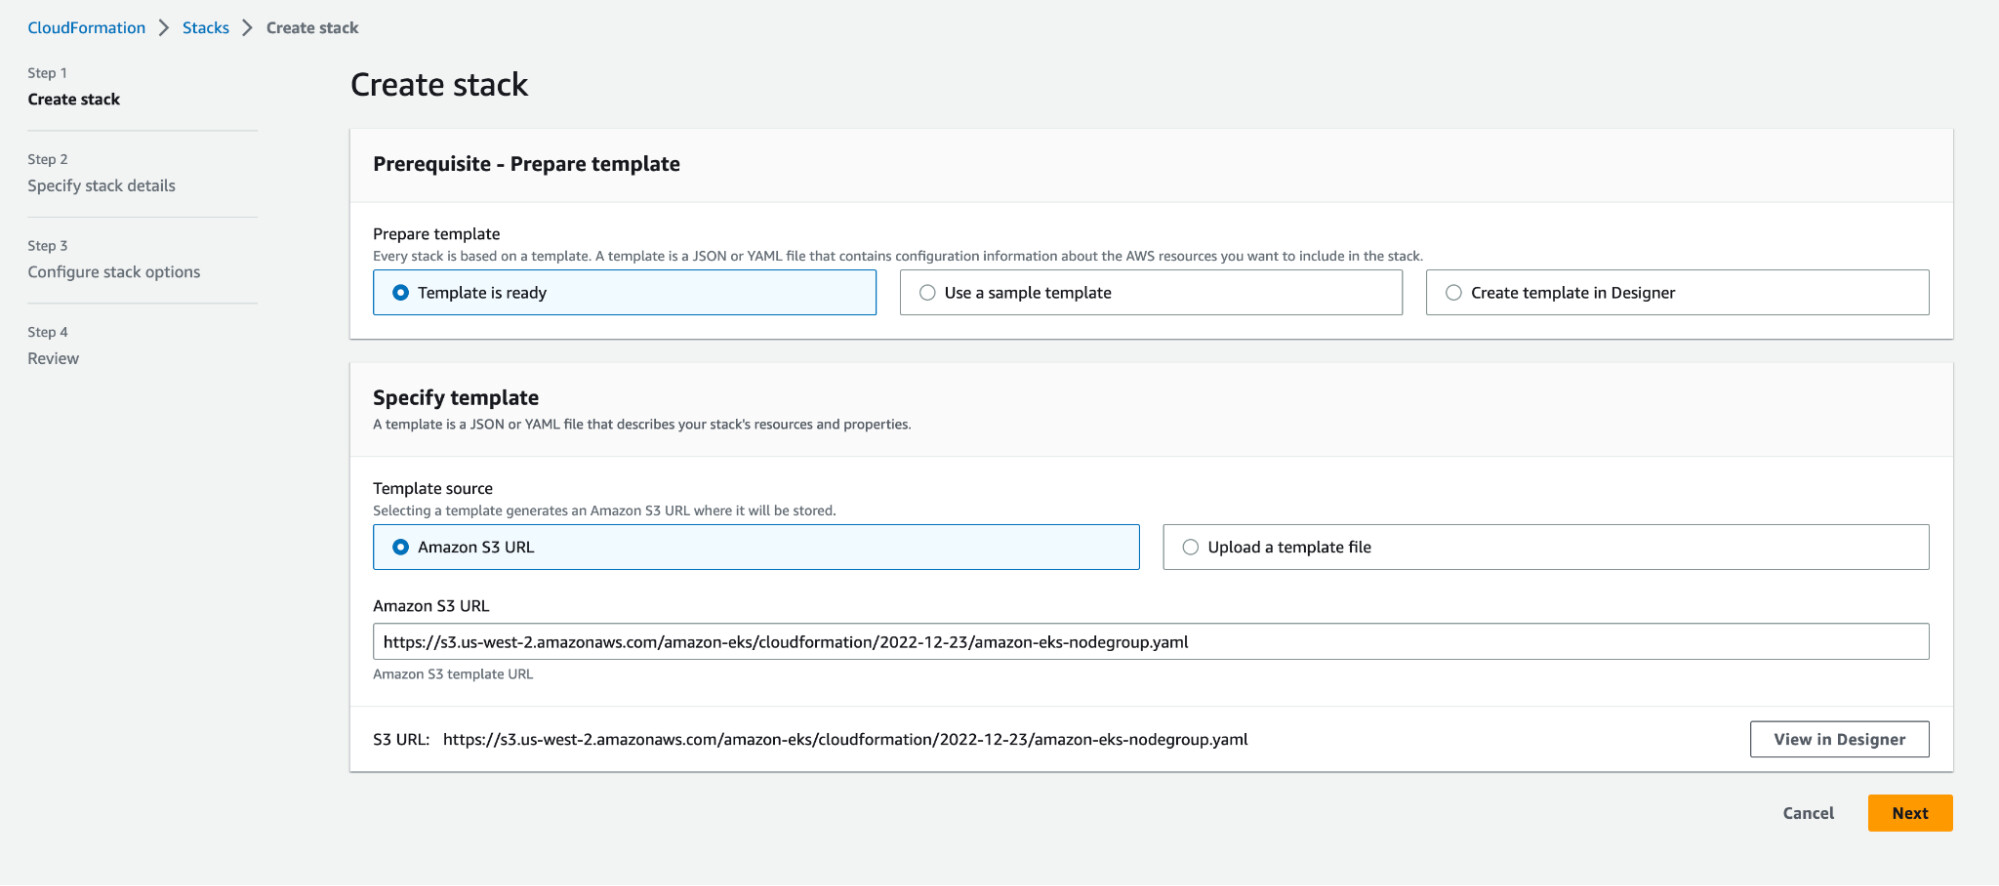
2 - Use the template ready option. Select the Amazon S3 Url as the template source and add the
following file location URL in the Amazon S3 Url. Choose Next.
https://s3.us-west-2.amazonaws.com/amazon-eks/cloudformation/2022-12-23/amazon-eks-nodegroup.yaml
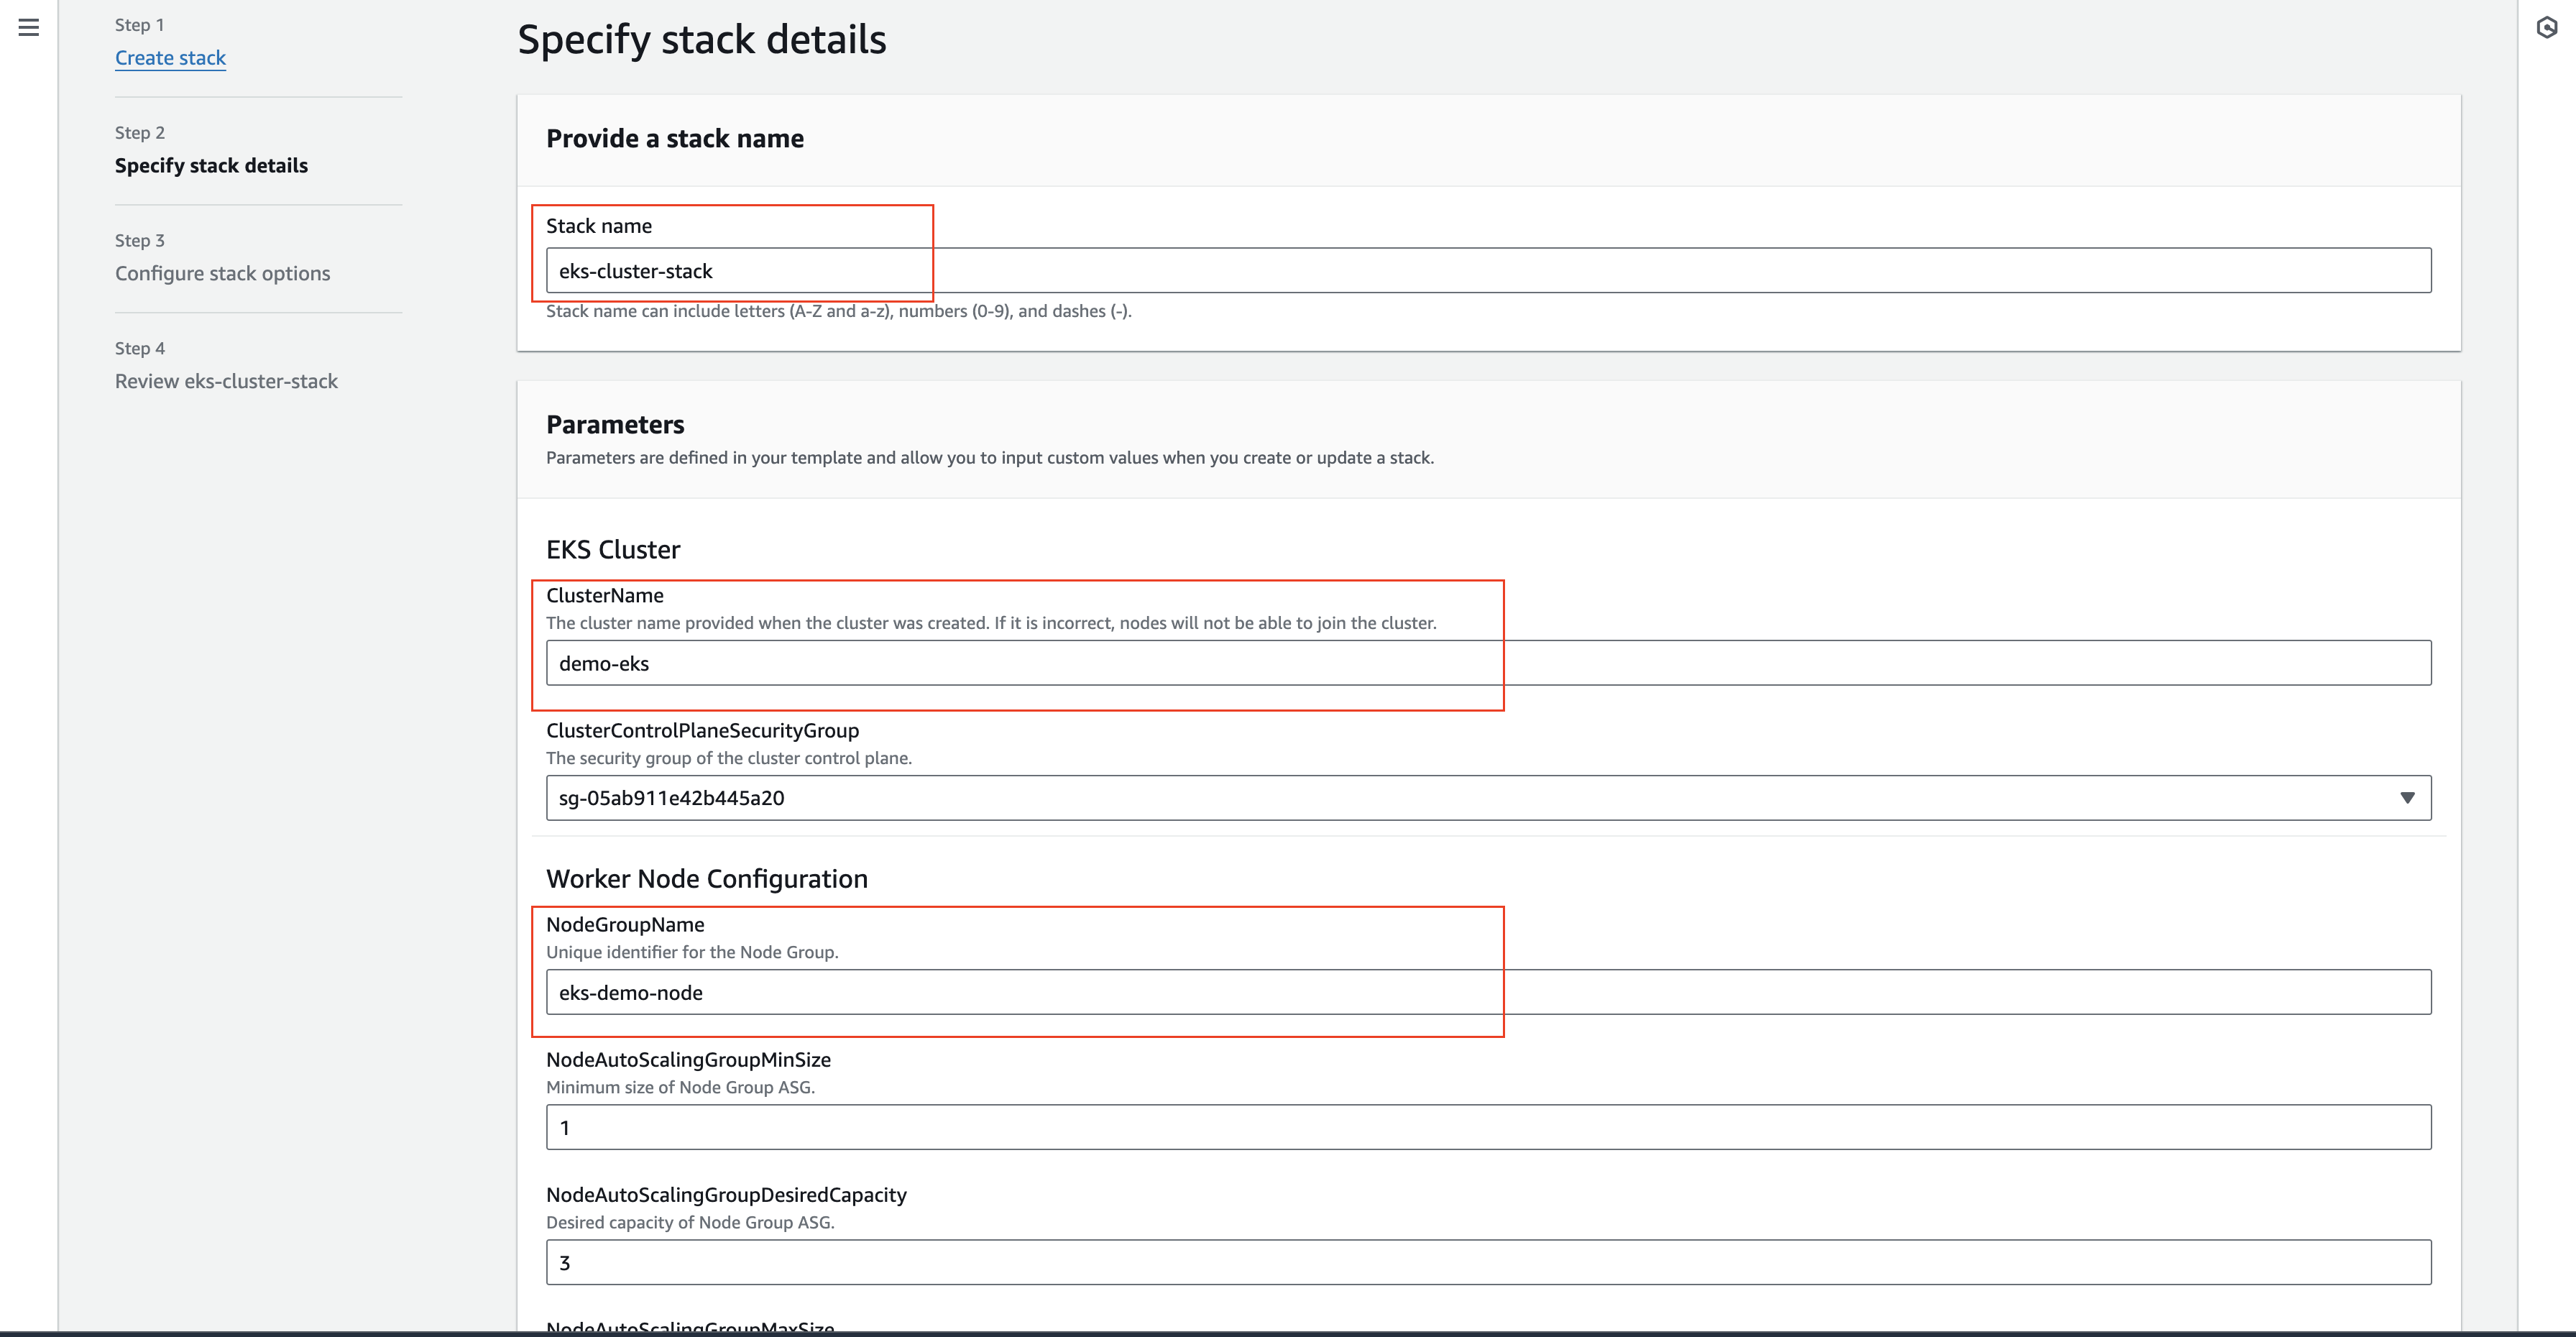
3 - On the Specify stack details page, enter the following parameters accordingly, and then choose Next:
- Stack name: Enter ‘eks-cluster-stack’ for your AWS CloudFormation stack.
- ClusterName: Enter ‘demo-eks’ as name that you used when you created your Amazon EKS cluster. This name must be the same as the cluster name or your nodes can’t join the cluster.
- ClusterControlPlaneSecurityGroup: Choose the security group of the cluster control plane.
- NodeGroupName: Enter ‘eks-demo-node’ for your node group.
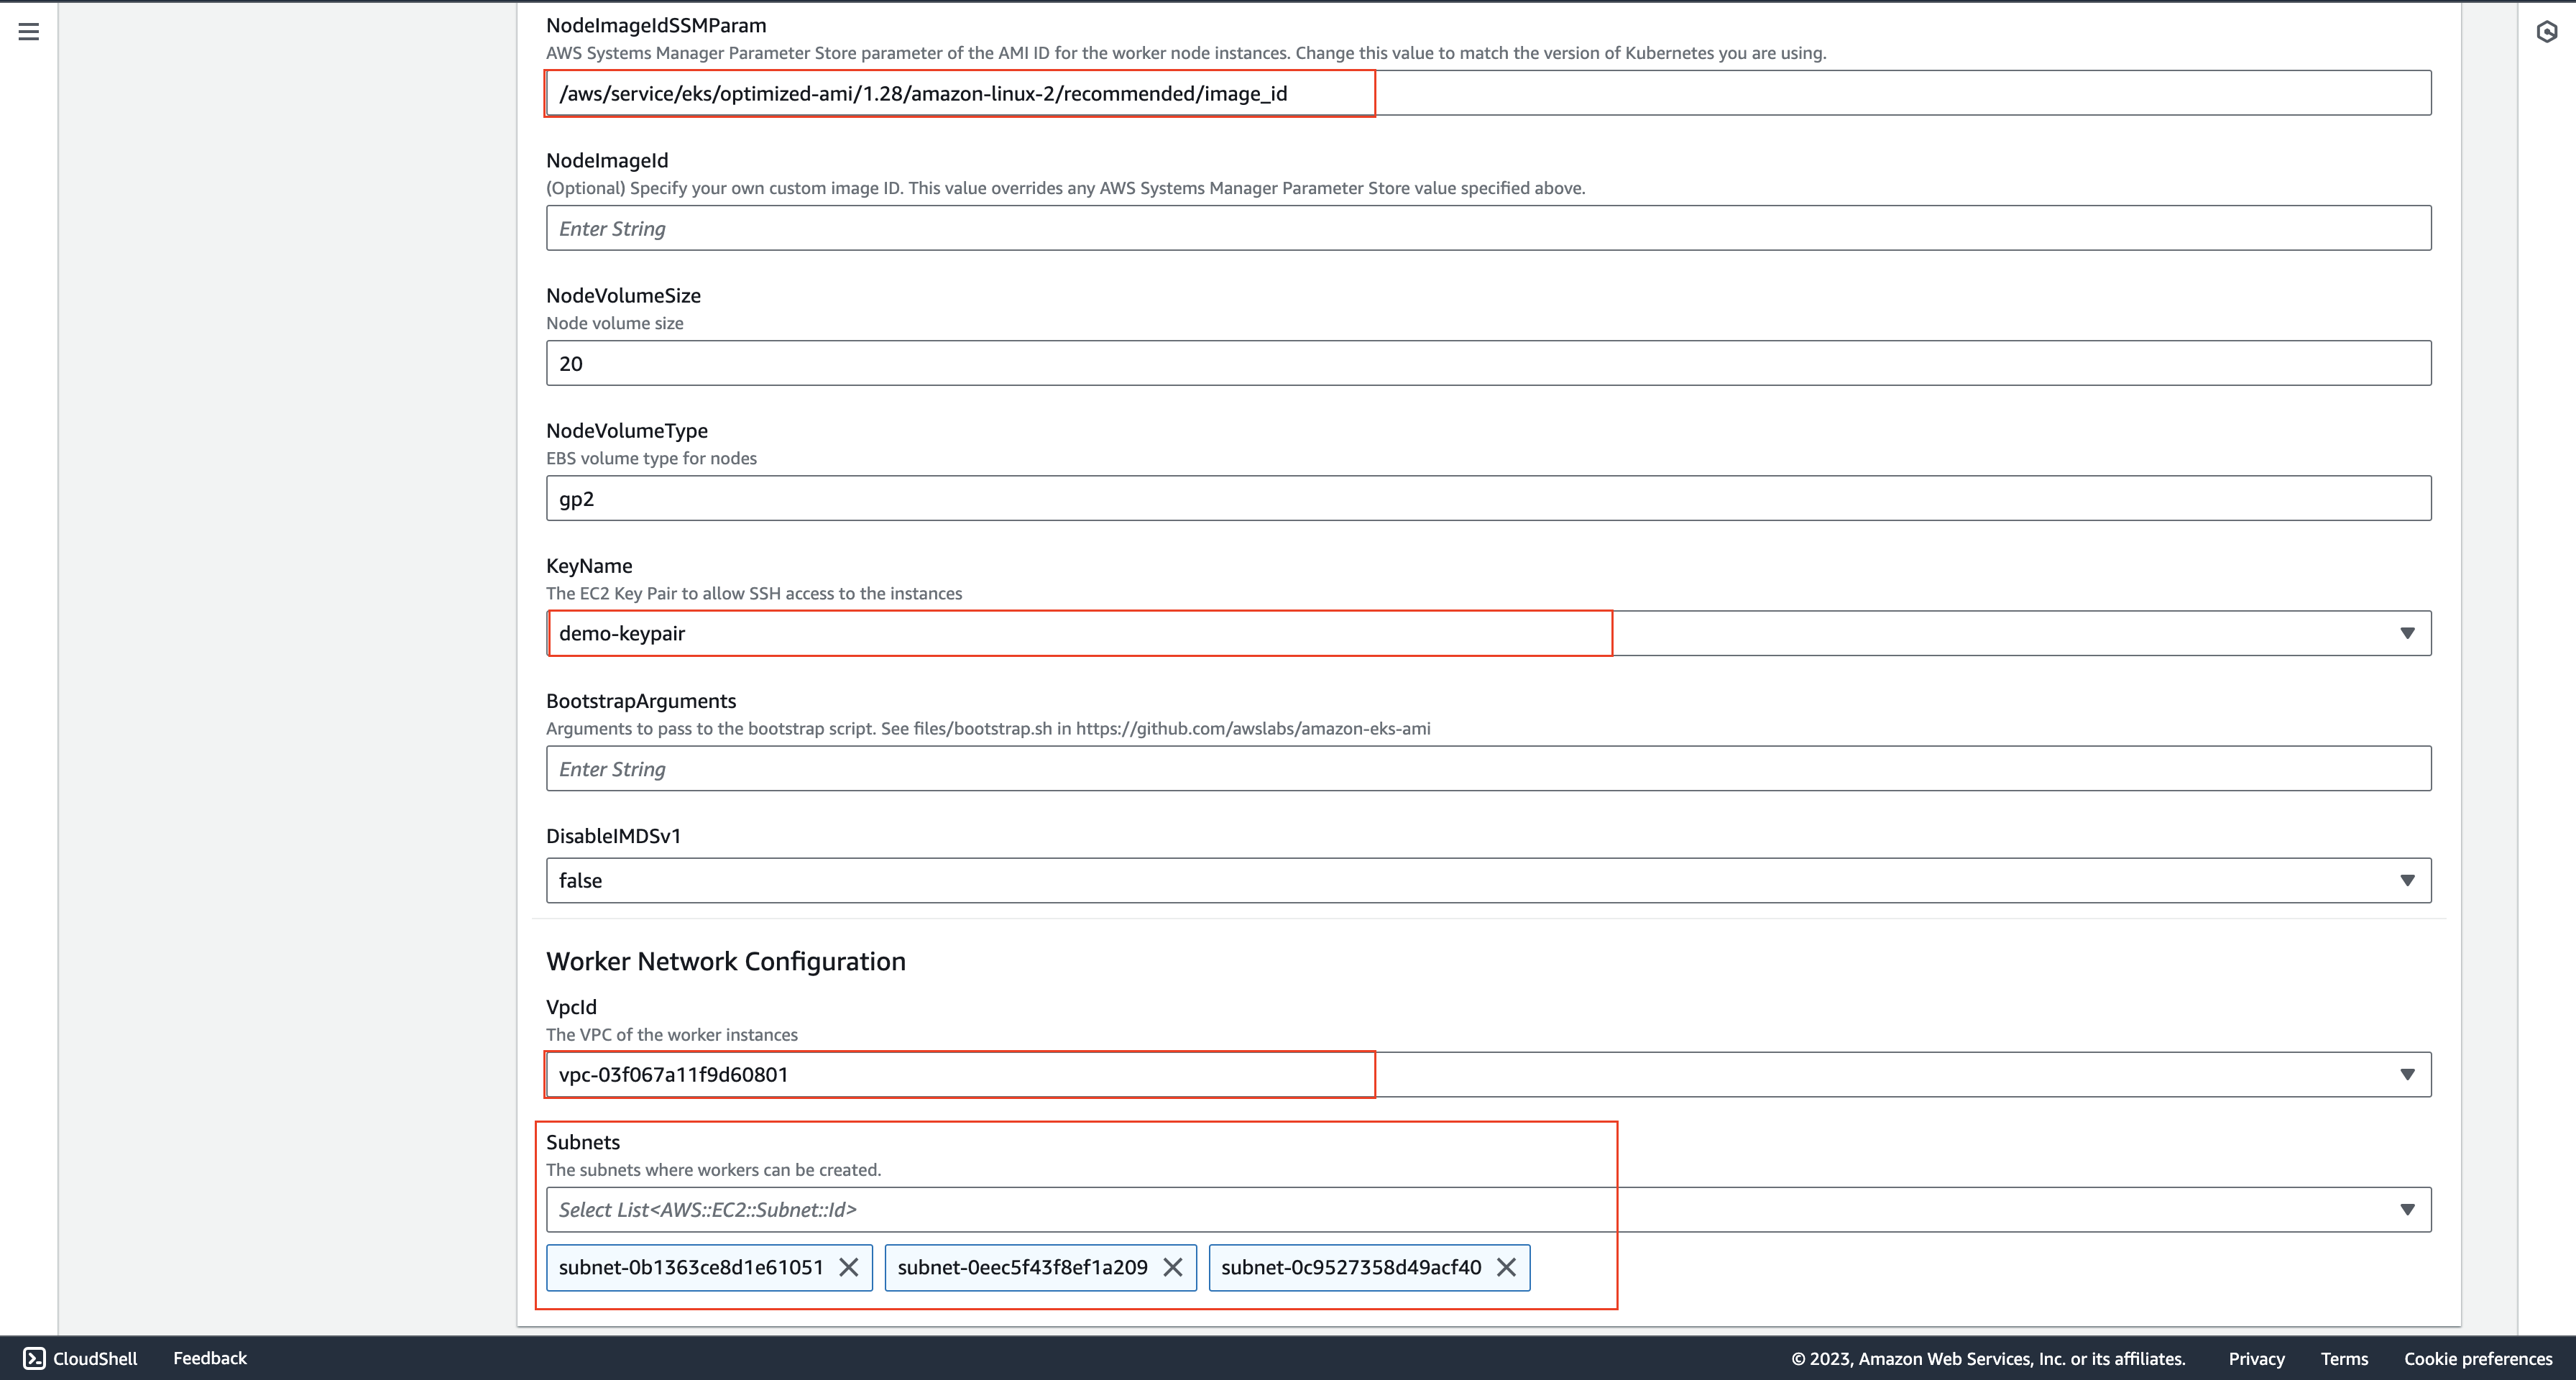
- NodeImageIdSSMParam: Pre-populated with the Amazon EC2 Systems Manager parameter of a recent Amazon EKS optimized AMI for a variable Kubernetes version. If you want to use version 1.28, you can update the field to /aws/service/eks/optimized-ami/1.28/amazon-linux-2/recommended/image_id
- KeyName: Select the name of an Amazon EC2 SSH key pair that you can use to connect using SSH into your nodes after they launch.
- VpcId: Select the VPC as same as EKS cluster
- Subnets: Select the subnets as same as EKS cluster
Note: There are some limitations on the instance size. They are as follows:
- Choose one of these instance types: .nano, micro, .small, .medium of t1,t2, and t3 instance class.
- Choose the disk type as “gp2” only.
- The maximum disk size per node allowed is 30GB.
4 - Select your desired choices on the Configure stack options page, and then choose Next
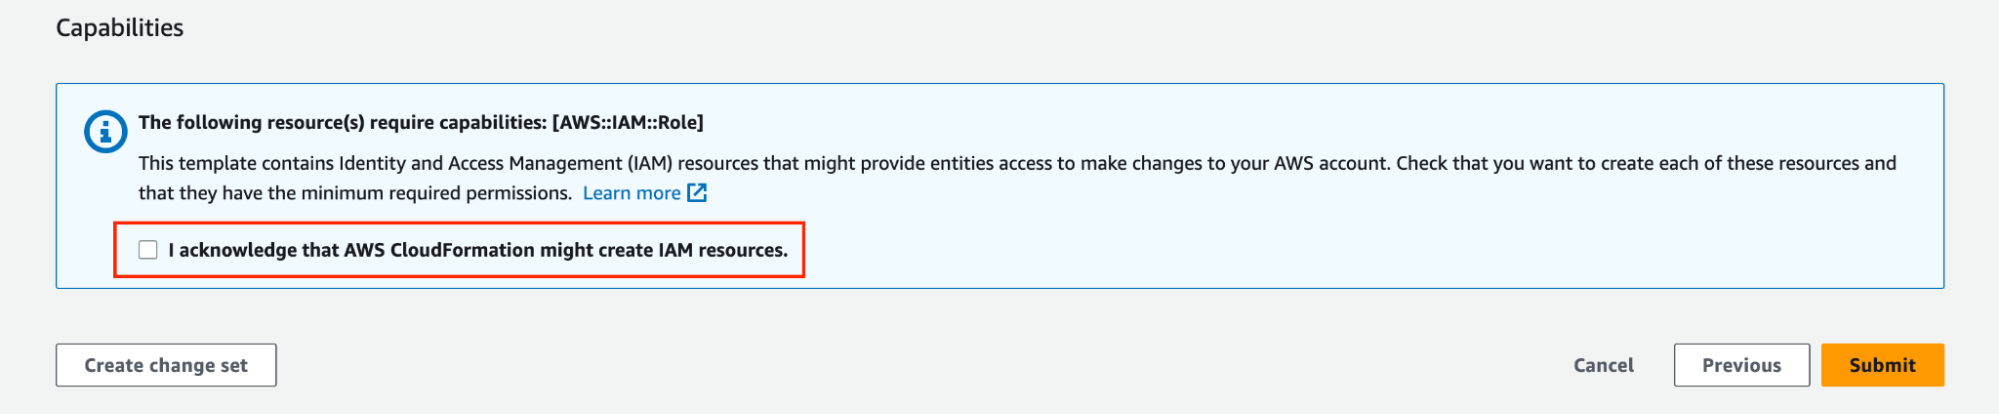
5 - As on the box below, stick “I acknowledge that AWS CloudFormation might create IAM resources”, and then choose Submit.
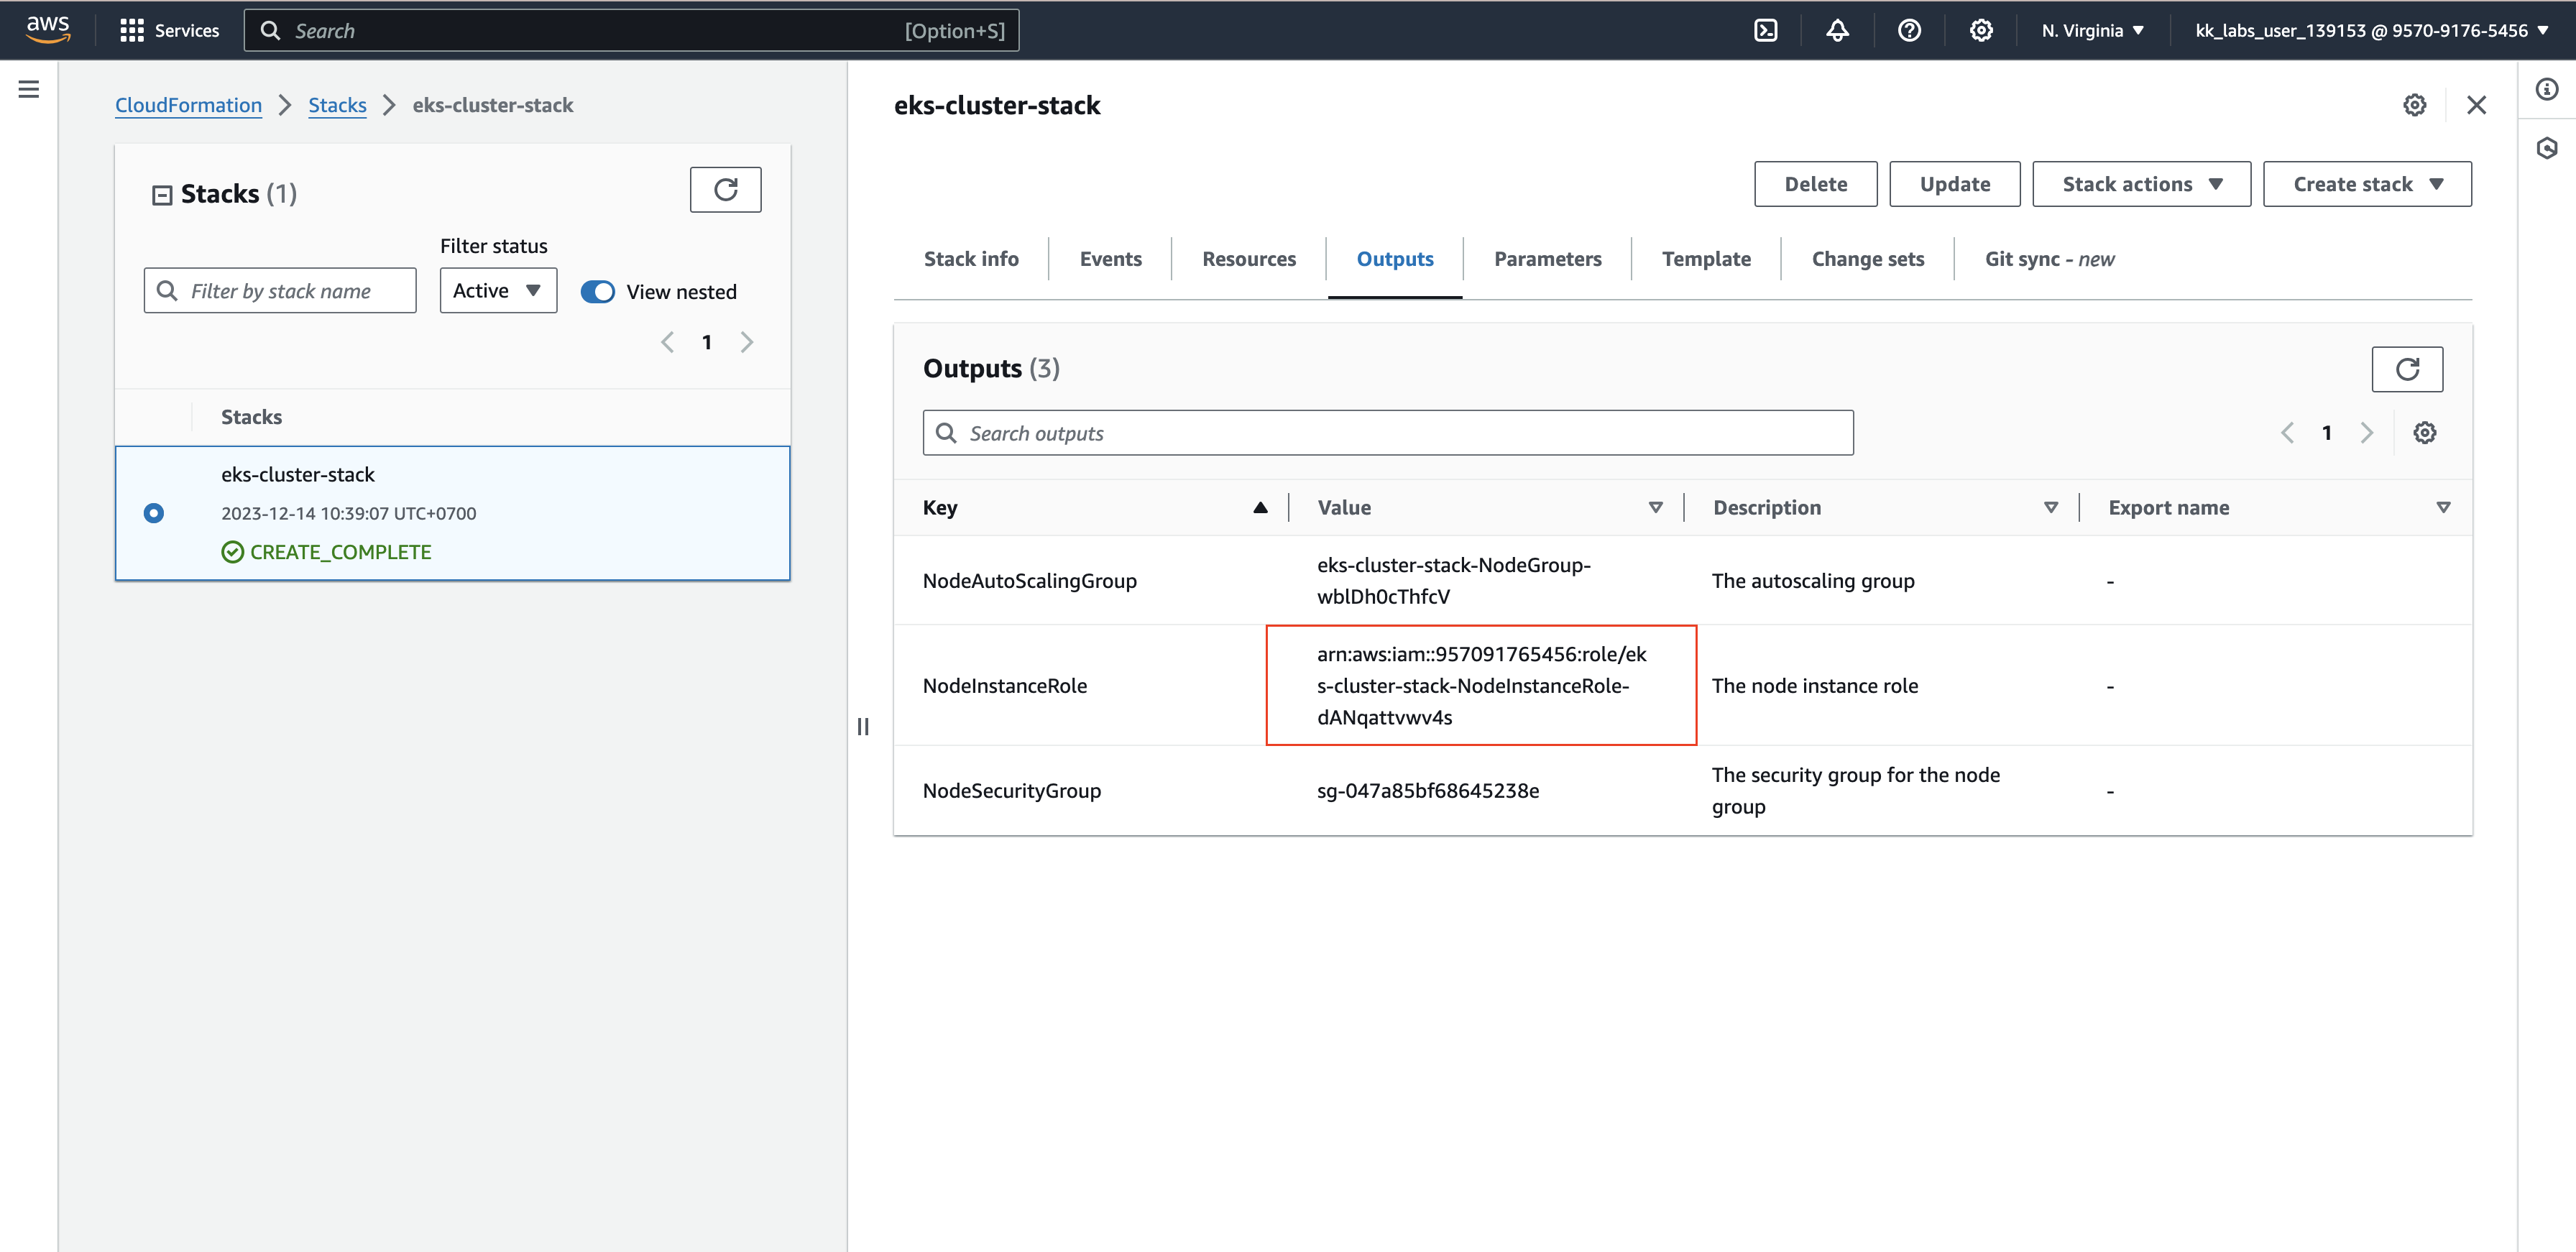
6 - When your stack has finished creating, select it in the console and choose Outputs. Record the NodeInstanceRole for the node group that was created. You need this when you configure your Amazon EKS nodes.
Step 4: Joining the worker nodes
Execute the following commands in the CloudShell terminal.
First, you need to download the configuration map by executing the following command
$ curl -O https://s3.us-west-2.amazonaws.com/amazon-eks/cloudformation/2020-10-29/aws-auth-cm.yaml
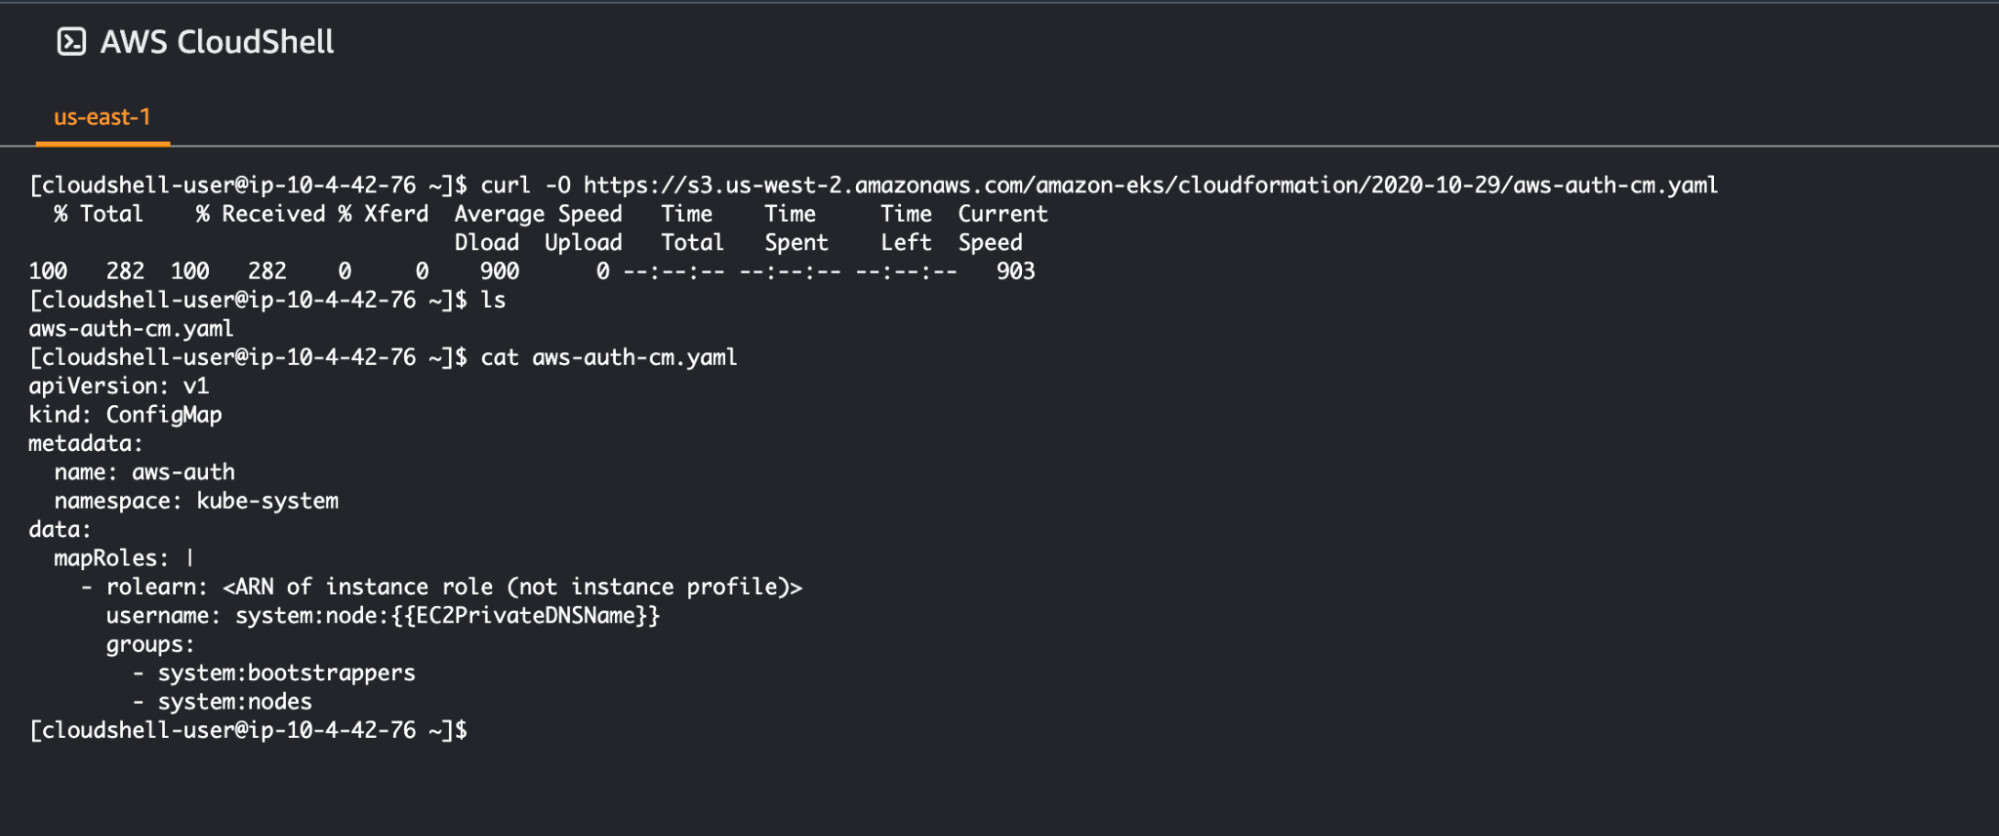
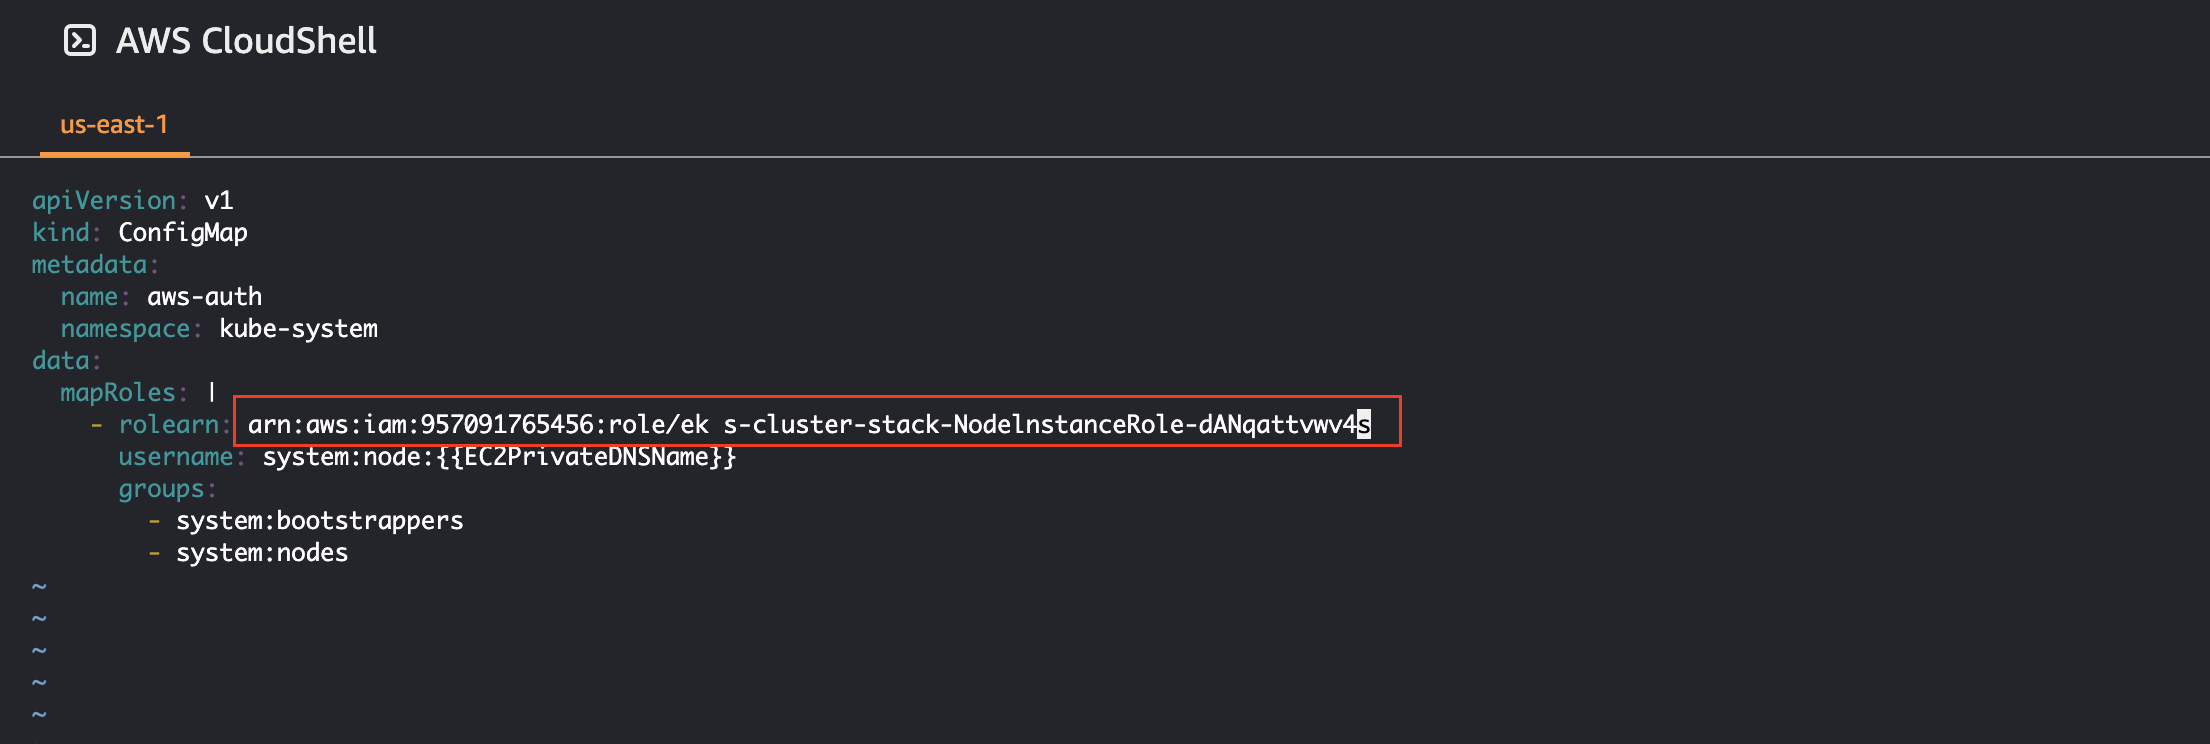
Then, in the aws-auth-cm.yaml file, update the value of rolearn key to NodeInstanceRole value which is created above.
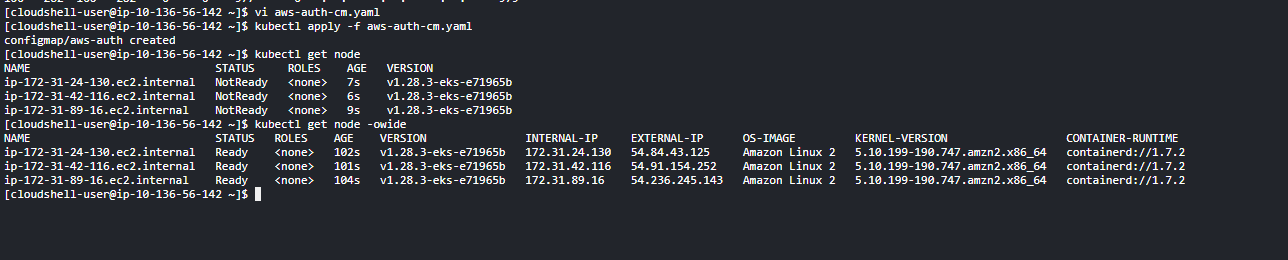
Next, apply the configuration. This command may take a few minutes to finish.
$ kubectl apply -f aws-auth-cm.yaml
The following output as
By successfully creating an EKS cluster in KodeKloud Playground, you not only gain valuable experience but also build confidence in working with real-world Kubernetes environments. So, start creating your EKS cluster today and practice your Kubernetes skills. With each step, you’ll build confidence, expand your knowledge, and strengthen your skills in EKS and Kubernetes.