


Highlights
- Bidirectional Copying: kubectl cp works both ways, you can copy from your local machine to a Pod, or from a Pod to your local machine.
- Dependency on Tar: The command relies on the
tarbinary being present inside the container image; without it, the copy will fail. - Multi-Container Support: Use the
-cflag to target a specific container within a Pod. - Namespace Awareness: You can copy files
to/fromPods in different namespaces by prepending the namespace to the Pod name (e.g.,namespace/pod-name).
The kubectl cp command is a powerful tool in Kubernetes that you can use to copy files between the local system and a Pod. There are various use cases of this command, including:
- Debugging: You can use
kubectl cpto copy log files from a Pod. In case the Pod fails to start or produces errors, you can use the log files to diagnose the issue. - Backup and restore. Another use case of the
kubectl cpcommand is to create backups of important files and configurations stored inside a Pod. If a system failure occurs, you can restore these files to their original location using the same command.
In this blog post, we'll explore how to use the kubectl cp command to copy files from a Pod to the local system and vice versa. Let’s get started!
Prerequisites
To follow along with the example in this post, you’ll need access to a running Kubernetes cluster. If you don’t have access to one, you can use a tool such as minikube to set up a Kubernetes cluster. Also, you’ll need to have kubectl installed on your local machine to interact with the Kubernetes cluster.
Try the Kubernetes Pods Lab for free

Create a Pod
Before we can explore the kubectl cp command, we need to have a Pod to copy files from or to. To create a Pod, we'll use a Deployment. Open up a terminal window and run the following command:
kubectl create deployment mynginx --image=nginxThis command creates a Deployment resource named mynginx using the nginx Docker image. The Deployment creates a Pod that hosts the container running the nginx web server. Note that you can choose any name you prefer for your Deployment.
Running the command above will give you the following output, which says that the Deployment is created.

Once the Deployment is created, we need to check the Pod status to ensure that it's running. To do this, run the following command:
kubectl get podsThis command will display a list of all the Pods running in your Kubernetes cluster. Look for the Pod with a name starting with your Deployment name ("mynginx" in my case) and ensure that it's in the Running state.

Note that Kubernetes creates Pod names by adding unique characters to the Deployment name. Hence, your Pod name will be different from mine.
Now that we have a Pod, we can proceed with copying files from and to the Pod using the kubectl cp command.
kubectl cp Syntax
Here is the syntax of the kubectl cp command in a simplified form.
kubectl cp <source> <destination>Here, <source> and <destination> are the paths to the source and destination locations of the file we want to copy. Don’t worry if this seems a bit unclear right now. We’ll go through examples in the upcoming sections.
Copy Files From Pod to Local System
We have a nginx web server running inside a container. Let’s copy the index.html file (which nginx serves by default) inside the /usr/share/nginx/html directory to our local system. Run the following command:
kubectl cp mynginx-ff886775c:/usr/share/nginx/html/index.html ~/desktop/index.htmlDon’t forget to replace mynginx-ff886775c with the name of your Pod.
In the command above, we pass two arguments to the kubectl cp command. The first argument is the source file's path. It consists of two parts separated by a colon (:). The part before the colon (mynginx-ff886775c) specifies the name of the Pod. The part after the colon (/usr/share/nginx/html/index.html) specifies the path to the file we want to copy from the container inside that Pod.
The second argument of the command specifies the destination directory on the local machine where we want to copy the file. In our case, the second argument is ~/desktop/index.html, which specifies the desktop directory as the target location and index.html as the name for the copied file. You can choose a different destination directory and file name that fits your preference.
In summary, the command above copies the index.html file from the container running in the Pod mynginx-ff886775c to the local machine's desktop directory.
Running the command above won’t give you any output, as shown below:

To confirm that the file has been copied, you’ll have to check the destination directory on your local machine. I see the index.html file on my desktop, as shown below:

We have successfully copied the index.html file from the container (running the nginx webserver) to our local system.
Copy Files From the Local System to Pod
The kubectl cp command is used not only to copy files from a Pod to the local system but also from the local system to a Pod. In this section, we’ll make some modifications to the index.html file that we previously copied to our desktop and then copy it back to the /usr/share/nginx/html/ directory.
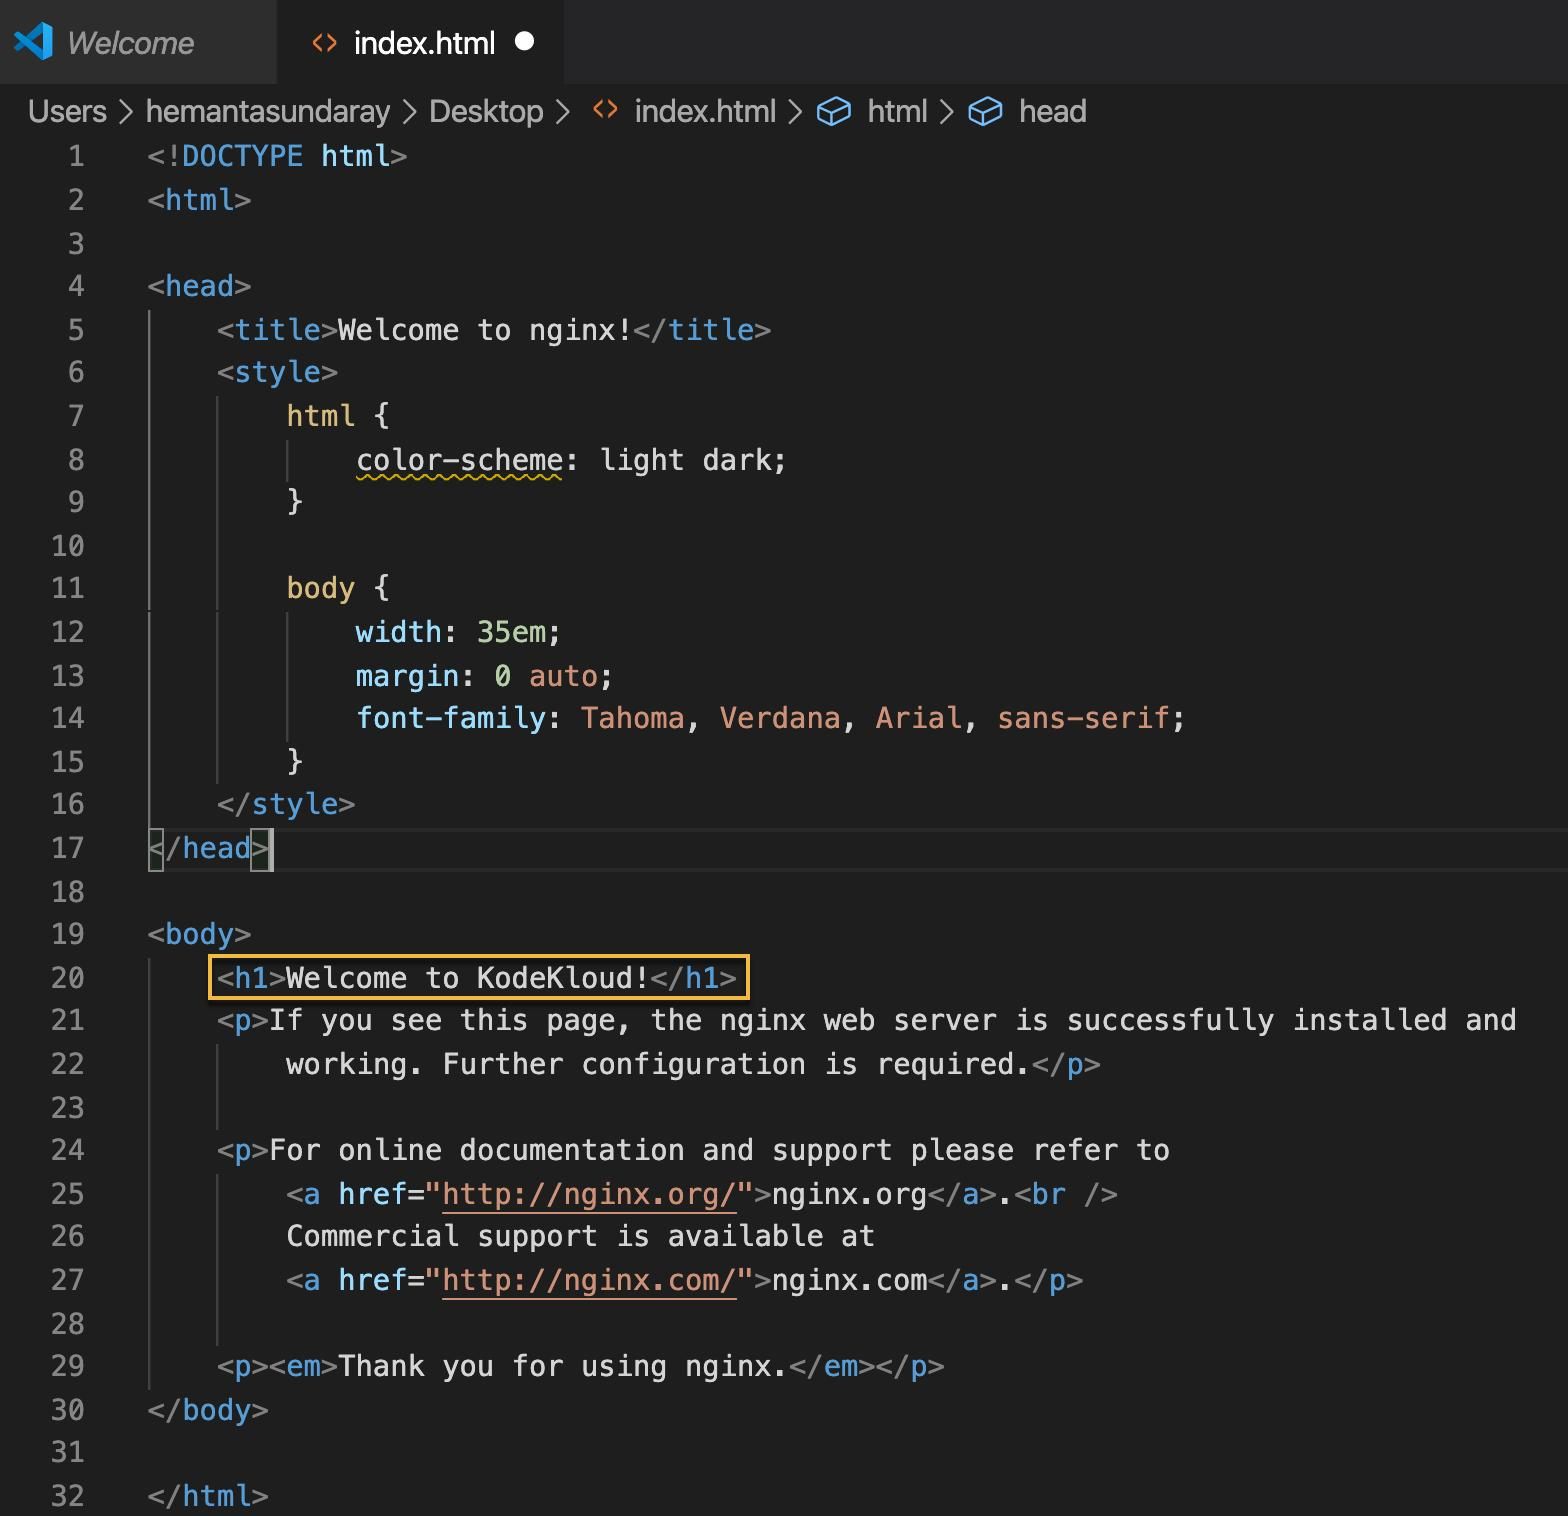
To get started, open the index.html file in your preferred code editor and make the desired modifications to the HTML markup. Below, I have changed the welcome message within <h1> tags from Welcome to nginx! to Welcome to KodeKloud!. You can make any other changes you prefer.
After making the changes to the index.html file, save it. Then, run the following command to copy the modified file from the desktop to the location we copied it from.
kubectl cp ~/desktop/index.html mynginx-ff886775c:/usr/share/nginx/htmlNotice that we have changed the order of the source and destination paths in this command.
When you run the above command, you should see an output similar to the following:

To verify whether the copy was successful or not, we can check the contents of the index.html file inside the nginx container. Let's follow the steps below.
First, run the following command to get a shell to the container inside the Pod (replace mynginx-ff886775c-mzjz2 with the name of your Pod):
kubectl exec -it mynginx-ff886775c-mzjz2 – /bin/bashThis command will open a bash shell prompt (root@mynginx-ff886775c-mzjz2: /#), as shown below:

Note: To get an in-depth understanding of the kubectl exec command, check out our blog post: Kubectl exec: How to Execute Shell Commands Into a Container With Examples?
From the shell prompt, run the following command to print the contents of the index.html file.
cat /usr/share/nginx/html/index.htmlThis will display the contents of the file in the shell. You should see the modified welcome message, as highlighted below:
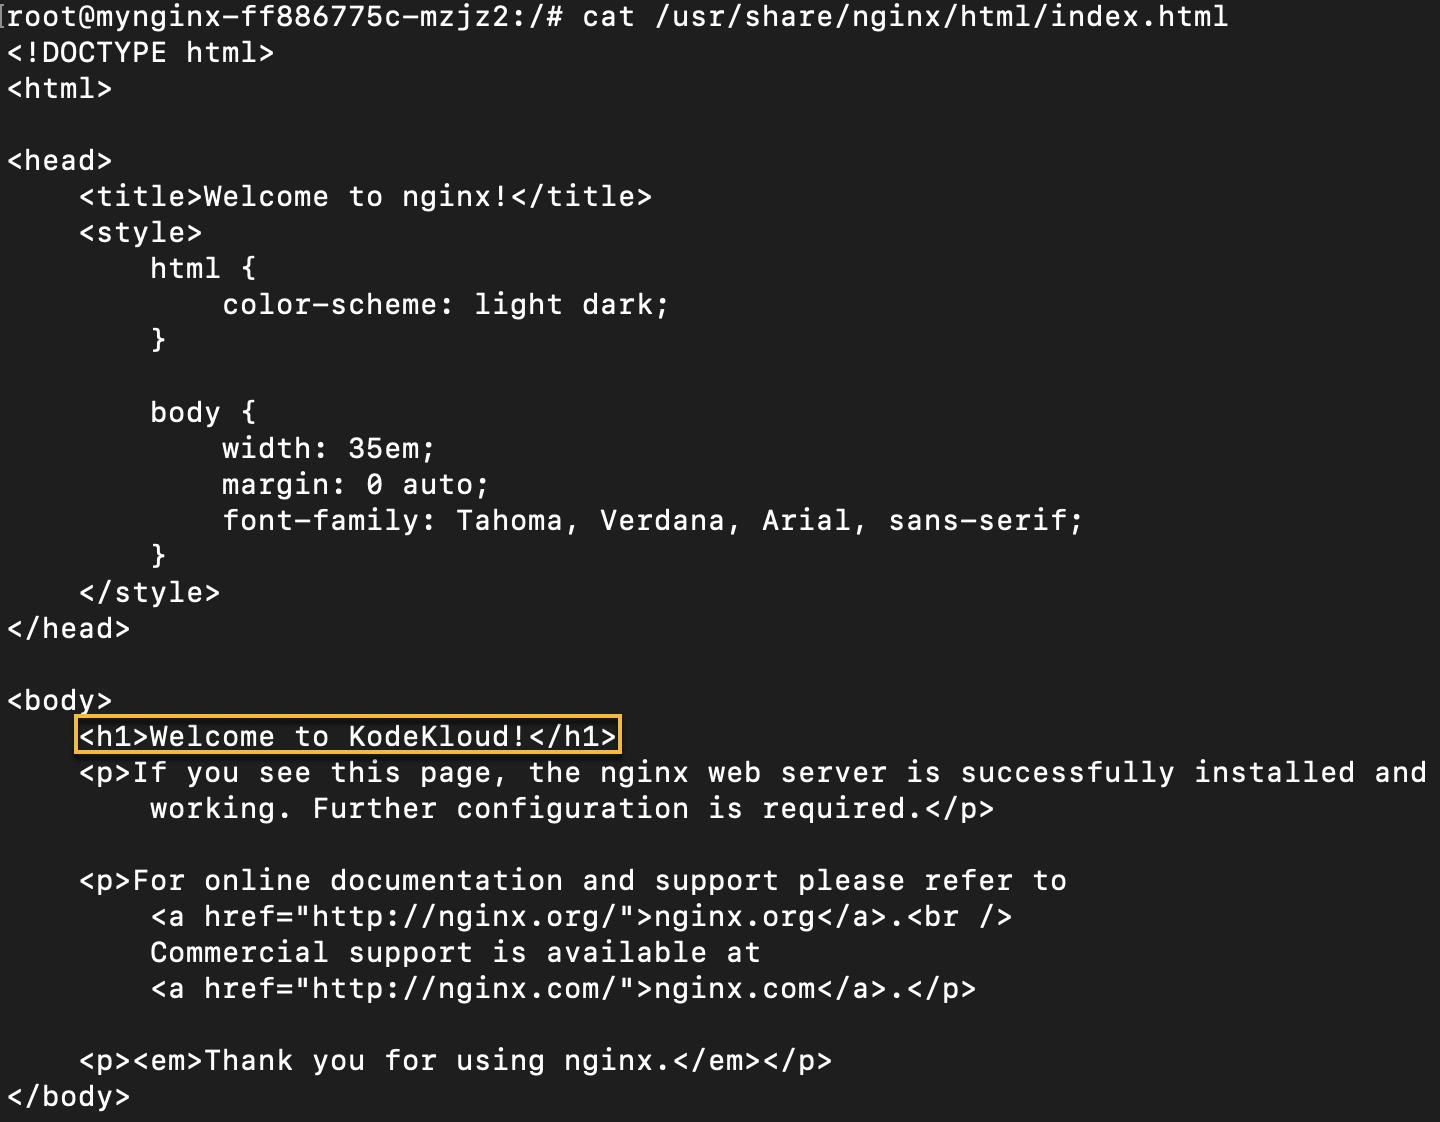
This means that we have successfully copied the modified index.html file from our local system to the container.
How to copy files from a Pod in a specific Namespace to the local system
To copy files from a Pod in a specific Namespace to the local system, you can specify the Namespace name before the Pod name. For instance, if the mynginx Deployment was created inside a Namespace named demo, to copy the file from the Pod in the demo Namespace to the local system or vice versa. You just need to add the Namespace name before the Pod name. Here's an example:
kubectl cp demo/mynginx-ff886775c-mzjz2:/usr/share/nginx/html/index.html ~/desktop/index.htmlThis command will copy the index.html file from the mynginx-ff886775c-mzjz2 Pod in the demo Namespace to the desktop directory on the local system.
How to copy files from a specific container inside a multi-container Pod to the local system
To copy files from a specific container inside a multi-container Pod, you can use the kubectl cp command with the -c flag to specify the container's name. For instance, suppose we have a Pod named my-pod running two containers named nginx and tomcat. And we want to copy the index.html file from the nginx container to our local system. In that case, we can use the following command:
kubectl cp my-pod:/usr/share/nginx/html/index.html ~/desktop/index.html -c nginxHere, the -c flag specifies the container name as nginx.
Embark on a Kubernetes mastery journey with our Kubernetes Learning Path:

.webp)
Conclusion
In this post, we learned how to use the kubectl cp command to copy files from Pod to the local system and from the local system to Pod. You can use the kubectl cp command for a variety of purposes, including debugging, data backup, and more.
More on Kubernetes:
- How to Restart a Pod in Kubernetes
- How to Debug CrashLoopBackOff in a Container or Pod
- How to Use Kubectl Scale on Deployment
- How to Use Kubectl Config Set-Context
- What Is Kubectl Port-Forward and How Does It Work?
- Kubectl Create Namespace: How to Create a Custom Namespace
- Kubectl Exec: How to Execute Shell Commands Into a Container (With Examples)
FAQs
Q1: Why am I getting an error saying "tar: executable file not found"?
The kubectl cp command requires the tar binary to be present inside the container you are copying to or from. If you are using a distroless or very minimal image (like alpine without tar), this command will fail.
Q2: Can I copy directories recursively?
Yes. kubectl cp behaves similarly to the standard cp -r command. If you specify a directory path, it will copy the directory and its contents recursively.
Q3: Does kubectl cp preserve file permissions?
By default, kubectl cp attempts to preserve file permissions, but this depends on the user ID running the command and the user ID inside the container. You may need to adjust ownership (using chown) after copying if permissions are critical.
Q4: Can I use wildcards (like *.log) with kubectl cp?
No, kubectl cp does not natively support wildcard expansion for remote files. You must specify the exact file path or copy the entire directory.


Discussion