


Highlights
- Blueprint vs. Instance: A Docker image is a static blueprint containing all dependencies, while a container is the actual running instance of that image.
- Attached vs. Detached: The docker run command defaults to attached mode (showing logs), but the
-dflag allows containers to run in the background. - Interactive Access: Using the
-itflags combined with a shell path (like/bin/bash) allows you to enter and manage a container's internal environment. - Port Mapping: Containers are isolated by default; the
-pflag is required to map host ports to container ports for external access. - Automatic Pulling: If an image is not found locally, the Docker daemon will automatically attempt to pull it from Docker Hub before execution.
Have you ever struggled to get your application to run smoothly across different environments, from your local laptop to a production server? It's a common challenge in software development.
Fortunately, there’s a solution to this challenge — containerization.
With containerization, you can package your application and all its dependencies into a self-contained unit called a container. You can then deploy this container on any computer with a container runtime (a piece of software) installed. No need to worry about dependency conflicts or operating system differences. Instead, you can focus on writing code and building great products.
In this blog post, I'll show you how to run docker image files as containers, so you can start taking advantage of containerization in your own projects.
But before we dive into the details, let's establish a common understanding of the terms "image" and "container".
What Is a Docker Image?
A Docker image is a package that includes everything - application code, libraries, dependencies, and the runtime environment - needed to run an application.
To better understand a Docker image, you can think of it as a blueprint for a container. Just like a blueprint provides a set of instructions for how to construct a building, a Docker image provides a set of instructions for how to create a container.
Once you have a Docker image, you can use it to create one or more Docker containers that house the application.
So, what are containers?
What Is a Container?
An image is a static file that serves as a blueprint for creating a container. A container is a running instance of an image.
Think of it like a recipe for a cake — the recipe tells you what ingredients you need and how to combine them to make the cake, but it's not the same thing as the cake itself. Similarly, an image tells you what software and dependencies are needed to run an application, but it's not the same thing as the running application itself.
When you create a container from an image, any application that is included in the image runs inside the container. The container provides an isolated environment for the application to run in. This means you can be confident that the application will run the same way regardless of the environment it's deployed in.
Now that we have a better understanding of what Docker images and containers are, let's move on to the next step — learning how to create a container from a Docker image.
Try the Docker Run Lab for free

Prerequisites for Running a Docker Image
To run a Docker image, use KodeKloud’s Docker Playground. The advantage? You don't have to set up anything. With one click, you get almost instant access to a Docker environment that is accessible in your web browser.
Sign up to KodeKloud to get instant access to the Playground and the free course, Docker for absolute beginners.
Alternatively, you can use Docker Desktop. If you don’t have a Docker Desktop, make sure to download and install it on your system first. You can find the official installation guide by following this link.
3 Ways to a Run Docker Image
#1 Run a Docker Image in Attached Mode
You can run a Docker image as a container using the following command:
docker run <image-name-or-image-id>Let’s understand the different parts of this command:
- docker: This is the command-line interface (CLI) for interacting with the Docker daemon.
- run: This is the actual command you want to execute.
- <image-name-or-image-id>: This is the name or ID of the image that you want to run as a container.
Note that the command runs the container in the foreground and attaches the terminal to the container. We run a container in attached mode when developing an application and want to view its logs.
Now that we understand the different parts of the docker run <image-name-or-image-id> command let's run an "nginx" image. Go ahead and execute the following command on your terminal:
docker run nginxYou should see an output similar to this:
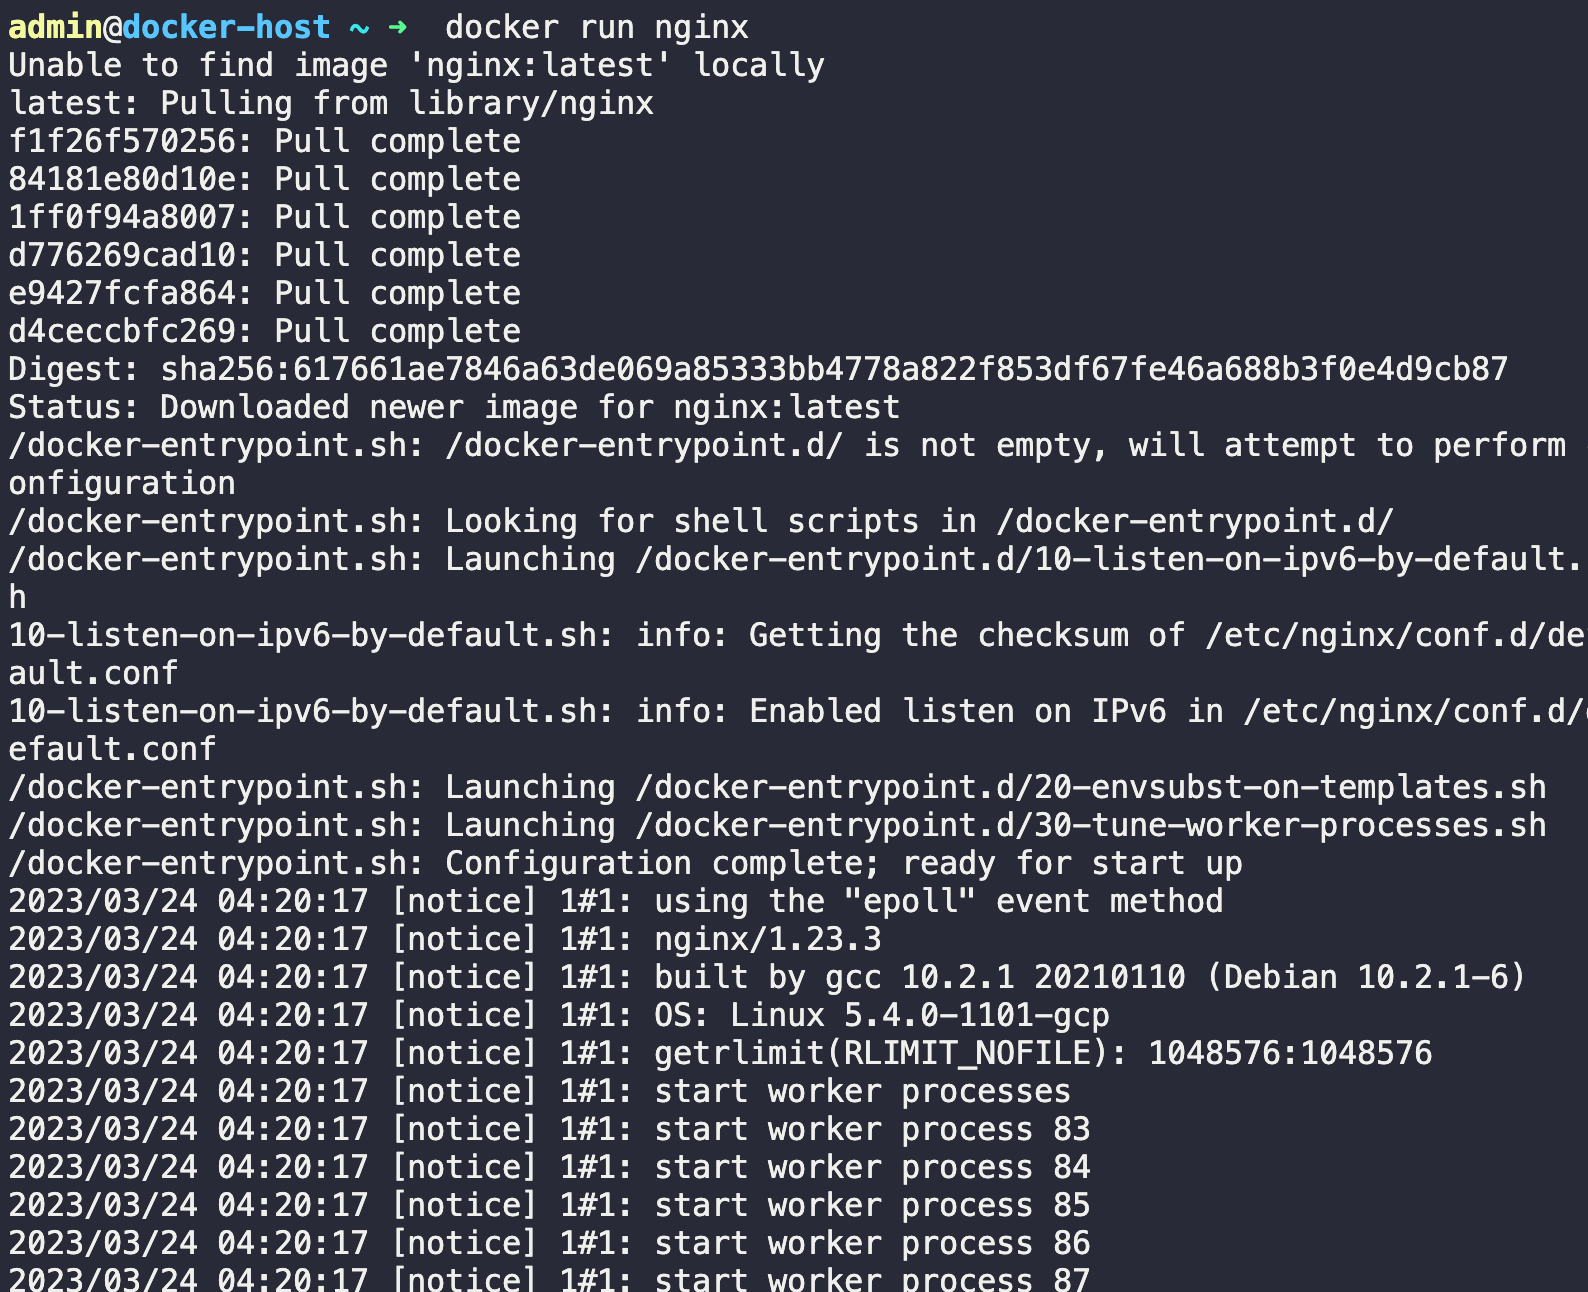
Please note that the screenshot above represents a shortened version of the complete output.
Let’s understand what really happened under the hood when you executed the command above.
- When you type the command "docker run nginx" and hit Enter, the Docker client (docker) packages up the command as an HTTP request and sends it to the API server running in the Docker daemon.
- The API server received the HTTP request and processed it. It started by searching the Docker host's local image repository to see if it already had a copy of the requested "nginx" image.
- The API server did not find the image in the local cache of the Docker host. So, it sent a request to Docker Hub (the default storage location for Docker images) to see if it could find the "nginx" image there.
- The API server found the "nginx" image in Docker Hub, pulled it, and then stored it in its local cache.
- Lastly, the API server created and started a new container based on the "nginx" image.
To learn more about Docker client and Docker daemon, read the blog post, Docker Architecture Explained: Docker Client, Docker Daemon & Docker Registry.
We now have a running container with an "nginx" web server inside. However, we have a problem: You can’t run any other commands in the terminal because the container is attached.
You have two options to run other commands in your terminal. You can either:
- Stop the running container: You can press "Ctrl + C" (while on your terminal session) to stop the container and detach from it. This will bring you back to your local terminal, where you can run other commands.
- Run the container in detached mode: You can stop it and then run it in detached mode by adding the
-dflag to thedocker runcommand.
#2 Run a Docker Image in Detached Mode
Detached mode lets you start the container and let it run in the background while you continue working on other tasks in your terminal.
To run a container in detached mode, you use the -d flag with the docker run command. For example, the following command starts an instance of the "nginx" web server in detached mode:
docker run -d nginx
The long string you see in the terminal is the container ID.
To verify if the container is running, we can use the "docker ps" command, which will list all the running containers.

Before we move on to the next section, let's make sure we stop the running "nginx" container using the docker stop command.

Note that we can use the docker attach command to switch a container running in a detached mode in the background to a container running in an attached mode in the foreground. The command is primarily used to attach your local terminal session to a running container's console, allowing you to see the output of the container's process.
#3. Run a Docker Image in Interactive Mode
Sometimes you'll need to get inside a Docker container to perform tasks such as installing software packages or troubleshooting a running container.
How can you do that? One way is to use interactive mode.
When running a container in interactive mode, you can access the container’s shell. A shell is basically a command-line interface that allows you to communicate with the operating system by entering text commands. Using the shell, you can run commands and interact with the container as if you were working on your local computer's terminal.
To run a Docker image in interactive mode, you can use the -it flag with the docker run command, followed by the name of the image you want to run.
Note that the -it flag is a combination of two separate flags: -i and -t.
The -i flag stands for "interactive." It ensures that you can type and run commands on the container’s shell. The -t flag stands for "TTY," which refers to the ability to emulate a terminal inside a container. It makes it easier to read and interact with the container's output.
For example, to run an instance of the "nginx" image in interactive mode, you can use the following command:
docker run -it nginx /bin/bashAbove, "/bin/bash" is the path of the shell executable (a file that contains a program). Because we have specified "bash", the command opens an interactive Bash shell session inside the container running the "nginx" web server.

The output (root@3d3b14d41bb4:/#) that you see is the command prompt of the Bash shell session. You can now execute commands inside the container.
Type ls" at the command prompt, and you will see a list of folders and files inside the "nginx" web server.

Let’s test other commands and see their output. For example, you could try running cd to change to a different directory or cat display a file's contents.
Now, let’s exit the interactive shell session by typing exit. Alternatively, you can use the key combination "Ctrl + D." This will stop the container and return you to the host shell.
For a more comprehensive guide on running containers in interactive mode, be sure to check out this blog post, Docker Exec: How to Enter Into a Docker Container's Shell?
Run a Container and Publish Container Ports
When you run a Docker container, it’s not directly accessible from the host or the outside world. To make the container accessible, you must publish its ports and attach them to the host system.
Publishing ports means mapping a container port to a host port, allowing traffic to flow between them.
For example, if you're running a web server inside a container, you can publish its ports to allow users to access the website through a web browser on their local computer.
To publish ports for a Docker container, you can use the -p flag with the docker run command, followed by the host port and container port separated by a colon.
For example, to publish port 80 of an instance of the "nginx" image running inside a container, you can use the following command:
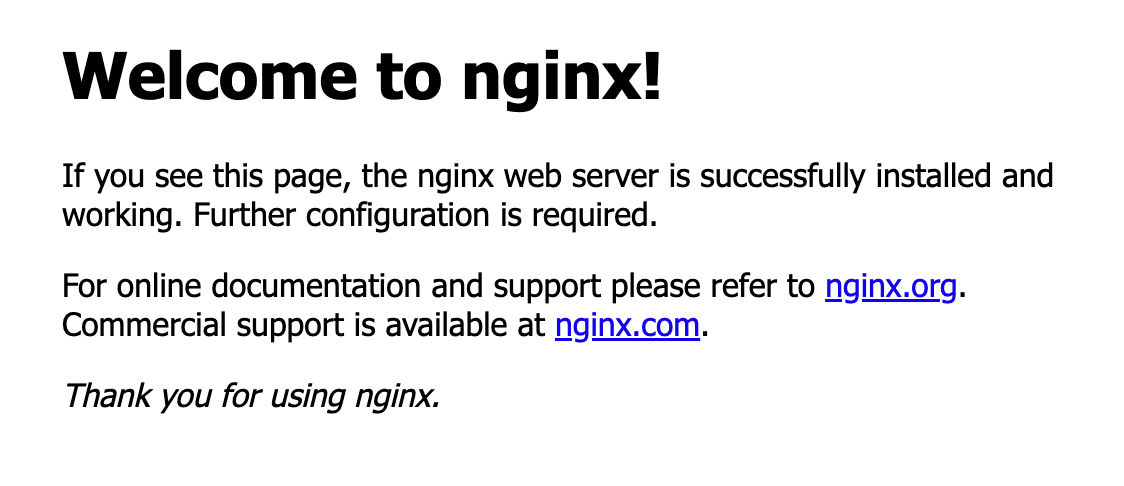
docker run -p 80:80 nginxNote that the format for the -p flag is [host port] : [container port]. The command above maps port 80 of the container to port 80 of the host system.
Now, if you navigate to "http://localhost:80" on your local computer, you’ll see the default "Welcome to nginx!" message. This indicates that the "nginx" web server running inside the Docker container is now accessible.
If you're interested in learning more about Docker and how it can help you streamline your development workflow, be sure to check out the following Docker Learning path:

.webp)
Conclusion
In this blog post, you learned how to run a Docker image as a container in attached mode. You also learned how to run a container in detached mode and interactive mode, as well as how to publish container ports and map them to host ports.
Note that this post has covered some of the most common use cases for the docker run command. There are many more options and arguments that you can use to customize your containers and workflows. To explore the full range of possibilities, check out the official Docker documentation on docker run.
More on containerization:
- How Dockerfile Works
- Container Security Best Practices in DevOps Environments
- Demystifying Container Orchestration: How Kubernetes Works with Docker
- Security & Containerization
- Docker Exec: How to Enter Into a Docker Container's Shell
- Virtualization vs. Containerization: 6 Key Differences
- What Are Docker Image Layers and How Do They Work
FAQs
Q1: What is the difference between -i and -t in interactive mode?
The -i (interactive) flag keeps STDIN open even if not attached, allowing you to send commands to the container. The -t (tty) flag allocates a pseudo-terminal, which formats the output so it looks like a standard terminal window.
Q2: Why does the terminal hang when I run a container without the -d flag?
By default, Docker runs in "attached" mode. This means the terminal stays linked to the container's standard output and error streams. To free up your terminal while the container stays active, use the -d flag for detached mode.
Q3: What happens if I try to run docker image names that don't exist locally?
The Docker daemon will automatically look for the image in the configured registry (usually Docker Hub). If found, it will pull the image to your local machine before executing the run command.
Q4: Why is port mapping necessary when I run docker image containers?
Containers live in an isolated network namespace. Without the -p (publish) flag, the application's port inside the container is unreachable from your host machine's browser or other external tools.
Q5: How do I stop a container that is running in detached mode?
You can stop it by running docker stop <container-id>. You can find the container ID by running the docker ps command.
Q6: Can I use a different shell other than /bin/bash in interactive mode?
Yes, it depends on what is installed in the image. Many lightweight images (like Alpine) use /bin/sh. You can specify the path to any shell executable available within the image.


Discussion