


Highlights
- Secure Tunnels: Learn how Kubernetes port forwarding creates a direct, secure connection between your local machine and a cluster Pod without exposing the Pod to the public internet.
- Troubleshooting: Discover how to effectively debug Kubernetes services by sending local HTTP requests directly to isolated application containers.
- Instant Verification: Use the port forward command to access pod locally and instantly verify your code changes or database queries.
- Syntax Mastery: Understand the exact syntax of kubectl port-forward to map local ports to remote Pod ports effortlessly.
- Tool Comparison: Learn the critical differences between
kubectl port-forward,kubectl proxy, and standard NodePort services.
Kubernetes is a popular container orchestration platform for deploying and managing containerized applications. When you deploy a containerized application to a Kubernetes cluster, it runs inside a Pod. By default, Pods are not exposed to the public internet. If you want to make the application running inside the Pod accessible from outside the Kubernetes cluster, you need to create a Service object.
However, there are scenarios where you might not want to expose your application to the external world using a Service for security reasons. For example, when you want to do some debugging or test the application locally. This is exactly where the kubectl port-forward command comes into the picture.
The "kubectl port-forward" command allows you to forward traffic from your local computer to the Pod housing the containerized application so that you can interact with the application and troubleshoot issues.
In this blog post, we'll learn the fundamentals of Kubernetes networking basics, and specifically how to use Kubernetes port forwarding to route network traffic from our local computer to a Pod running an nginx web server. Let's get started!
What Is Kubectl-Port-Forward & Why Do We Use It in Kubernetes?
kubectl port-forward is a command that enables you to create a secure tunnel between your local computer and a Pod running in a Kubernetes cluster. This allows you to access the application running in the Pod as though it were running locally on your computer.
By using this command, you can interact with resources inside the Pod, making it incredibly useful to test, troubleshoot, and access pod locally when internal resources are not exposed to the outside world.
Try the Kubernetes Services Lab for free
How Does Kubernetes Port Forwarding Work?
If you are new to Kubernetes networking basics, the concept of port forwarding might seem like magic. Here is a breakdown of how it actually works:
- Command execution: You execute the port forward command, specifying the target Pod, local port, and target port.
- Network connection set up: A network connection is set up between your local computer and the target Pod with the help of the Kubernetes API server.
- Forward network traffic: Once the network connection is established, any request made from the local computer is forwarded to the target Pod. Similarly, any response from the application running inside the Pod is forwarded back to your local computer. This allows you to interact with the application and diagnose any issues that may arise.
Don’t worry! We’ll see this in action in the coming sections.
Kubectl Port-Forward Syntax
The syntax of the kubectl port-forward command is straightforward. It is as follows:
kubectl port-forward POD_NAME LOCAL_PORT:REMOTE_POD_PORTkubectl port-forward POD_NAME LOCAL_PORT:REMOTE_POD_PORT
Let's break down the different components of this command:
- kubectl: This is the command-line tool used to interact with Kubernetes clusters.
- port-forward: This is the action that we want to perform with "kubectl".
- POD_NAME: This is the name of the Pod that we want to forward traffic to and from.
- LOCAL_PORT: This is the port number on the local machine that we want to use to establish the connection.
- REMOTE_POD_PORT: This is the port number on the Pod that we want to connect to.
Prerequisites
To follow along with the example in this post, we recommend using KodeKloud’s Kubernetes playground. This playground will provide you instant access to a running Kubernetes cluster with "kubectl" already installed. No need for you to install any software. With just one click, you'll be ready to run the example code snippets and start experimenting right away.
Alternatively, if you prefer to set up your own Kubernetes cluster, you can use a tool such as minikube. Just make sure you have a running Kubernetes cluster with kubectl connected to it.
Set up Port Forwarding With Kubectl
In the example below, we will walk through the process of setting up port forwarding in just two simple steps.
Step 1: Create a Deployment
Open a terminal window and run the following command to create an "nginx" deployment in your cluster. Nginx is a popular open source web server.
kubectl create deployment mynginx --image=nginxHere, "mynginx" is the name of the deployment. You can choose any name you like for your deployment. And "--image=nginx" is the name of the Docker image (in this case, "nginx") used to create the container that will run in the Pod you'll be connecting to.
After executing the command, you should see an output similar to this:

Next, verify that the deployment has been created successfully using the "kubectl get deployments" command.

We can see that the deployment named "mynginx" has been deployed successfully and is now running. Now, let's make sure that the Pod created by the deployment is running too. To check this, run the following command:
kubectl get podsThis command will give you info about all the Pods that are currently running in your cluster, including their names, status, and other useful details. Look for the Pod with a name starting with "mynginx" and ensure that it's in the "Running" state.
The output below shows that the "mynginx-ff886775c-zdrfc" Pod is running successfully. Note that the name of your Pod will be different from ours. That's because Kubernetes creates a Pod name by adding unique characters to the deployment name.

Step 2: Forward a Local Port to a Port on the Pod
Now that we have our "nginx" web server up and running inside a Pod, we need to figure out a way to access it from our local machine.
Replace the <INSERT_POD_NAME> part in the command below with your Pod’s name, then run it to create a route between your local computer and the Pod:
kubectl port-forward <INSERT_POD_NAME> 8080:80After running the command, you’ll see an output similar to the following:

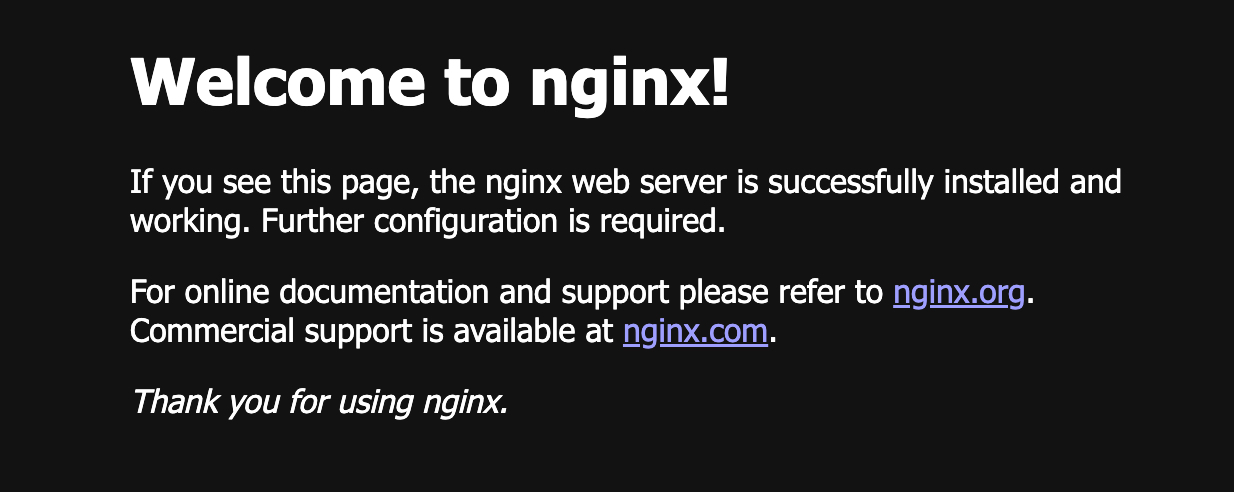
While the terminal session is running, open a web browser and navigate to "http://localhost:8080" to access the "nginx" server running inside the Pod. You should see the default "Welcome to nginx!" page served by the "nginx" web server, indicating that the local request is being forwarded to the Pod.
Congratulations! The port forwarding is working as expected.
Remember that the terminal session where the "kubectl port-forward" command is running must remain open for the port forwarding to continue working. If you close the terminal session, the connection between your local machine and the Pod running the "nginx" web server will be lost, and you won't be able to access the "nginx" web server anymore.
Suppose you want to continue working on the Kubernetes cluster while maintaining the open connection created by the "kubectl port-forward" command. In that case, you should open another terminal window and execute your commands on it.
What Is the Difference Between Kubectl Port-Forward and Nodeport?
The kubectl port-forward command lets you forward network traffic from a local port on your computer to a port on a Kubernetes Pod. The idea is to make the application accessible only to you (the kubectl user), not the outside world. It is typically used for testing and to debug Kubernetes services. It is not a production-ready feature.
It’s also important to understand that kubectl port-forward is typically used for testing and debugging purposes. It’s not a production-ready feature.
NodePort, on the other hand, is a type of Kubernetes Service. It is a way to expose an application to external clients outside of the Kubernetes cluster.
When you create a NodePort Service, Kubernetes opens a port on each worker node in the cluster. These ports can then be used by external clients to access the application.
What Is the Difference Between Kubectl-Proxy and Kubectl Port-Forward?
Kubectl-proxy creates a proxy server between your local computer and the Kubernetes API server. This means that any requests made to the Kubernetes API server by the client are forwarded through the proxy.
The main use case of "kubectl proxy" is to access the Kubernetes API server.
On the other hand, the "kubectl port-forward" command creates a tunnel from a local port on your machine to the target port on the Pod. This is especially useful when you want to access a specific Pod directly, like when debugging an application.
In summary, kubectl proxy is more suitable for general cluster access, while kubectl port-forward is better for targeting specific Pods.
Note: The Kubernetes API server is a web server that exposes the Kubernetes API, which external clients use to communicate with the cluster. For example, you could use the Kubernetes API to get a list of all running Pods in the cluster.
Master Kubernetes skills with our Kubernetes Learning Path:

.webp)
Conclusion
In this blog post, we learned how to use the kubectl port-forward command to forward network traffic from our local computer to a specific Pod in a Kubernetes cluster. We saw how easy it is to set up port forwarding in just a couple of steps and how this can be a valuable tool for local Kubernetes development and testing purposes.
More on Kubernetes:
- How to Collect Kubernetes Events and Extract Values
- How to Fix ImagePullBackOff & ErrImagePull in Kubernetes
- How to Use Kubectl Scale on Deployment
- How to Use Kubectl Config Set-Context
- How to Debug CrashLoopBackOff in a Container or Pod
- Optimizing Kubernetes Clusters for Cost & Performance: Part 1 - Resource Requests
- Deploying, Maintaining, and Scaling Kubernetes Clusters
- Security & Containerization
Q1: What is Kubernetes port forwarding used for?
It is primarily used by developers and administrators to access pod locally without needing to expose the application to the public internet via a Service. It is perfect for testing, troubleshooting, and verifying database connections.
Q2: How exactly does the port forward command work?
When you run kubectl port-forward, the Kubernetes API server acts as a middleman, establishing a secure tunnel that routes HTTP or TCP traffic from a specific port on your local laptop directly to a designated port on the remote Pod.
Q3: Can I use kubectl port-forward in a production environment to route user traffic?
No. This command is strictly a developmental tool used to debug Kubernetes services and applications. For production traffic routing, you should rely on Kubernetes Services like ClusterIP, NodePort, or LoadBalancer.
Q4: What happens if I close the terminal running the command?
The tunnel relies on the active terminal process. If you close the terminal or hit Ctrl+C, the connection will be immediately terminated, and you will no longer be able to reach the Pod on your localhost.
Q5: Do I need an advanced understanding of Kubernetes networking basics to use this?
Not necessarily! While understanding the basics helps, the syntax is extremely simple. As long as you know the name of your target Pod and the port your application is listening on inside that Pod, you can easily execute the command.


Discussion