


Highlights
- The
apt searchcommand allows you to find packages using partial names or keywords. - Running
apt updateensures your local package cache is synchronized with the latest repository metadata. - Search results include both package names and short descriptions to help identify the correct package.
- The
apt showcommand provides detailed information about a specific package before installation. - While both
apt searchandapt-cache searchserve similar purposes,apt searchoffers more readable output.
When you want to install a package on Debian-based Linux distributions using apt, you need to know the exact name of the package. But what if you don’t remember the name? Maybe you remember a portion of a multi-word package name or a few distinct characters. How do you install such a package?
Well, you can use the apt search command to locate it using whatever portion of the name you remember. In this blog post, I'll show you how to use the apt search command to search for packages. Let’s get started!
Prerequisites
To follow along with the examples in this blog post, you'll need access to a Linux operating system.
For the purpose of this blog post, I'll be using Ubuntu as my Linux distribution of choice. Specifically, I will use KodeKloud’s Ubuntu playground, which lets you access a pre-installed Ubuntu operating system in just one click. Best of all, you won't need to go through the hassle of installing any additional software — everything you need is already set up and ready to use.
What Is apt?
apt (Advanced Package Tool) is a package management command-line tool. It's the default package manager for Ubuntu and other Debian-based Linux distributions. A package manager is a program that automates the process of installing, updating, and removing software packages.
Search Packages With Apt Search Command
Let’s say you want to install a package named libreoffice. But you don’t remember its full name. All you remember is that the package name contains the word office. In such a scenario, you can use the apt search command to search for packages that include the term office. Here's how you can do it in two steps:
Step-1: Update the package list
Before you start searching for a package to install, it's crucial to ensure your system's local list of available packages is up-to-date. This list is your system's catalog of every package that can be installed from the repositories it's connected to. However, this list doesn't update itself automatically, and the repositories are continually updated with new packages or versions of existing ones. Hence, the first step before searching for a package is to run the apt update command:
apt updateAfter running this command, you’ll see an output like this:

When you run the apt update command, APT fetches the latest metadata from the repositories and then updates the local cache with that information. This metadata includes crucial details about each package, such as its name, version, dependencies, and a brief description.
Now that the package list is updated, let's move on to the next step.
Step-2: Search for packages
You can search for packages using the apt search command with the following syntax:
apt search <search-term>In this command, the <search-term> is a placeholder for whatever term you're interested in searching. The command will then search the names and descriptions of all the packages in the local cache for instances of the <search-term>, and will return a list of matching packages.
Now, run the following command:
apt search officeAfter running this command, you’ll see an output like this:

Note that the screenshot above only displays a portion of the total output.
The output contains a long list of package names with brief descriptions. You must scroll through the list to locate the specific package you want to install.
If you are unsure about the correct package to install, you can use another command called apt show <package-name> to view more details about the package. For instance, if you want more information about the package called libreoffice, run the following command:
apt show libreofficeAfter running this command, you’ll see various details (as shown below) about the libreoffice package, such as its version, size, description, and any other packages it depends on for proper functionality.

Once you have determined the package you want to install, you can proceed with the installation by using the apt install command.
Difference Between apt search and apt-cache search
Both apt search and apt-cache search are used to search the local package cache for packages that match a given search term. They serve the same basic function and will typically provide similar results.
However, there are a few differences between these two commands, mostly related to how they display their results and the fact that apt is a newer tool.
apt search provides a more human-readable output than apt-cache search. The apt search command displays its results in a cleaner, more organized format. Here’s what the output of the apt search office command looks like:
As you can see, the package names are in green color, which makes them easy to spot.
On the other hand, apt-cache search simply lists the matching package names along with a brief description without any additional formatting:
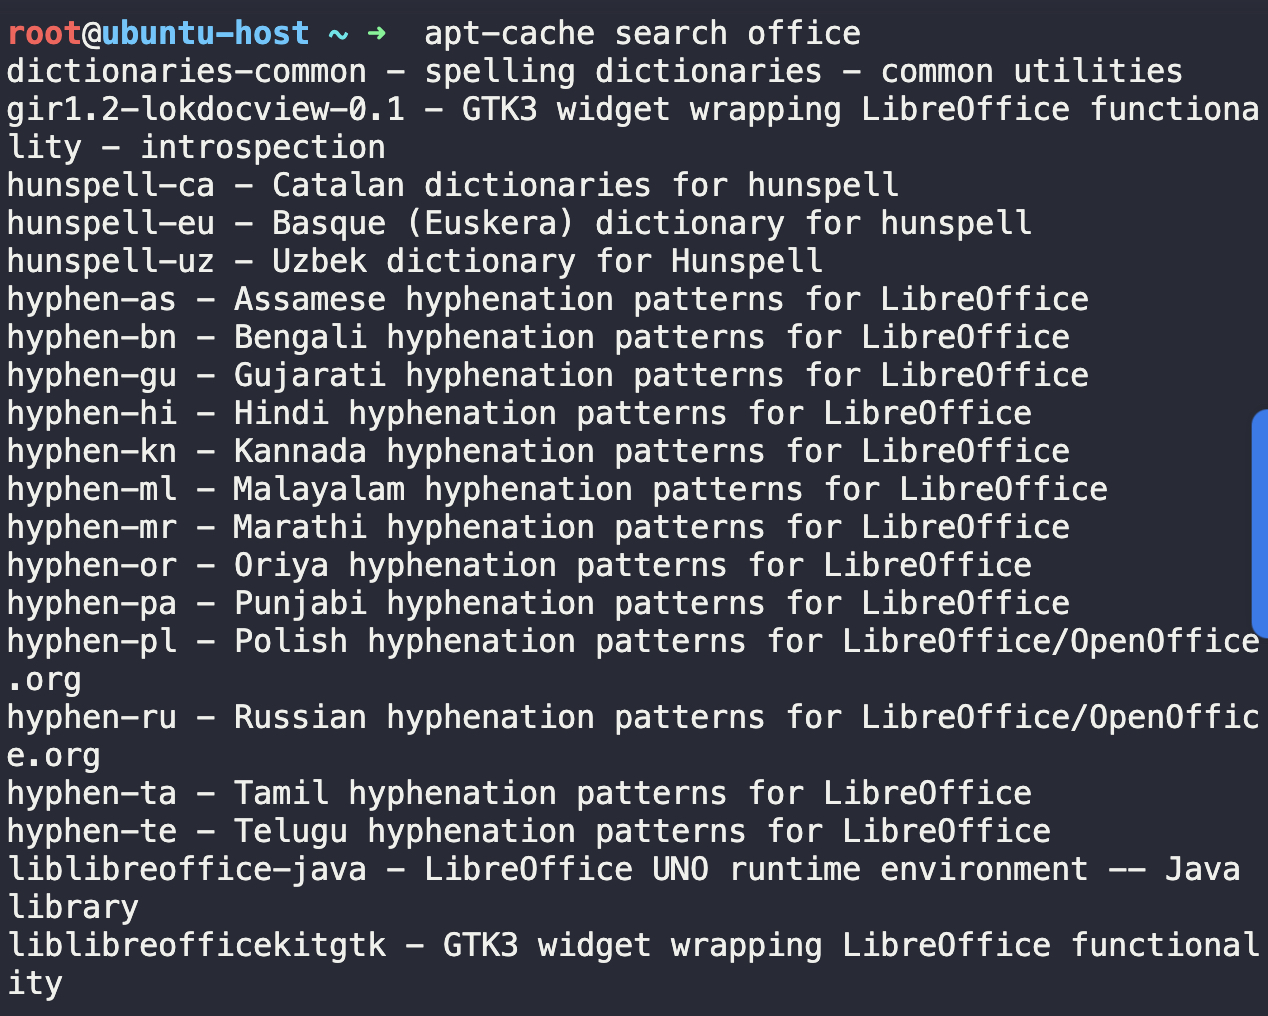
As you can see, the output is in a single colour, which makes it hard to read.
Want to master Linux and its role in DevOps? Check out our Linux Learning Path:

Conclusion
In this blog post, we learned how to use the apt search command to search for packages in Debian-based Linux distributions. We also learned the difference between apt search and apt-cache search commands.
More on Linux:
- How to Check Disk Space on Linux
- How to Remove a Directory in Linux
- How to Terminate or Kill a Process in Linux (Complete Guide)
- How to List All Users in Linux
- How to Rename a Directory in Linux
- How to List All Groups in Linux
- How to Make a Bash Script File Executable in Linux
- How to Find Out When a File Was Created in Linux
- How to Run Shell Script (.sh) Files in Linux
FAQs
Q1: Do I need to run apt update every time before using apt search?
While not mandatory every time, it’s recommended to run apt update regularly to ensure search results reflect the latest available packages.
Q2: Does apt search look only at package names?
No. It searches both package names and their short descriptions stored in the local package cache.
Q3: Why does apt search return so many results?
Because it performs a broad match against names and descriptions, common terms can produce large result sets.
Q4: When should I use apt show?
Use apt show after identifying a potential package to review its details before installation.
Q5: Is apt-cache search deprecated?
It is not deprecated, but apt search is generally preferred due to its improved output and usability.
Q6: How does apt search fit into everyday [keyword] usage?
Being able to locate packages efficiently with apt search is a core part of [keyword], especially when managing software on Debian-based systems without knowing exact package names.


Discussion