Container Registry is a repository for storing Container Images. You can use the Container Registry to pull images locally, as well as push new Container Images up to it. By default, DockerHub will be used when you don’t declare the Container Registry expressly. You can host a Container Registry, build and push Container Images onto it, and other interesting features for more.
In addition, if you want to build and operate the projects with the DevOps processes, especially continuous integration and continuous delivery (CI/CD), you absolutely l need an indispensable ingredient: Container Registry. For instance, the CI tool such as Jenkins, or Circleci first builds and pushes a new image to the registry server then the CD tool such as ArgoCD, or Flux will update this new image to the YAML manifest, and eventually, Kubernetes will pull this image and run it.
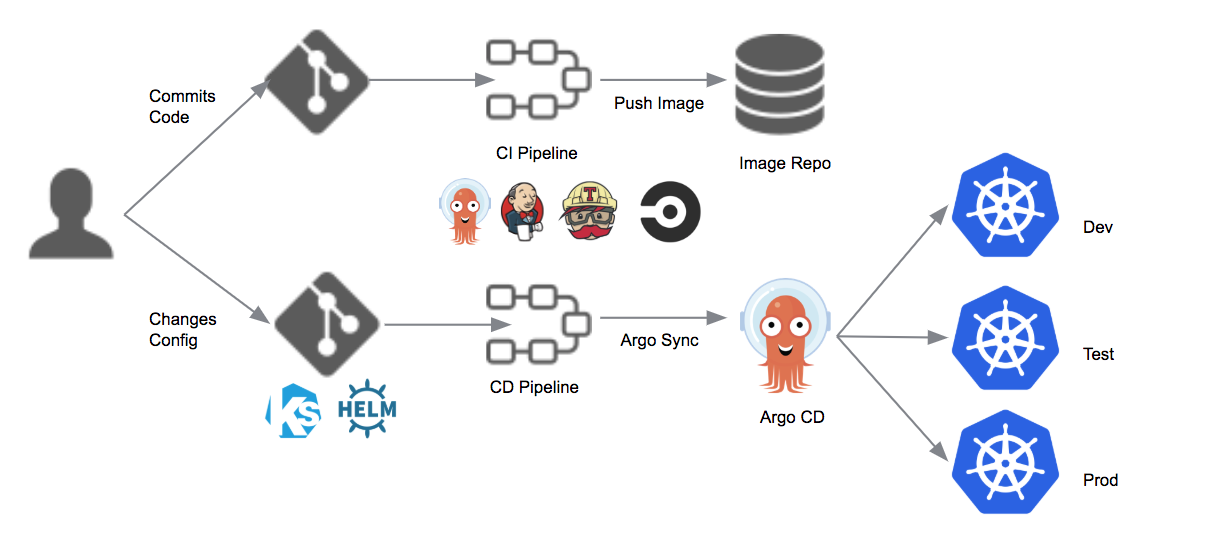
Image via e2enetworks
What is Harbor and why use it?
Harbor is an open-source Container Registry, which keeps the Container Images private and reduces dependence on other sources. At the moment, I’m using Harbor for managing all Images that are running on many different Kubernetes clusters. Harbor makes it possible to host the Container Registry by yourself with a variety of nice features.
Here are some highlight reasons:
-
An open-source registry
-
Web UI for managing multiple projects with role-based access control.
-
Harbor is one of Cloud Native Computing Foundation Graduated projects with Kubernetes, Argocd, and Prometheus,…
We have 2 ways to install Harbor: Installation with docker-compose and Helm on Kubernetes. From my experience, we should use docker-compose and install it on a separate virtual machine that has public IP. Because we can use the registry server for multiple Kubernetes clusters and we also don’t want the registry server and the applications running on Kubernetes to have mutual influence.
Note:
Ubuntu version 18.04.6
Docker version 20.10.7 and docker-compose version 1.29.2
Harbor version 1.10.17
Prerequisites:
Basic knowledge of Docker and docker-compose.
Ubuntu server for hosting Harbor.
Understanding point domain to host and setup SSL.
Harbor Installation
To install Harbor, we will:
- Install Docker and docker-compose.
- Install Harbor.
- Test it with build, push, pull Container Images.
Step 1 - Installing Docker and docker-compose
You can follow this document for installing Docker and docker-compose or follow my steps below:
First, we can install Docker with these commands:
$ sudo apt-get update
$ sudo apt-get install docker.io
Then, verify it by command:
$ docker --version
The following output as:

At this point, we can install docker-compose. As I mentioned above, we will use docker-compose version 1.29.2. Even though from the end of June 2023 Compose V1 is not supported anymore, I want to keep it simple and focus on installing Harbor not docker-compose now. Maybe we will have the docker-compose installation in another blog later.
To download it, run the following command:
$ sudo curl -L "https://github.com/docker/compose/releases/download/1.29.2/docker-compose-$(uname -s)-$(uname -m)" -o /usr/local/bin/docker-compose
Next, set the correct permissions so that the docker-compose command is executable:
$ sudo chmod +x /usr/local/bin/docker-compose
To verify that we have installed it successfully, run this command:
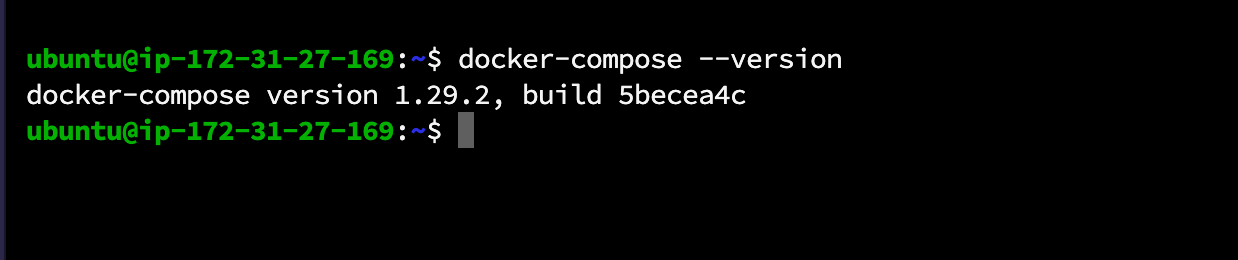
$ docker-compose --version
The following output as:
Step 2 - Harbor Installation
After setting up the Harbor installation prerequisites, we can install Harbor now. Let’s go to the Harbor releases page and download the version you want. At the time of this writing, the most current stable version is 1.10.17, referring to the Harbor releases page.
Let’s download this version by executing:
$ wget https://github.com/goharbor/harbor/releases/download/v1.10.17/harbor-online-installer-v1.10.17.tgz
Then, use tar to extract the installer package:
$ tar xzvf harbor-online-installer-v1.10.17.tgz
Navigate to it:
$ cd harbor
Update the config file by editing harbor.yaml file:
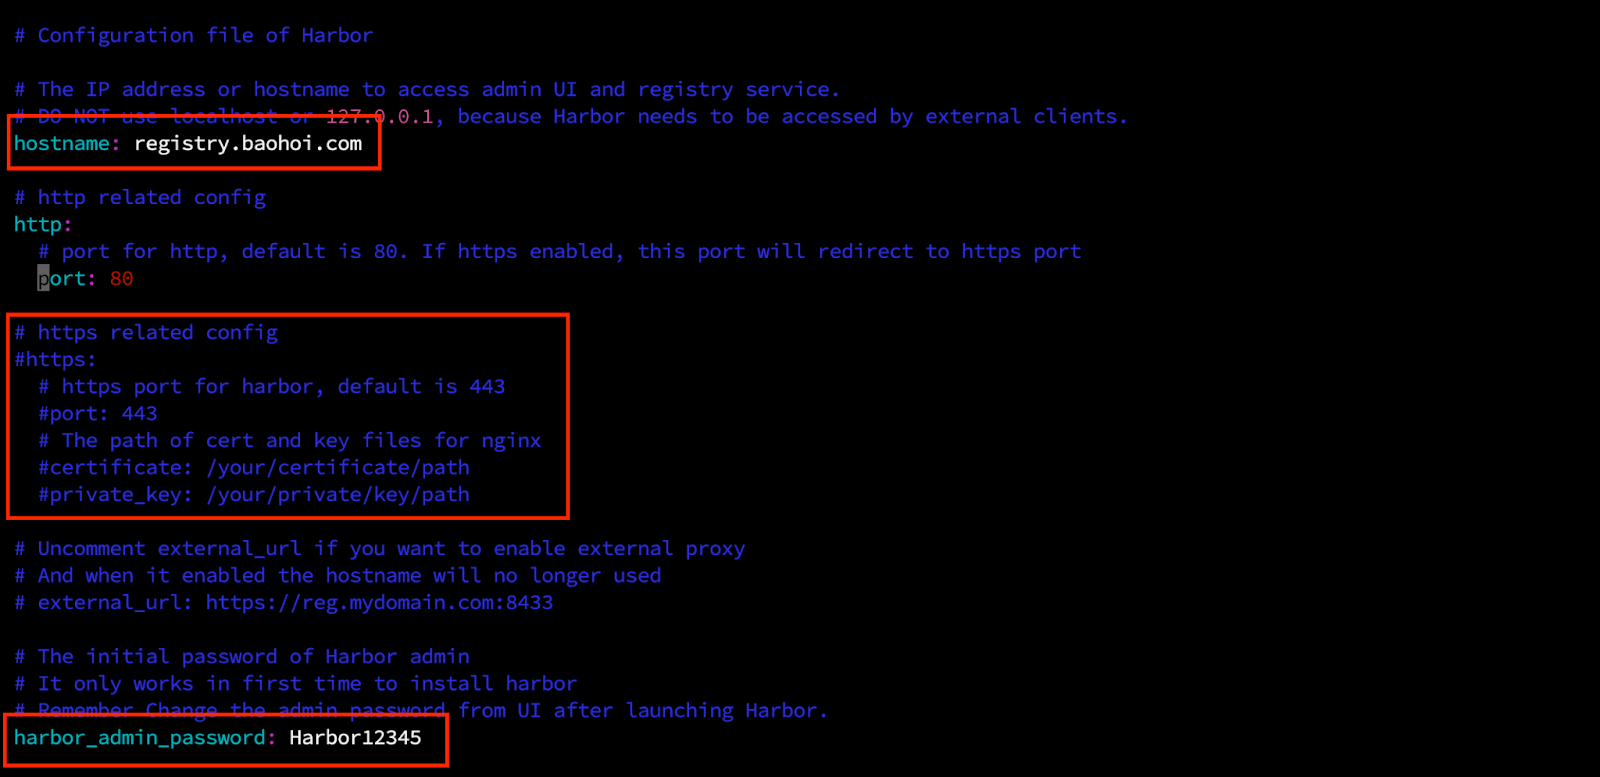
At this point, we have to update the hostname key to your domain. You can refer to this document for a setup https connection with your SSL, because this is skipped here to be more simplified. In addition, we also can change the default user password as needed.
After that, run the install.sh scrip:
$ sudo ./install.sh
The following output as:
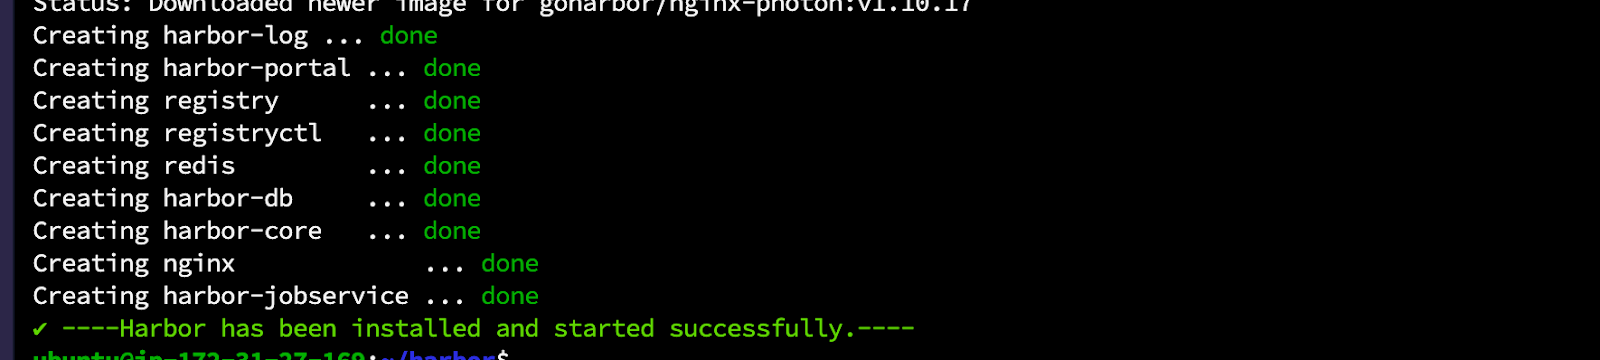
Finally, I have installed Harbor successfully and we can access the GUI Harbor now with the domain we have used, here is http://registry.baohoi.com.
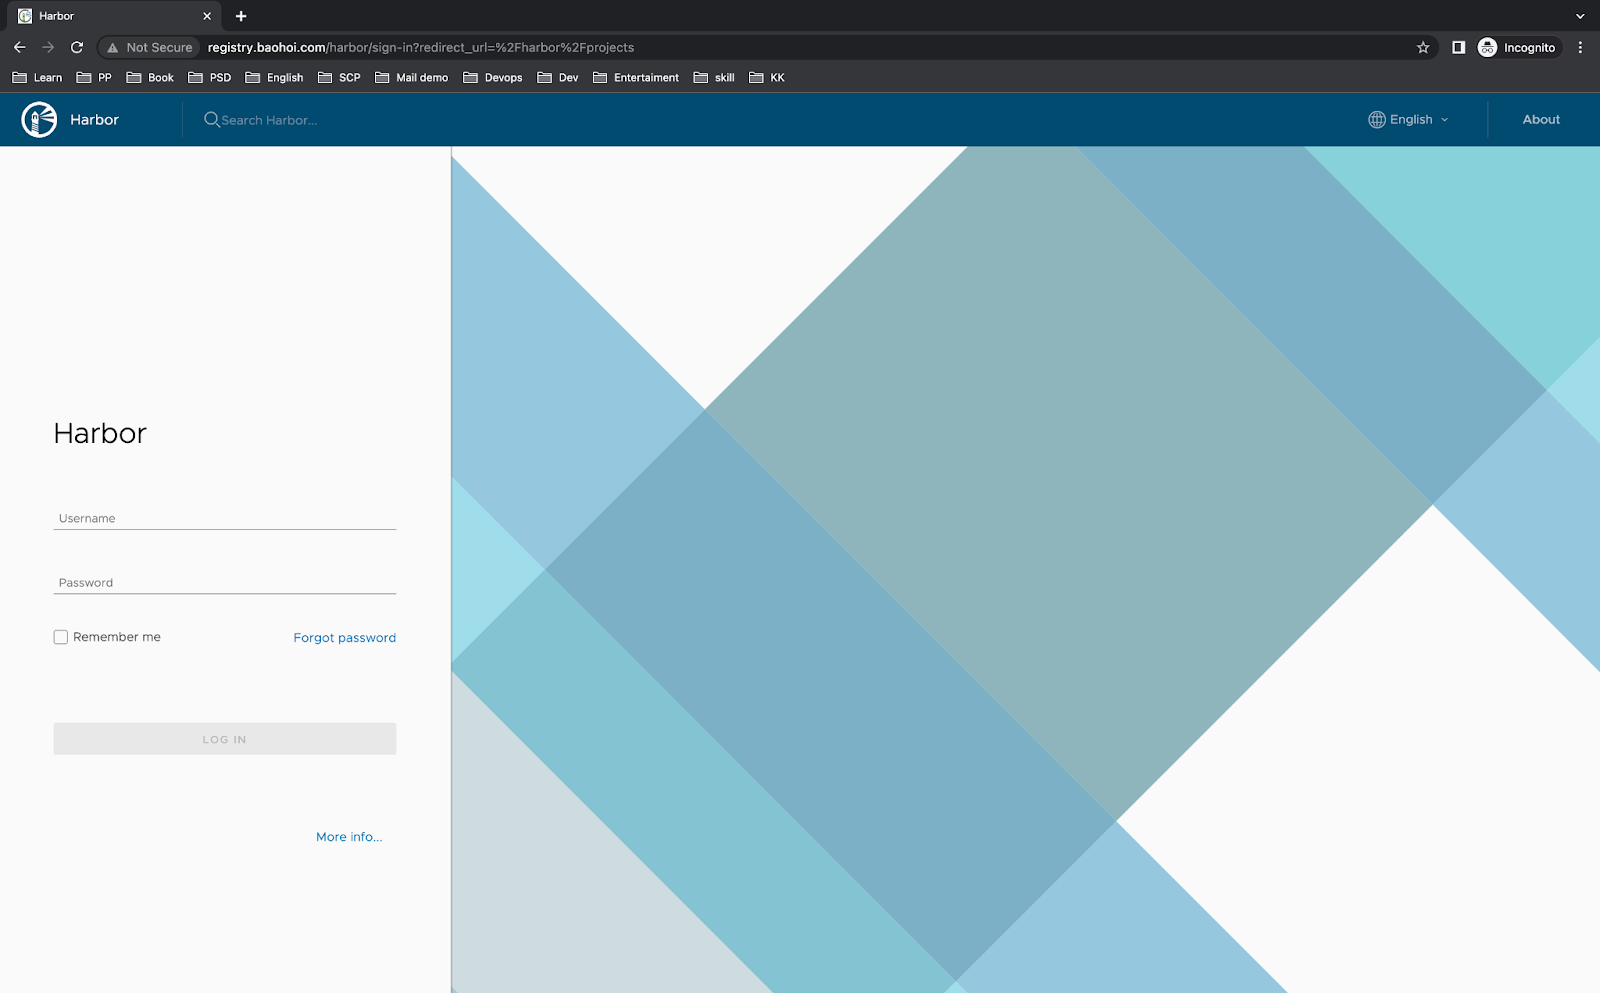
Login with user admin and default password Harbor12345 (You should change it by editing harbor.yaml file above).
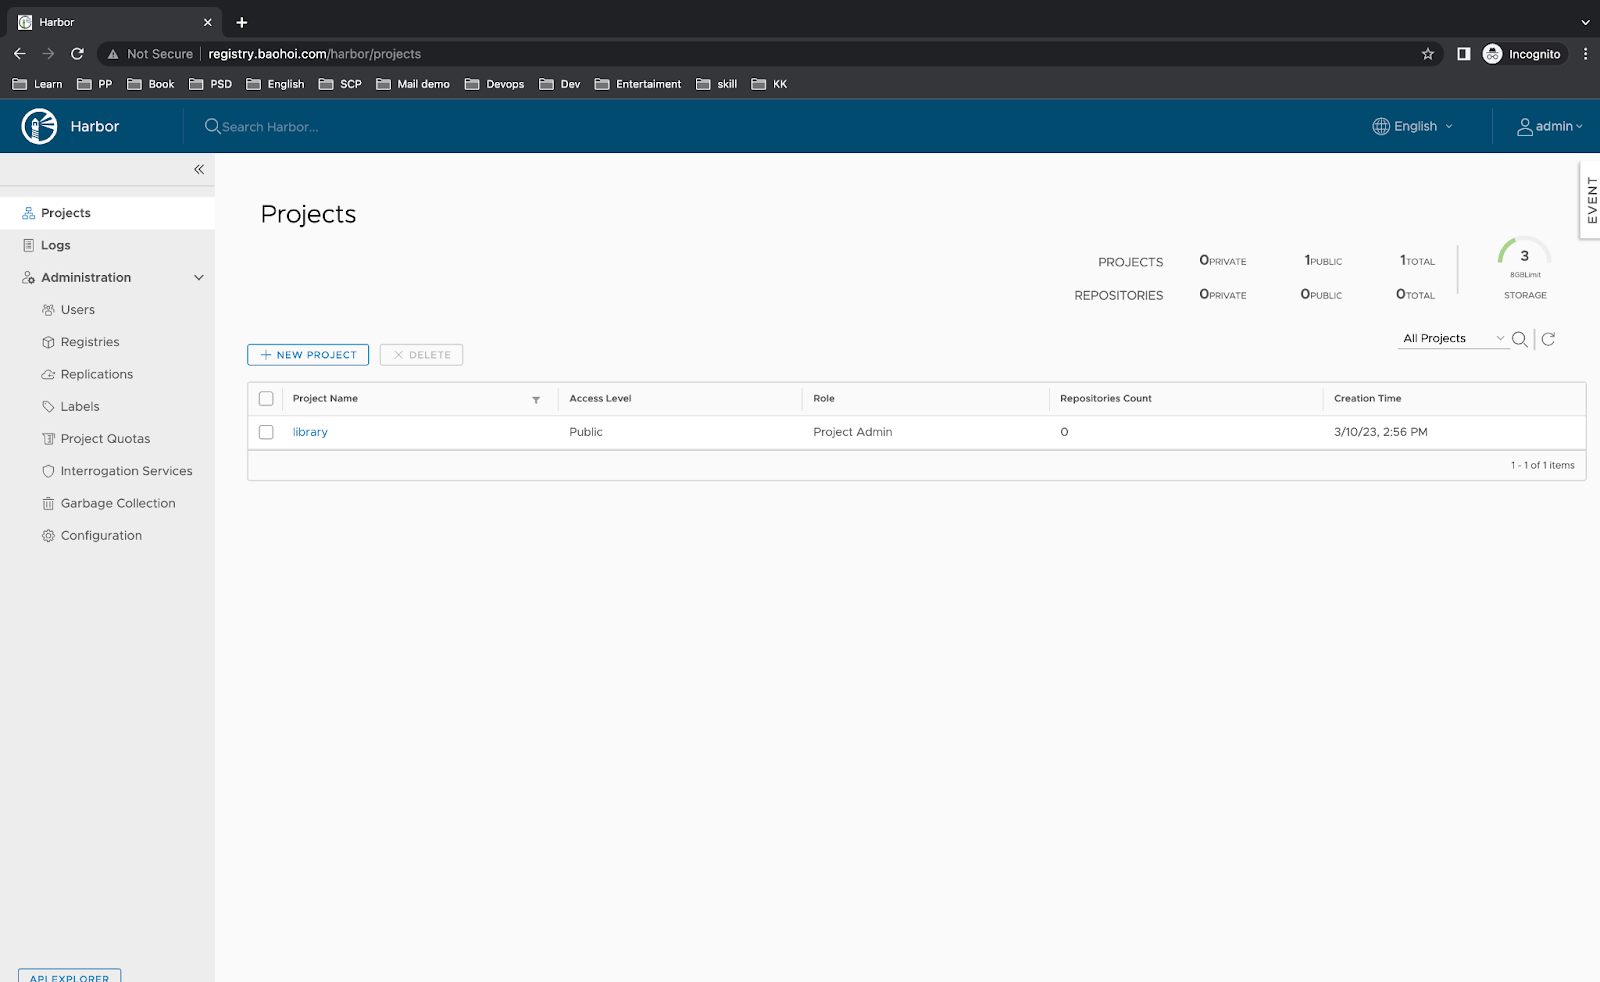
Step 3 - Test it with push and pull Images
In this step, first, we need to create a private project by clicking the NEW PROJECT button and the popup will be shown.
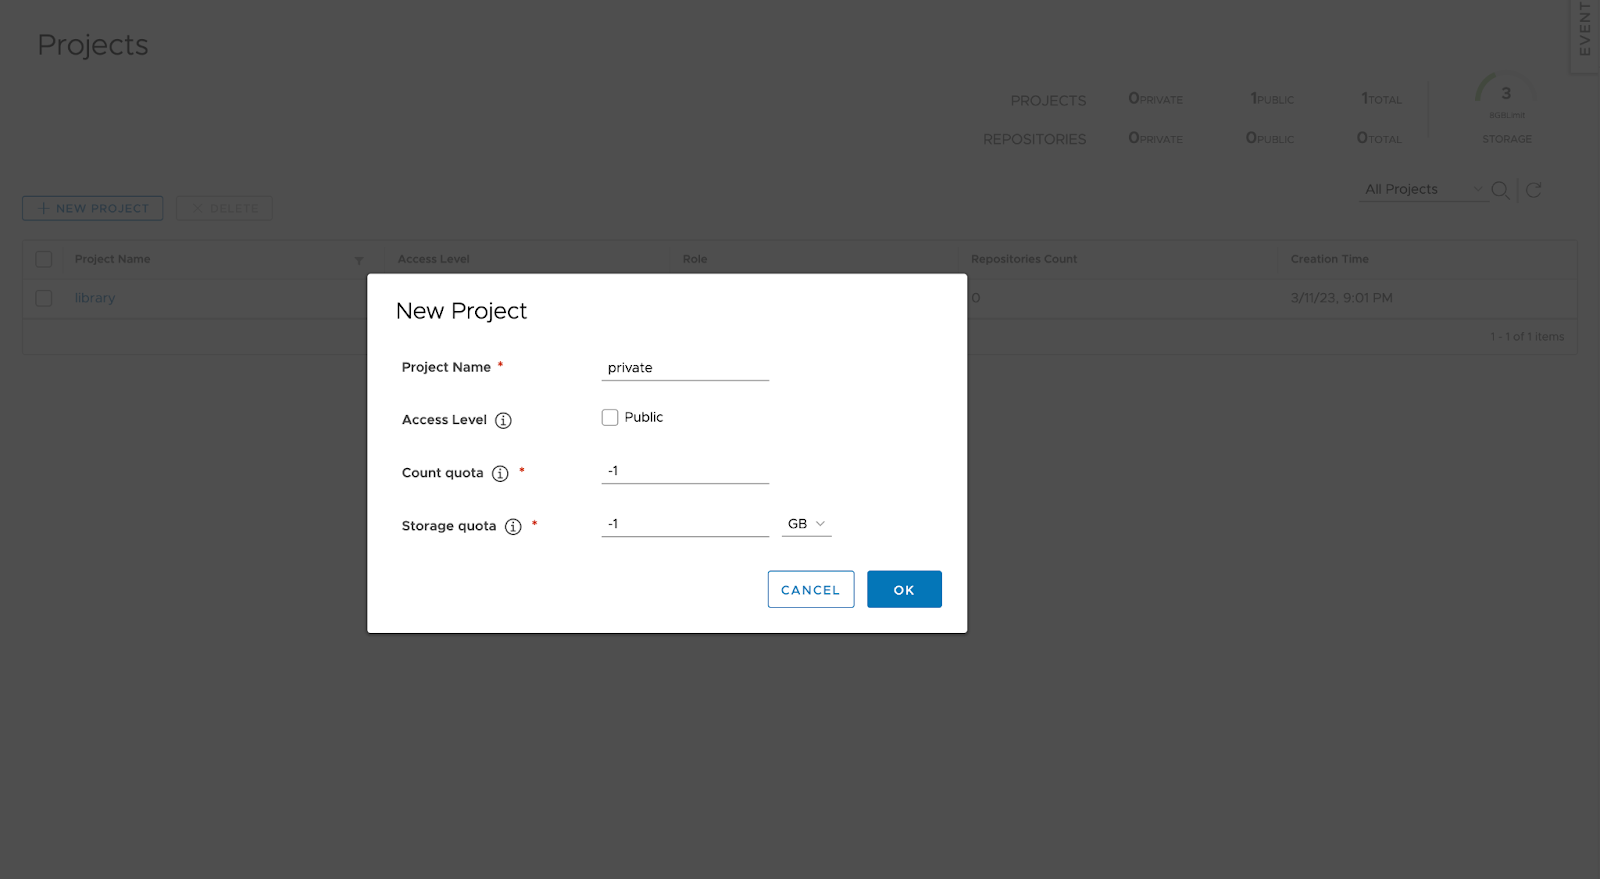
If you want your project to be public, you can set Access Level by checking onto the checkbox Public.
Just in case, you don’t want to set up SSL and just need an insecure registry for testing, you can refer to this link.
Then you can push your Docker Image with these steps:
1 - Login to this Container Registry in Docker client by running the command:
$ sudo docker login registry.baohoi.com
And input username and password.

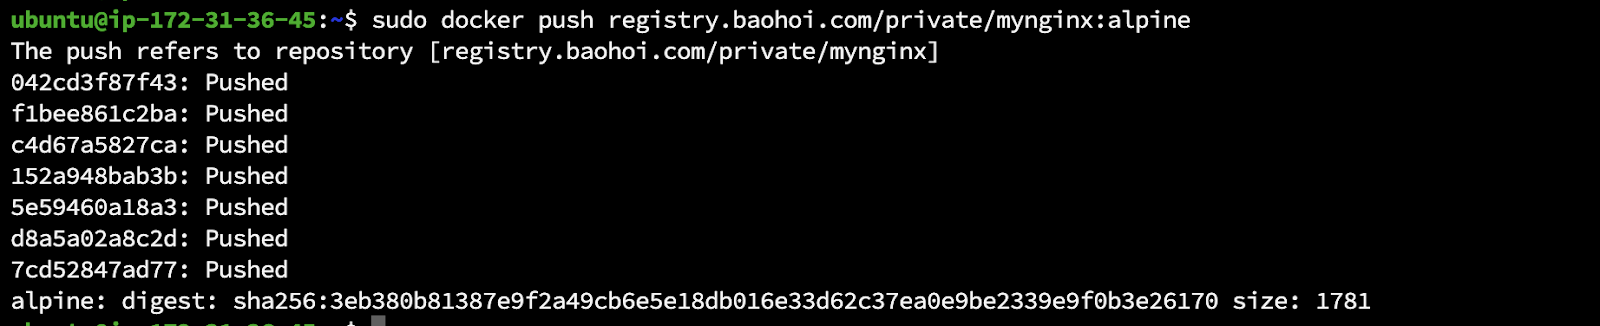
2 - Push Docker Images to this Registry, for example, we will push nginx:alpine image:
$ sudo docker tag nginx:alpine registry.baohoi.com/private/mynginx:alpine
$ sudo docker push registry.baohoi.com/private/mynginx:alpine
The following output as:
On Harbor, it will be like this:
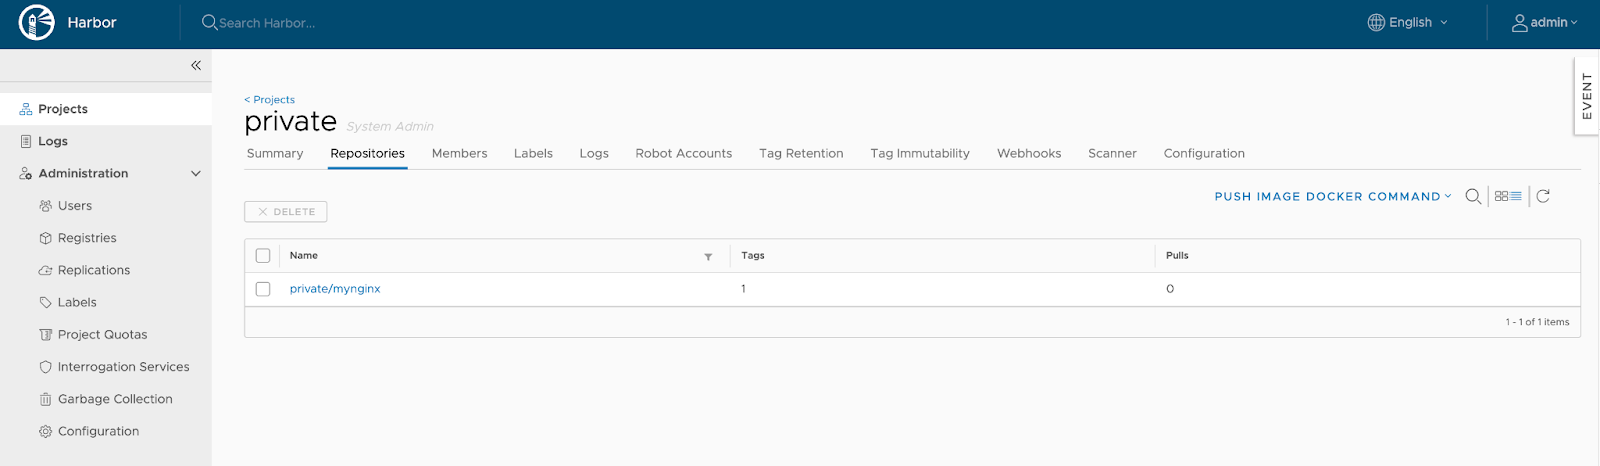
Now you can see we have pushed an Image to Harbor. Whenever we need to use it, we just need to pull this Image with the command as:
$ sudo docker pull registry.baohoi.com/private/mynginx:alpine
Or run it by executing:
$ sudo docker run registry.baohoi.com/private/mynginx:alpine
Finally, we have installed Harbor successfully and the core features are working well. In addition, it is managed by docker-compose which is a popular and convenient tool for everyone.
Hoping now you have known how to deploy your own Container Registry with Harbor. You also can discover some other awesome features such as managing role-based access control, server account, and garbage collection,… In my next blogs, I will show some usages in which we will need these features and see the benefit of it.