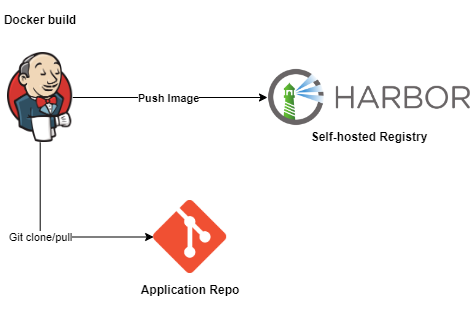
In this web post, I want to share how I use Jenkins to build pipelines. From the previous article, you have known how to build a self-hosted registry and use Docker to build and push the images we want to deploy. Today, we will use Jenkins to do the same thing automatically. At the end of this tutorial, you will have an overview of Jenkins and use it to build and push images in just one click.
What is Jenkins?
Jenkins is an open-source automation server that automates all sorts of tasks related to building, testing, and delivering or deploying software. Jenkins is Java-based, it can be installed through native system packages, Docker, or even makes a standalone run by any machine with a Java Runtime Environment (JRE) installed. Because it is the leading open-source automation server, Jenkins provides hundreds of plugins to support building, deploying, and automating.
Note:
Ubuntu version 18.04.6
Docker version 20.10
Jenkins version 2.387.1
The domain *.baohoi.com is just for demonstration, please use your own domain or IP.
Prerequisites:
Basic knowledge of Docker.
Ubuntu server for Jenkins, or you can use KodeKloud playground to skip this step.
Container Registry for pushing images, or you also can use any suitable for you. Here I will use Harbor which was set up in the previous blog.
Jenkins Installation
In the document, you can deploy Jenkins in multiple ways such as Linux, Docker, Kubernetes,…
In this article, I will use Docker and run a Jenkins container on a Ubuntu server.
For the first thing , we need to install Docker with these commands:
$ sudo apt-get update
$ sudo apt-get install docker.io
Then, verify it by the command:
$ docker --version
The following output as:

At this point, we run the Jenkins container by executing:
$ sudo docker run \
--name jenkins-docker \
--restart=always \
--privileged -d -u root \
-p 8080:8080 \
-v jenkins-data:/var/jenkins_home \
-v /var/run/docker.sock:/var/run/docker.sock \
-v /usr/bin/docker:/usr/bin/docker \
jenkins/jenkins:2.387.1-lts
To verify that we have installed it successfully, run this command:
$ sudo docker ps
The following output as
Now we access the Jenkins UI and set up the first pipeline. If you run this container locally you can browse to http://localhost:8080, otherwise you browse to http://YourVmIP:8080.
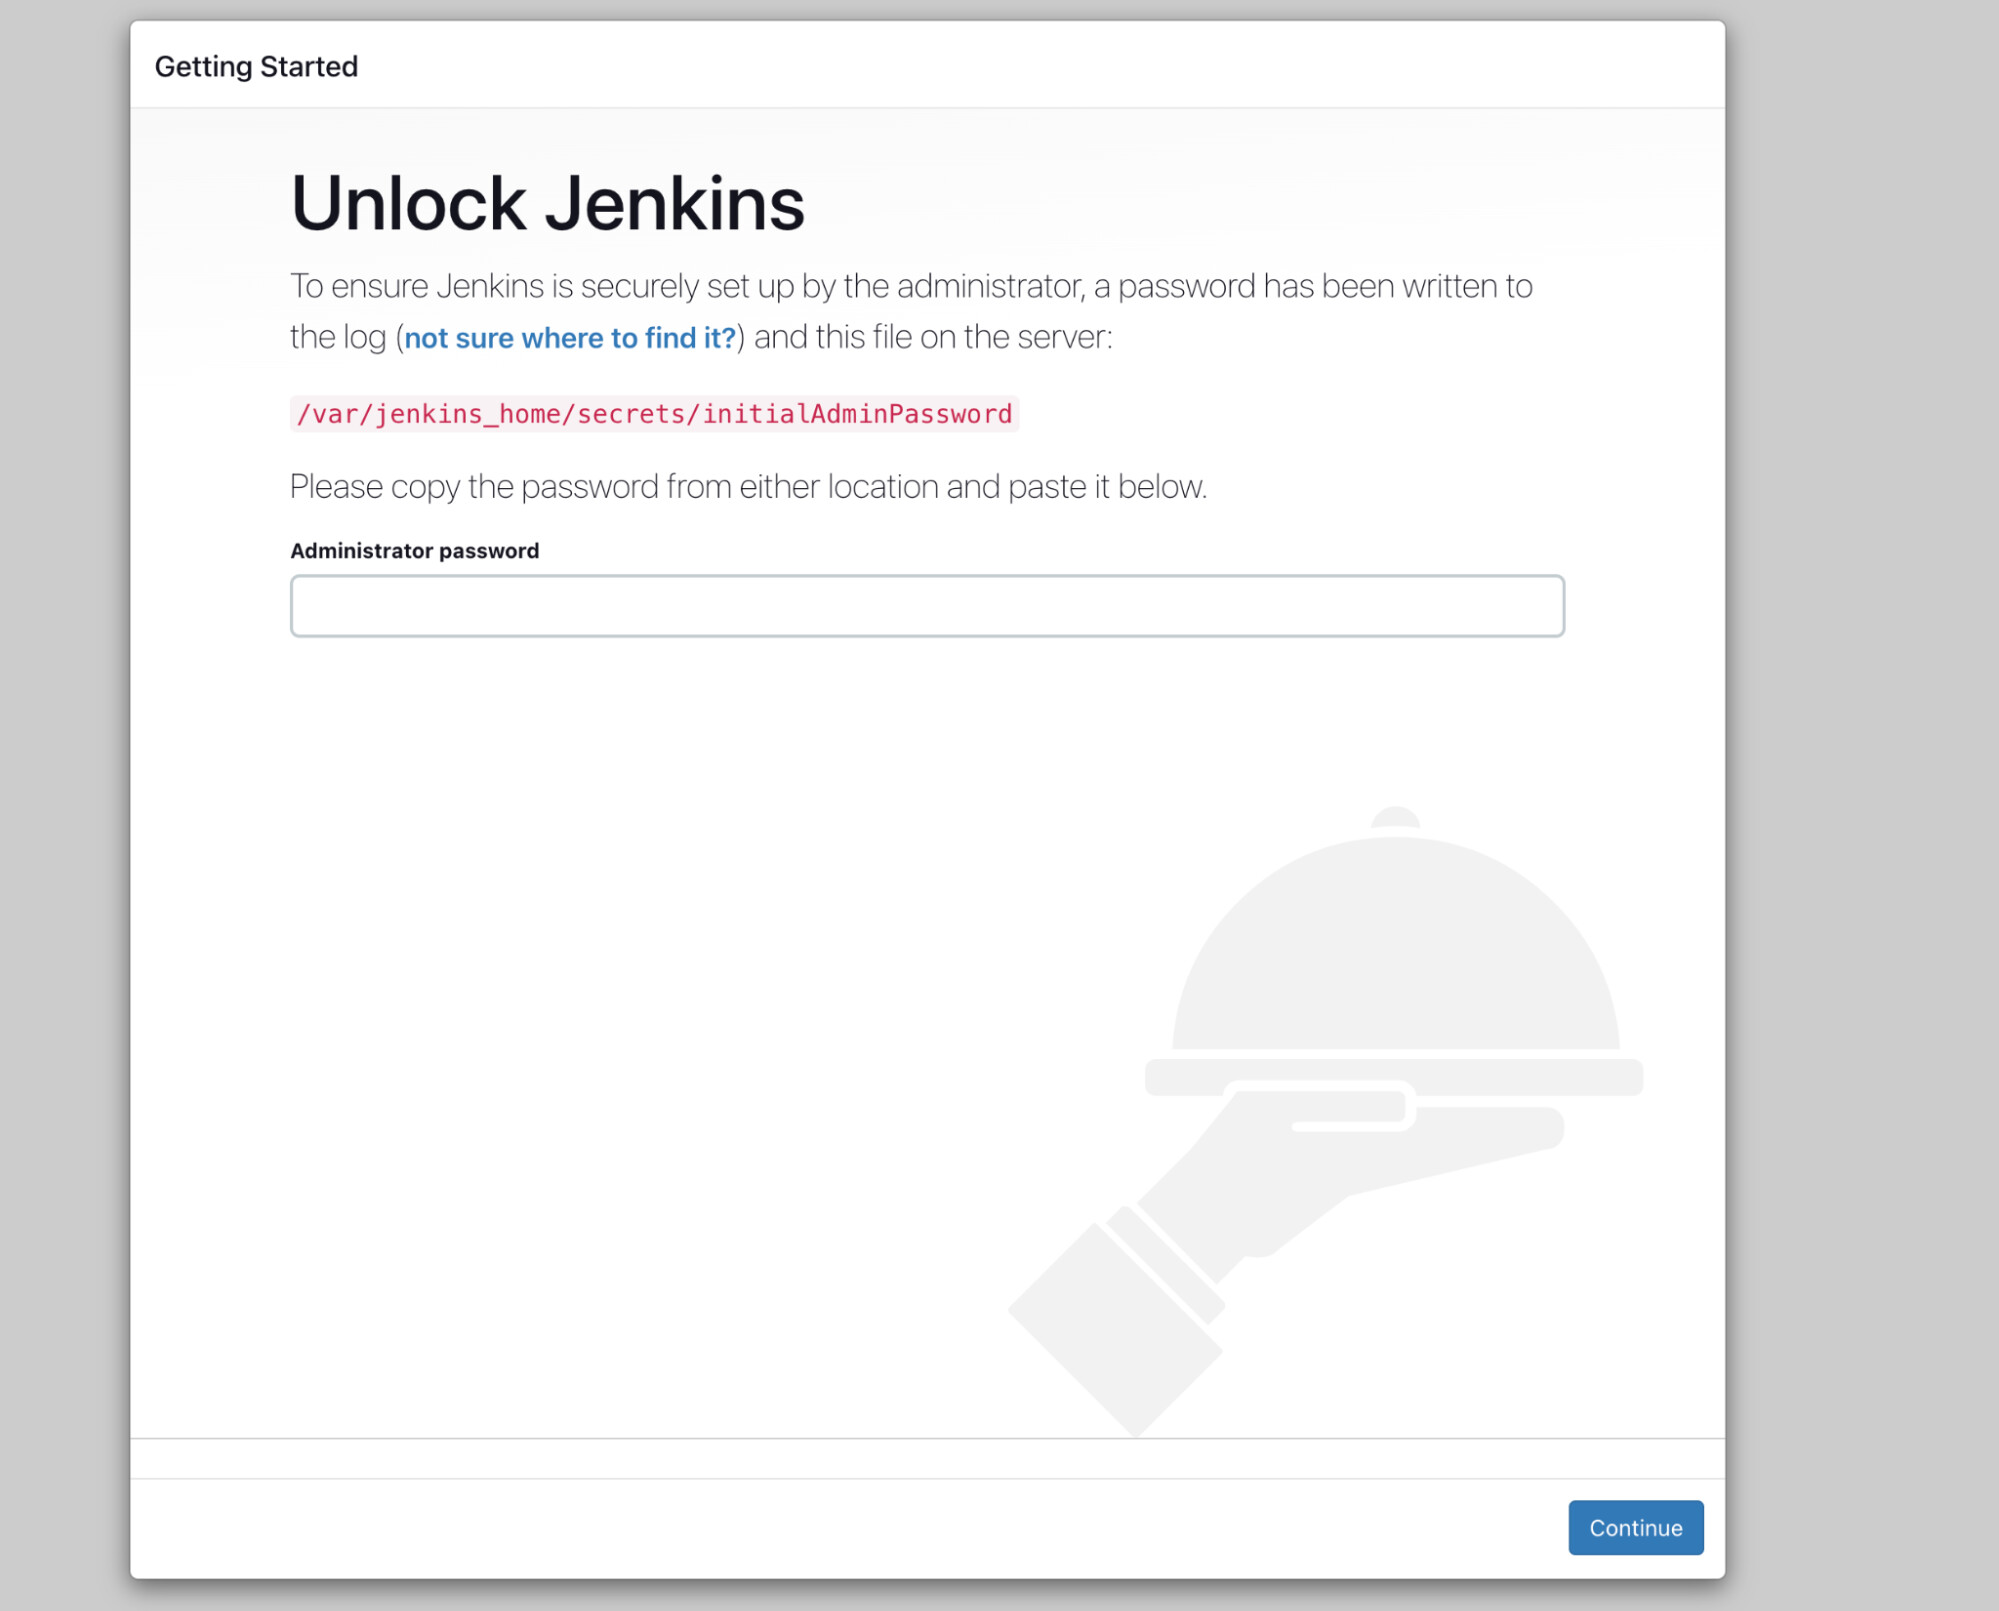
The Unlock Jenkins page will appear. You need to run this command for getting initialAdminPassword:
$ sudo docker exec jenkins-docker cat /var/jenkins_home/secrets/initialAdminPassword
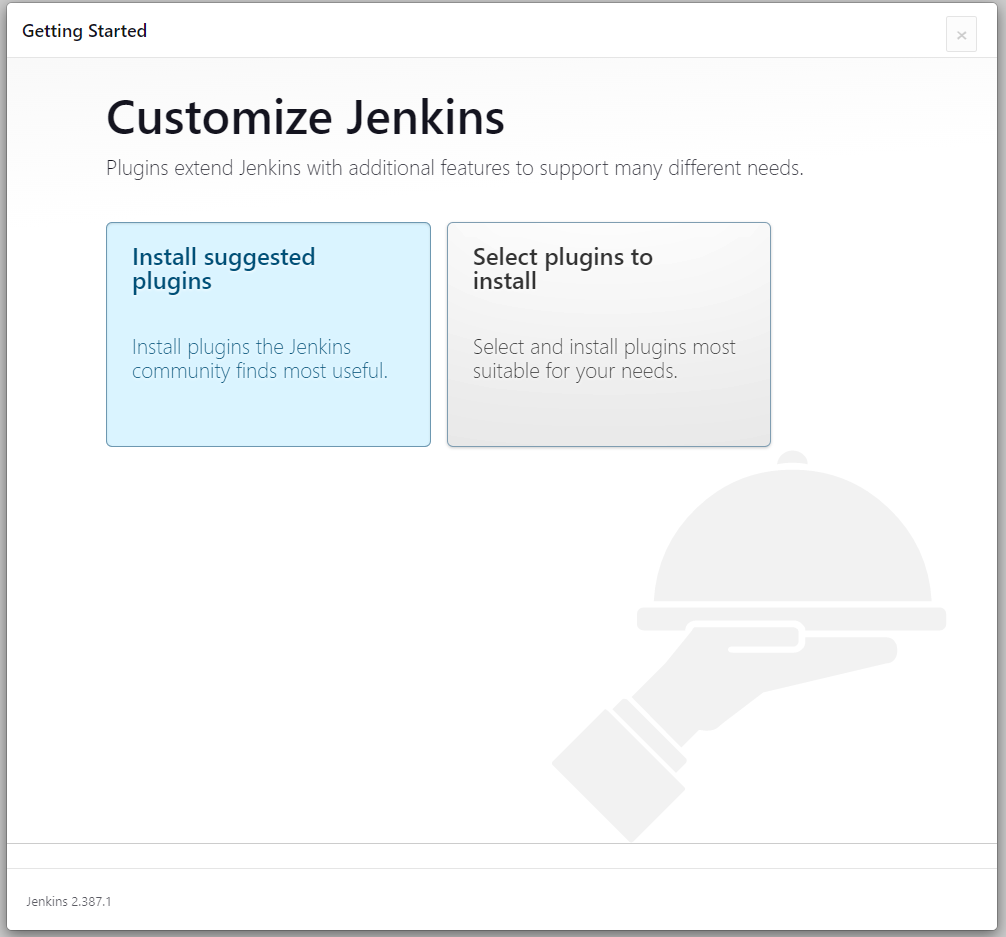
After inputting your InitialAdminPassword, we should choose to Install suggested plugins on the Customize Jenkins page.
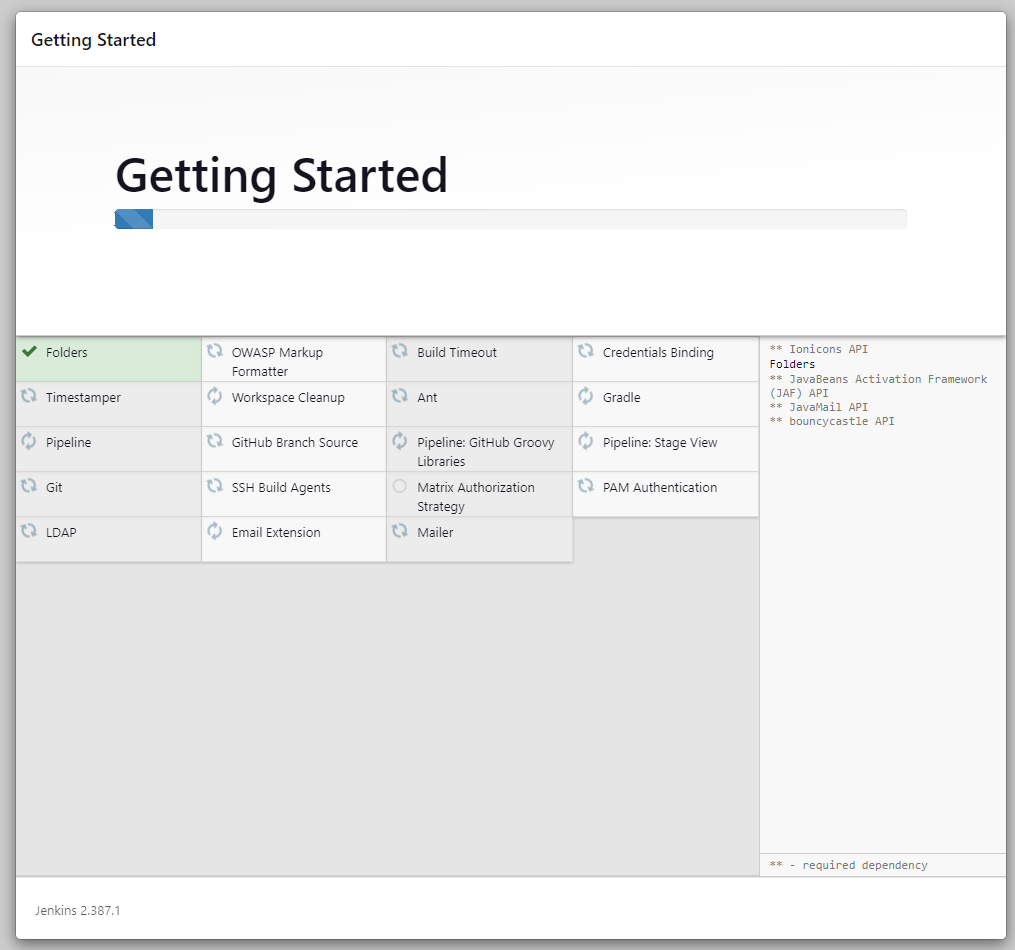
On the next screen, the suggested plugins will be installed.
Then create your first admin user as below.

Click the Save and Finish button on the next screen.
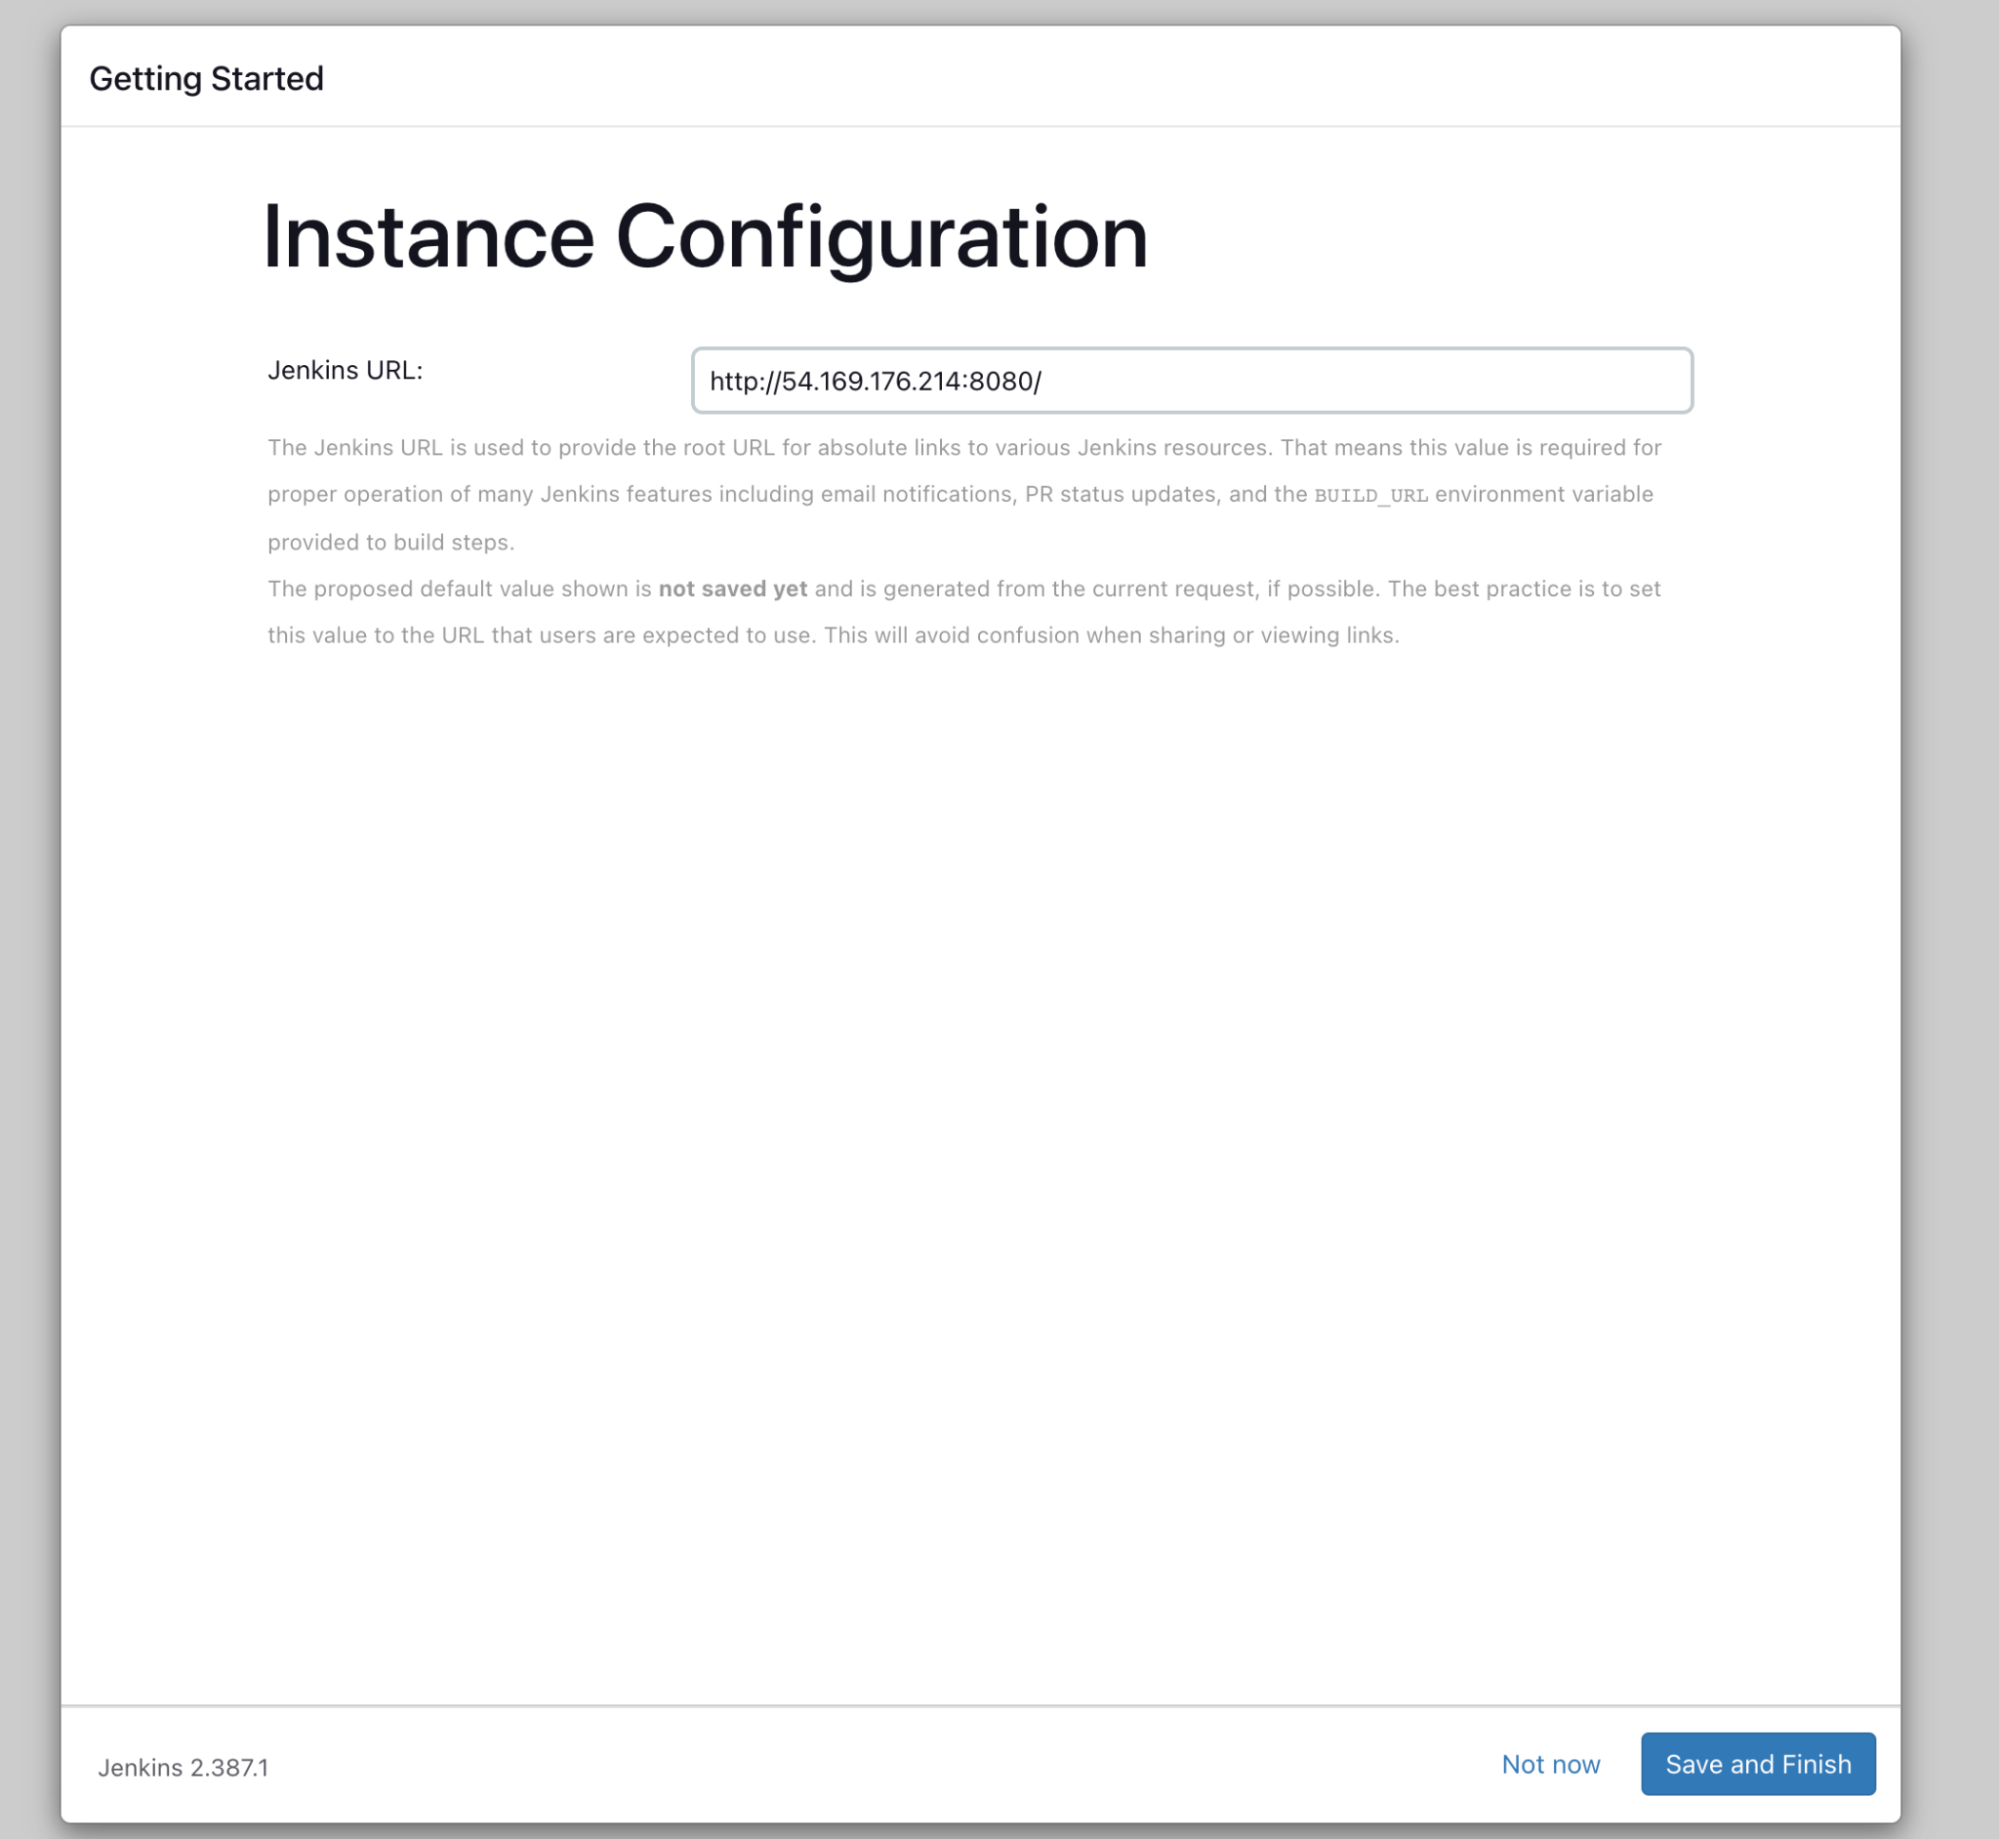
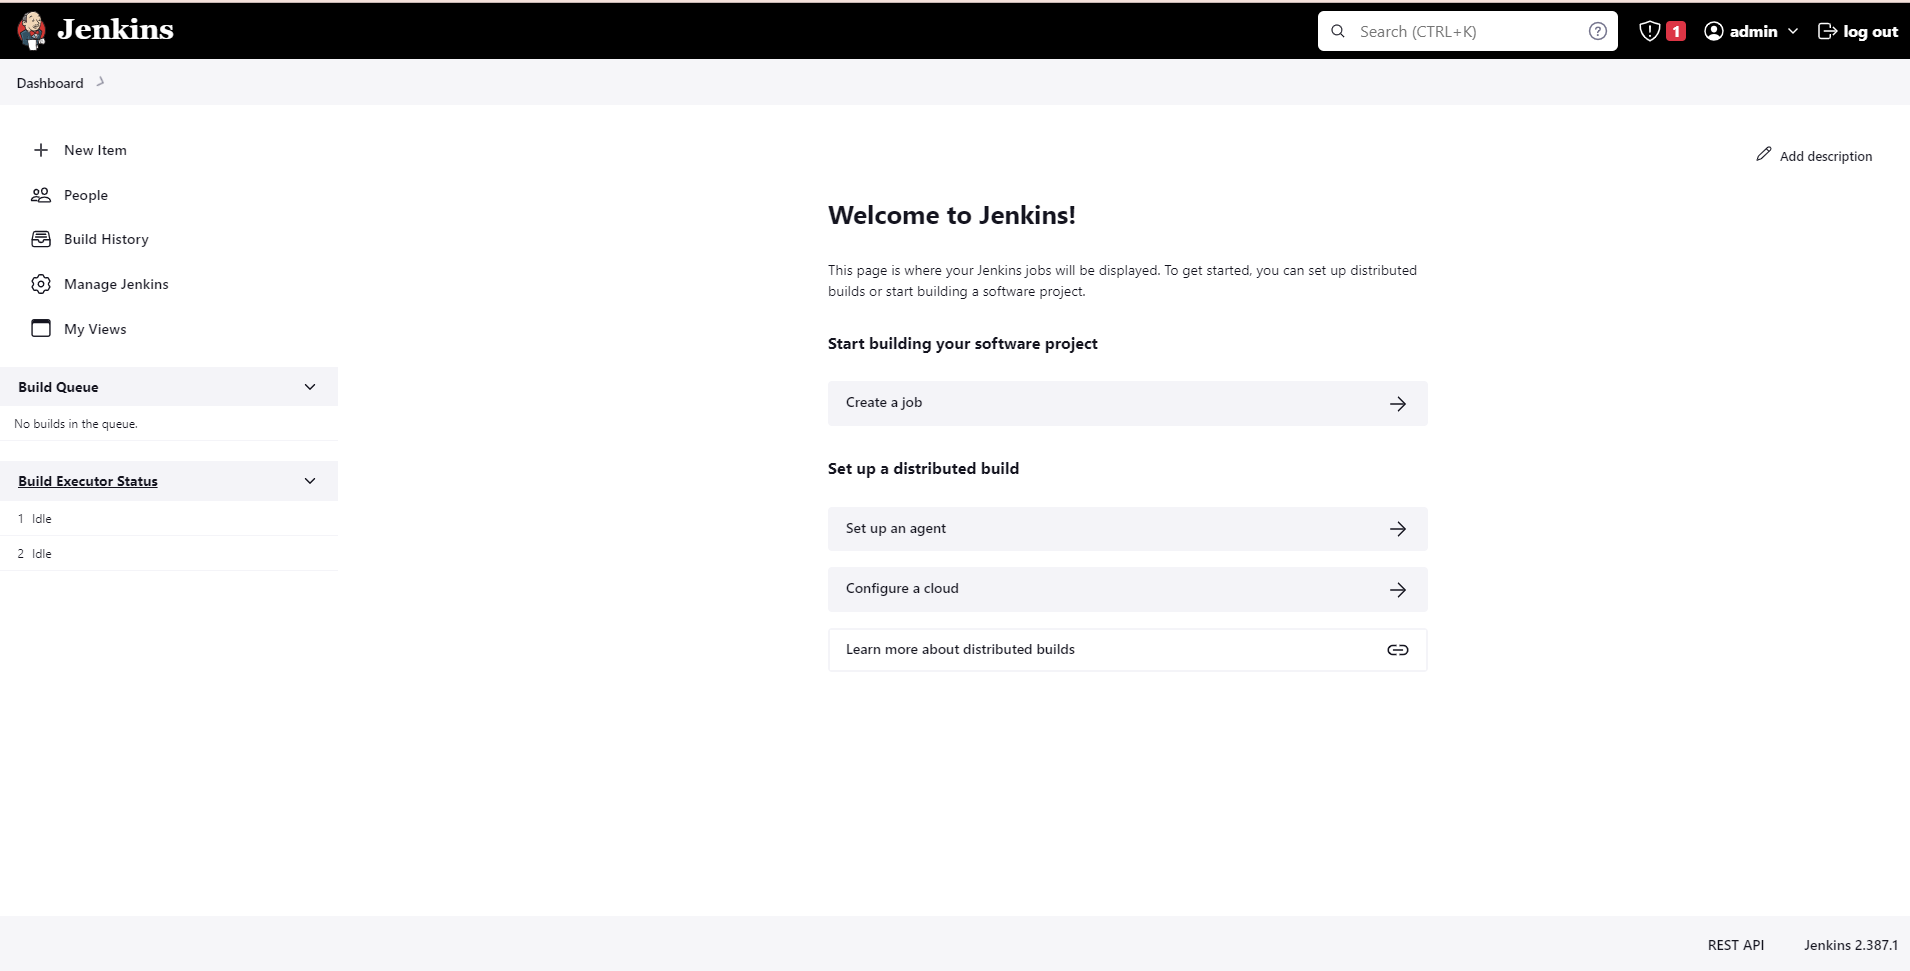
Finally, we have installed Jenkins successfully with Docker.
Create Harbor project and account
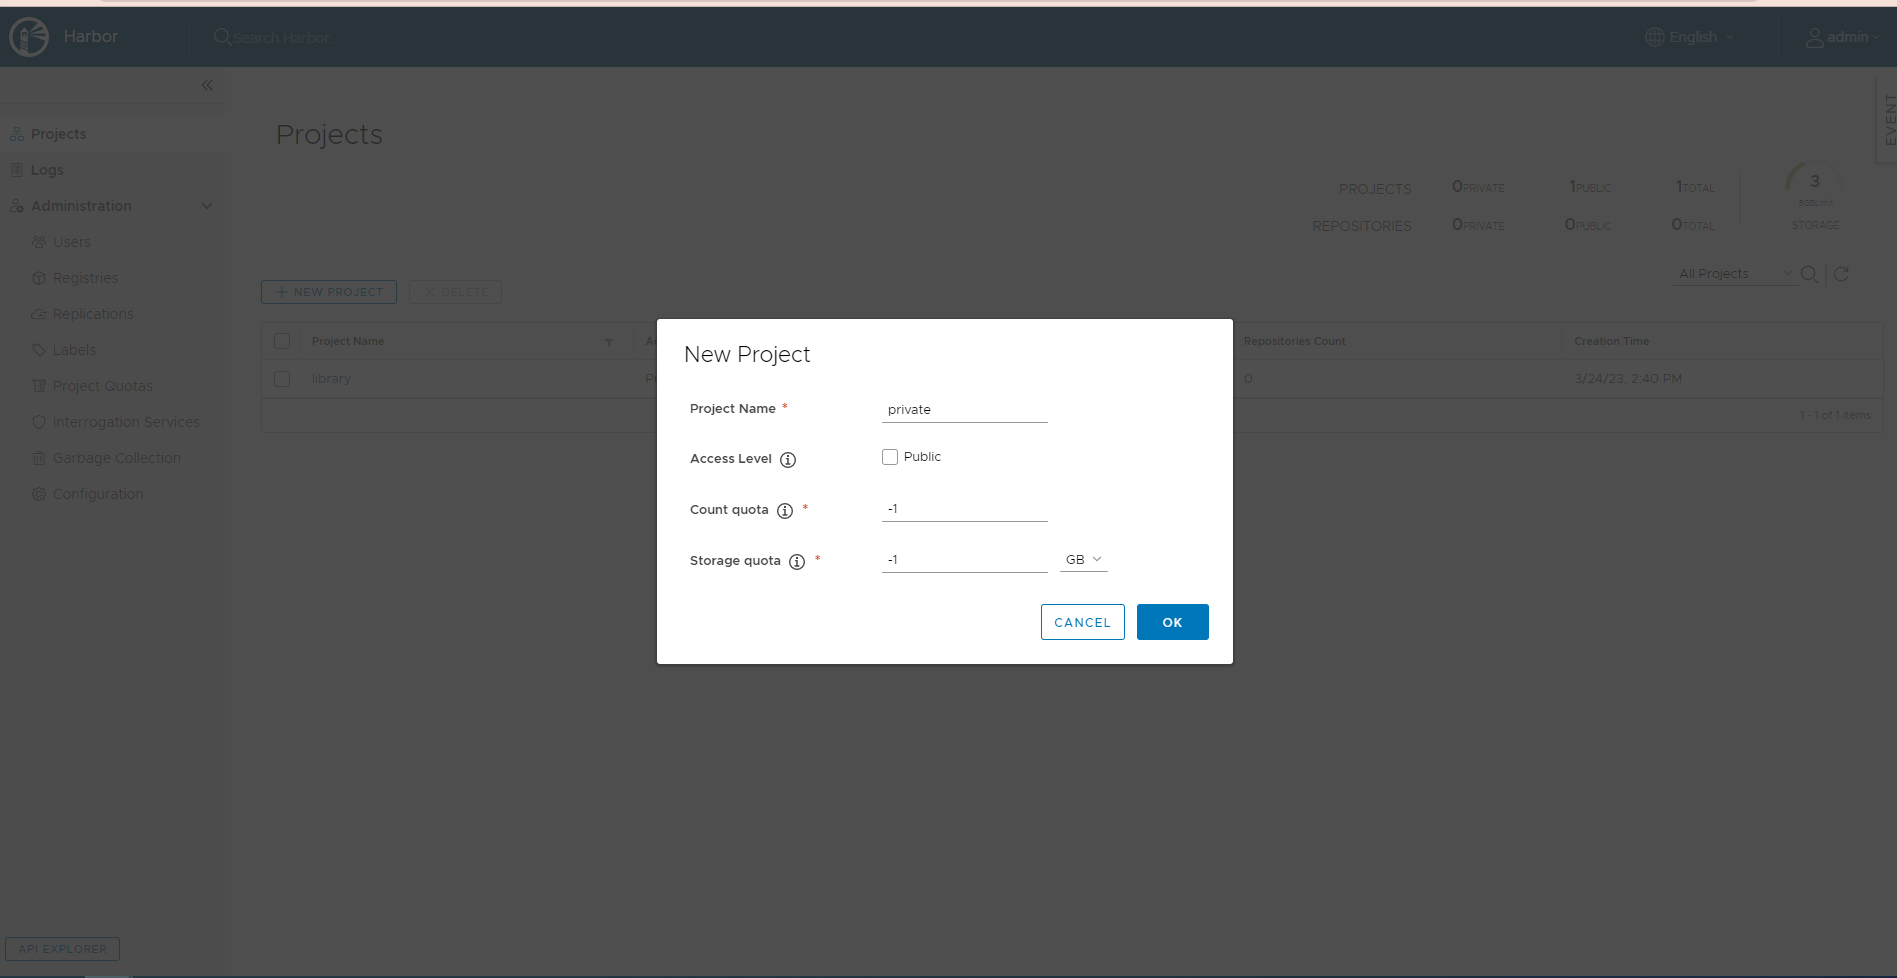
First, access the Harbor and create a new project called “private”.
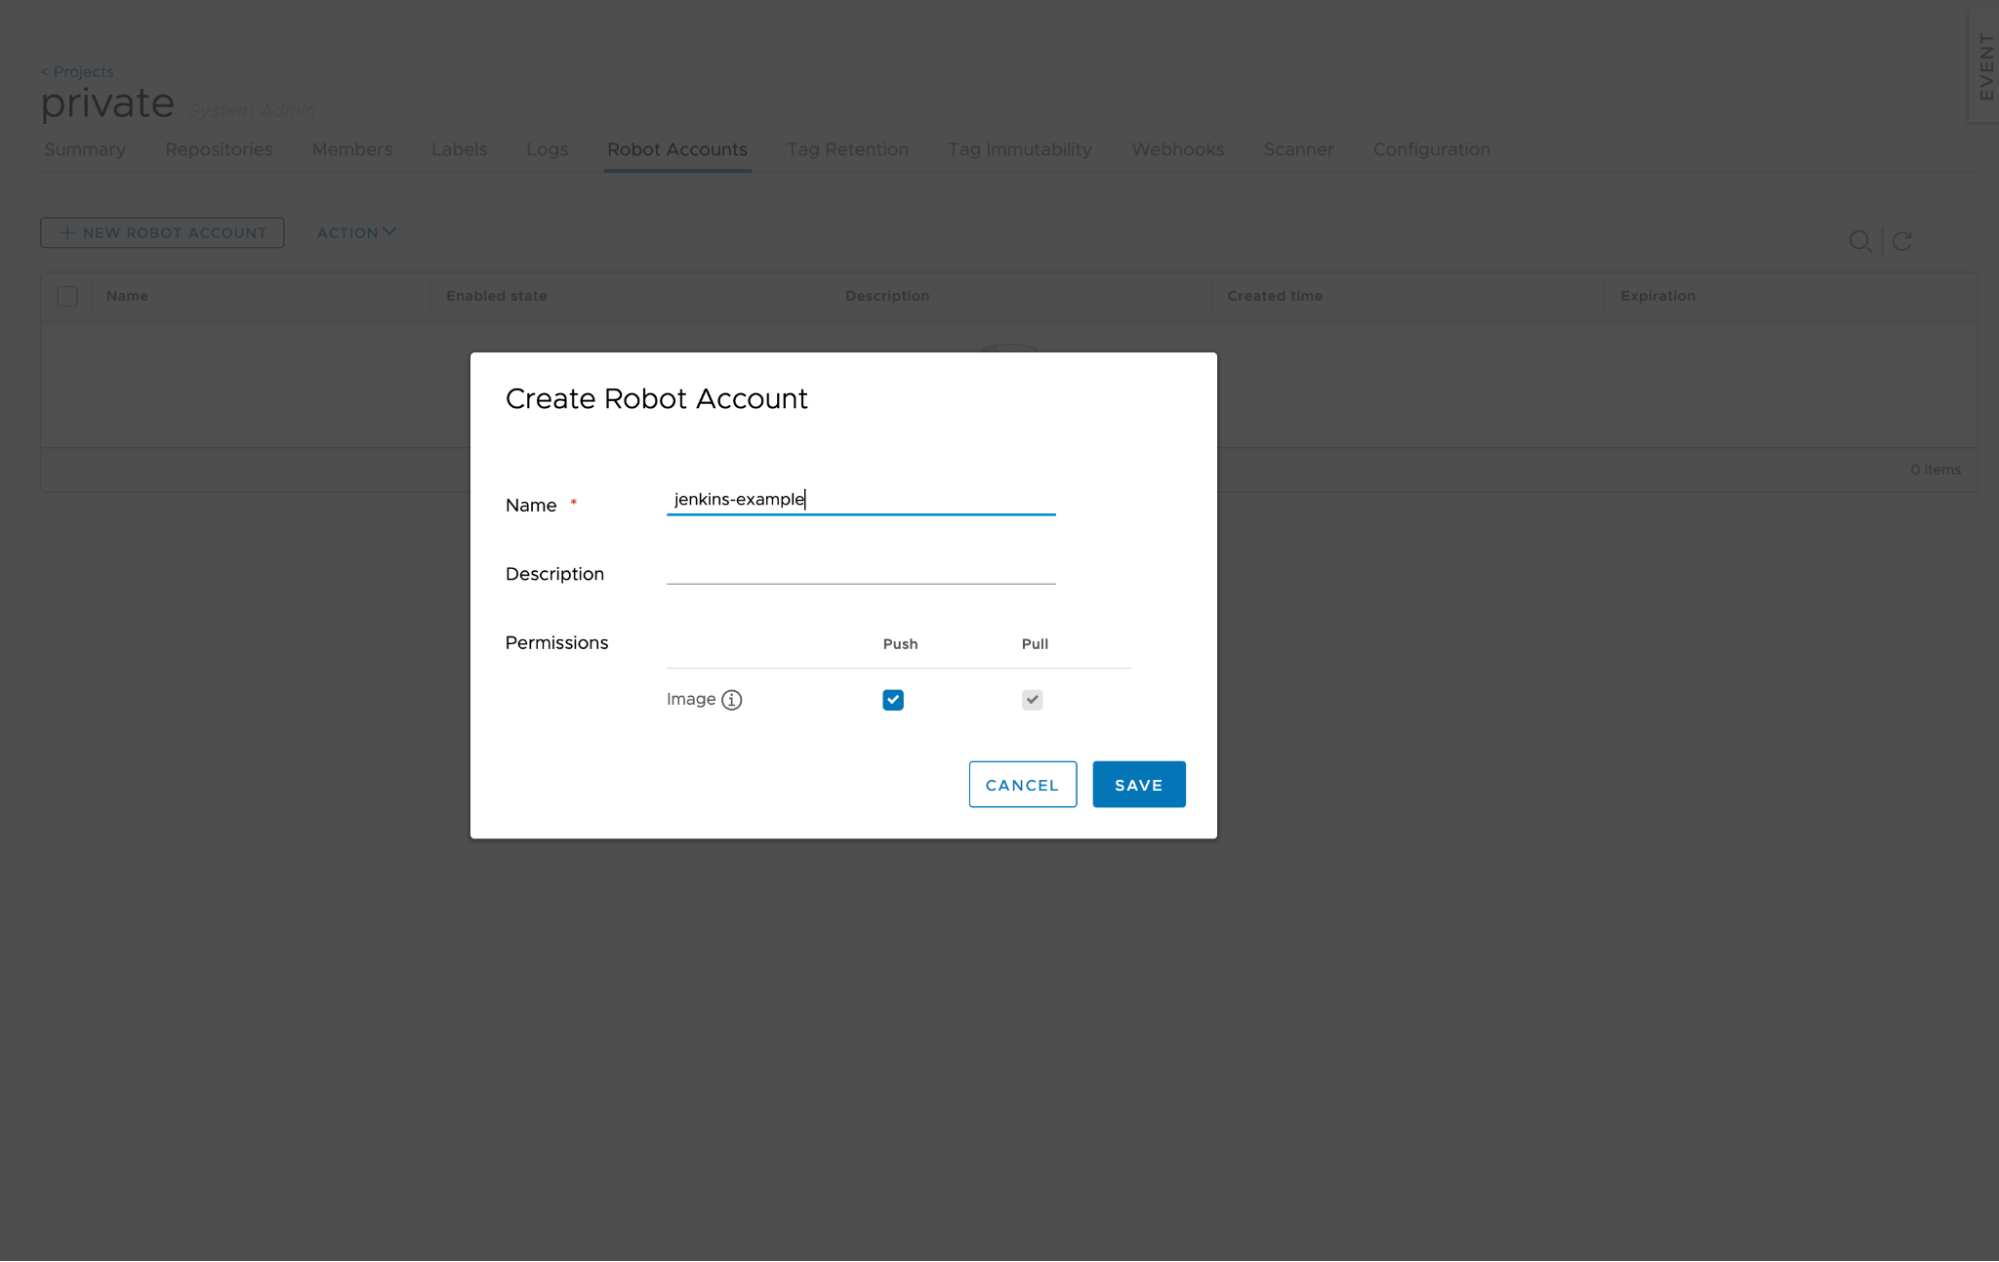
Then we should create a robot account that only has permission for this project.
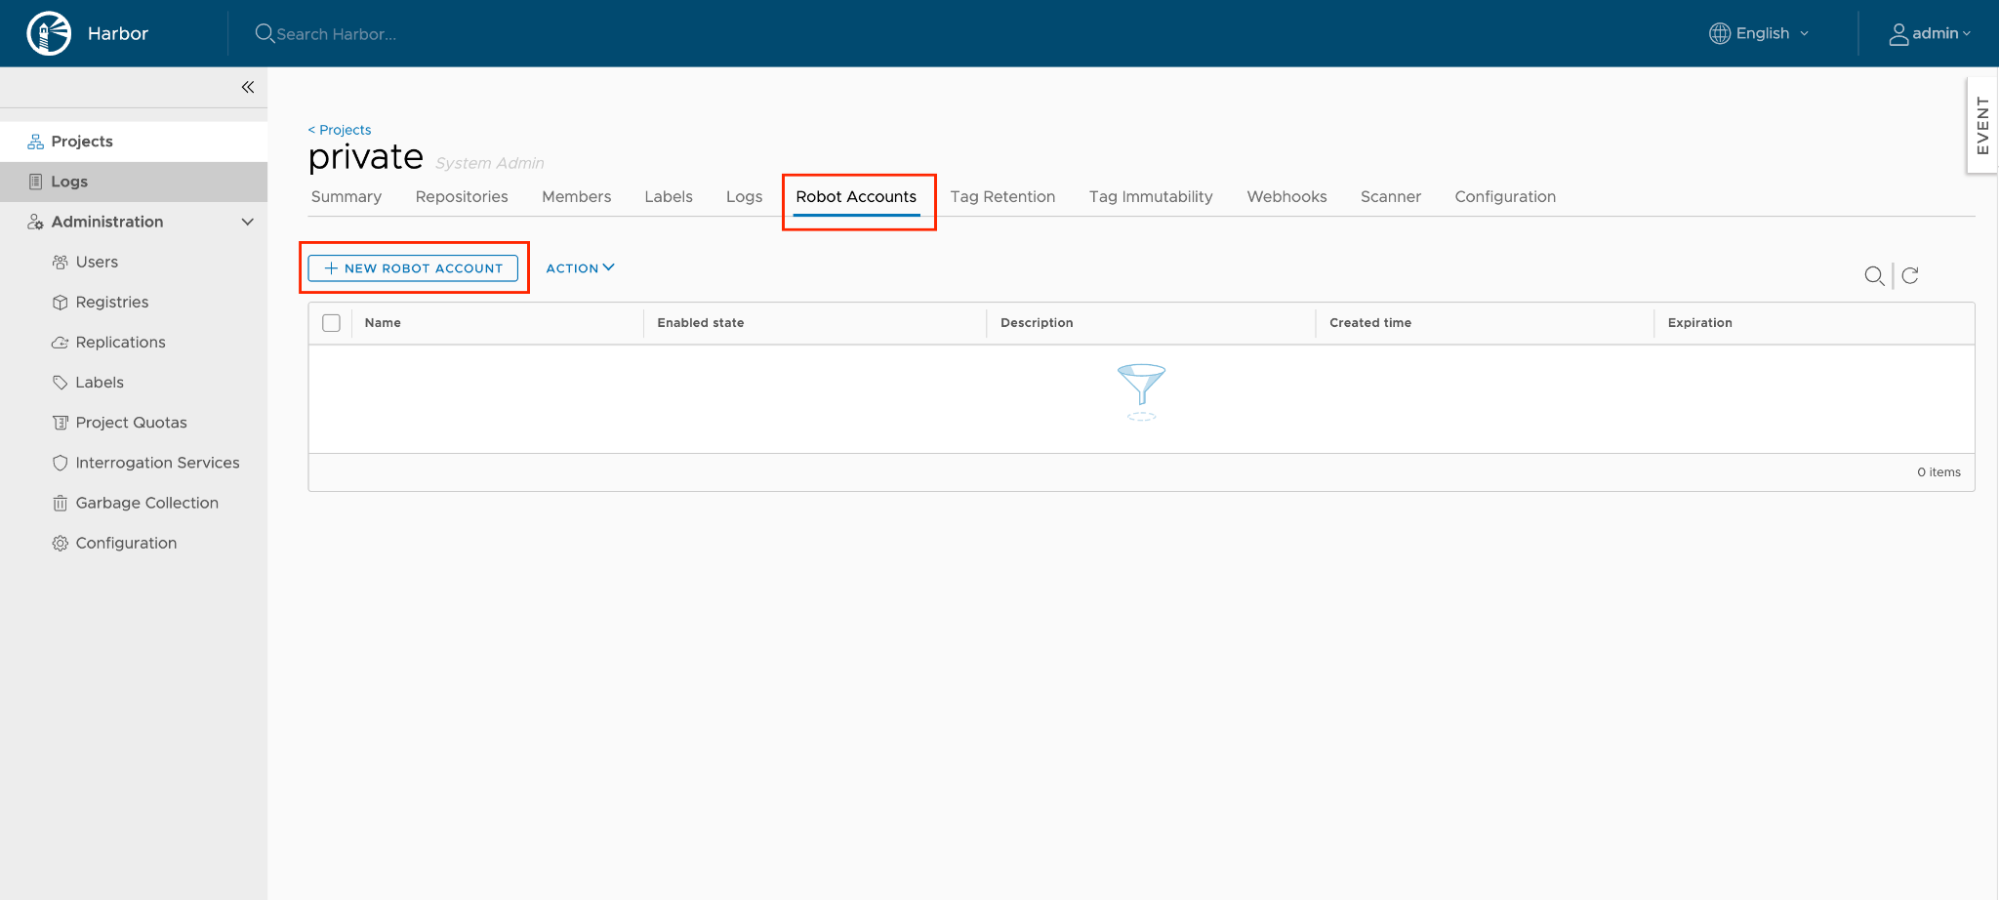
Next, input the name.
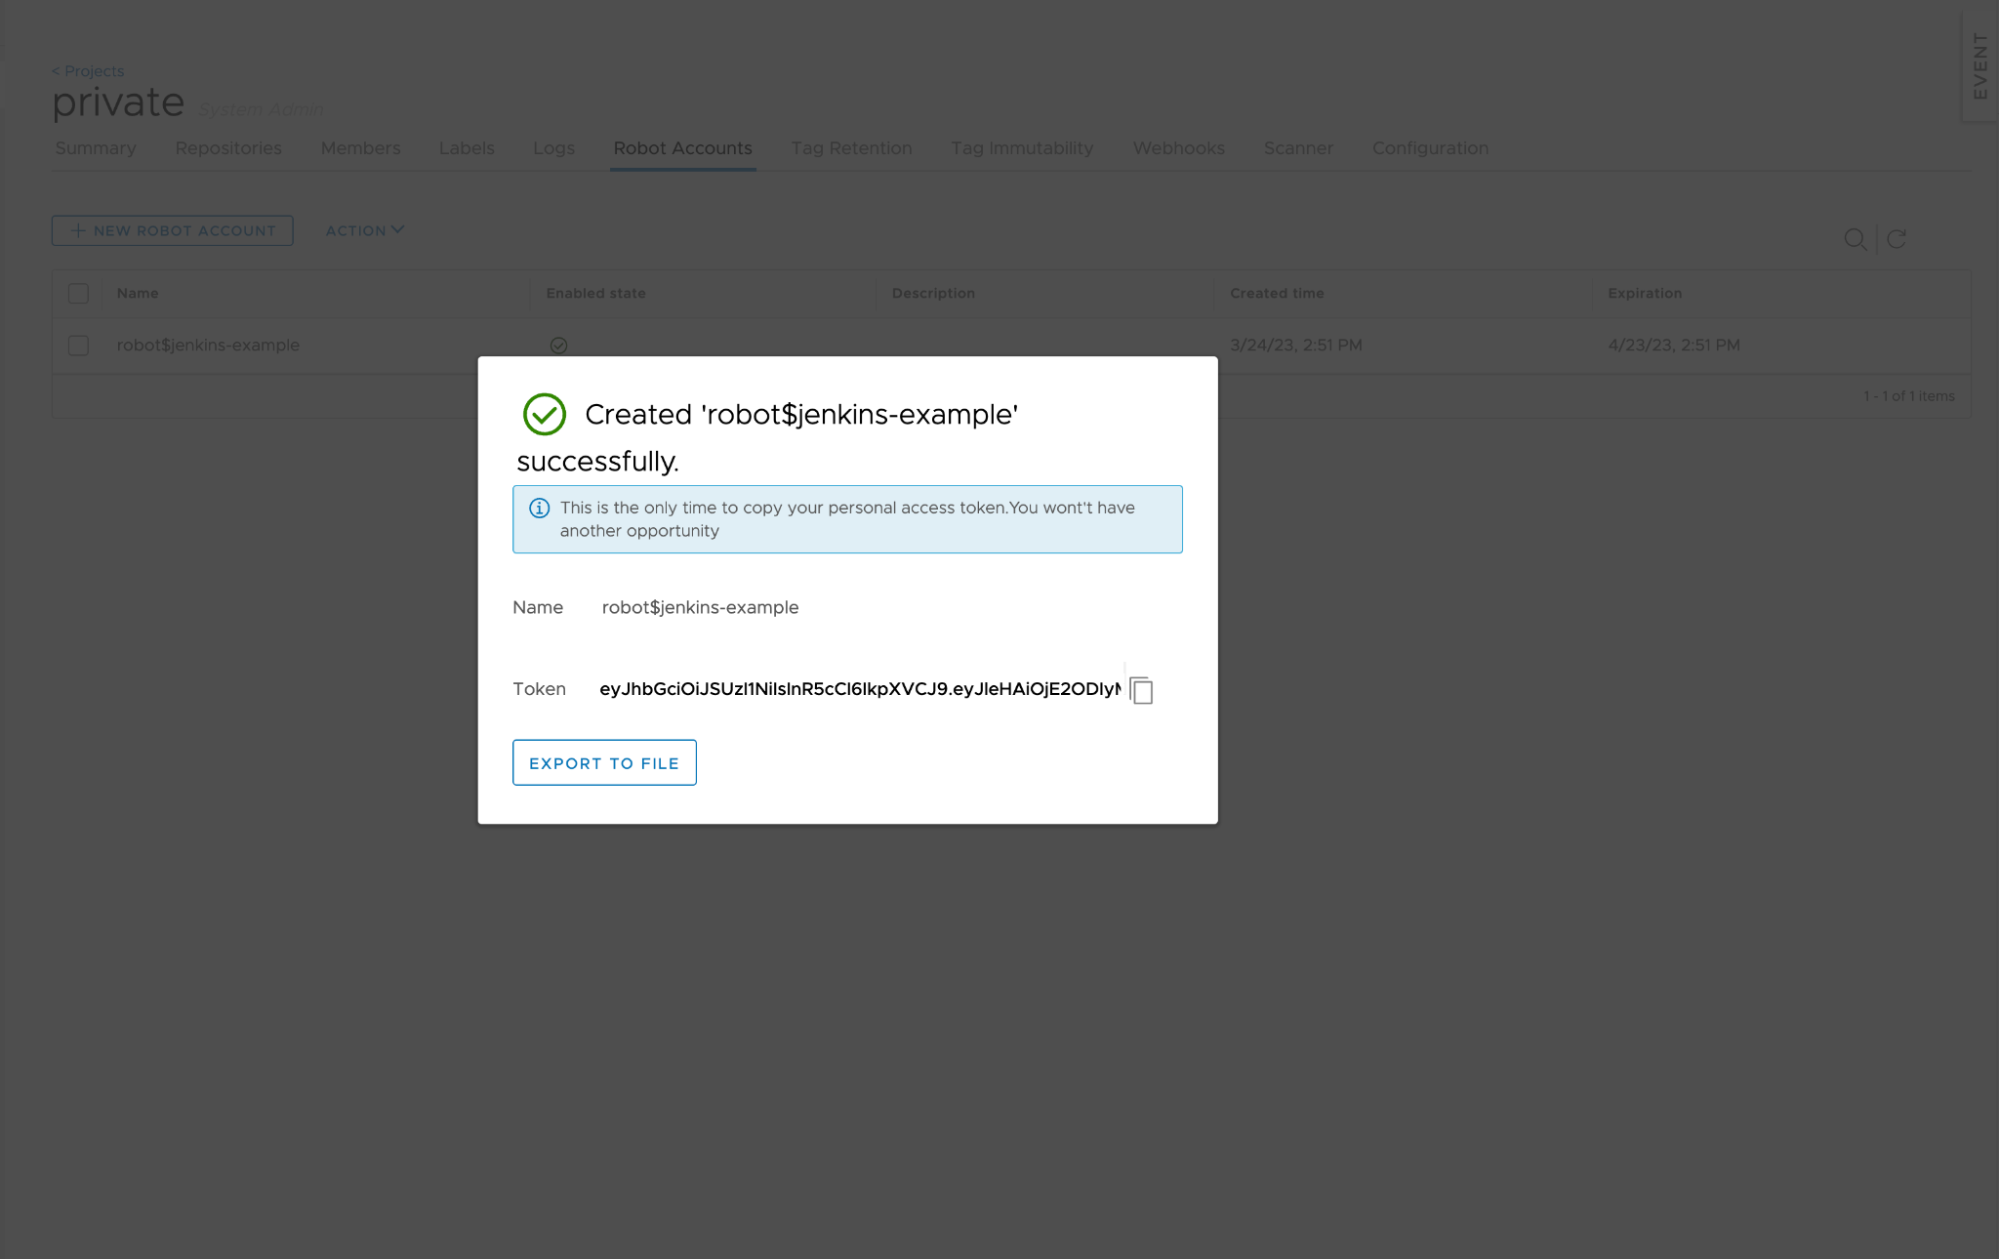
Then we have a name and a token, save it and configure it in Jenkins to push images. In addition, we also can use this robot account to configure imagePullSecrets in Kubernetes clusters.
Create Credentials containing Registry Account
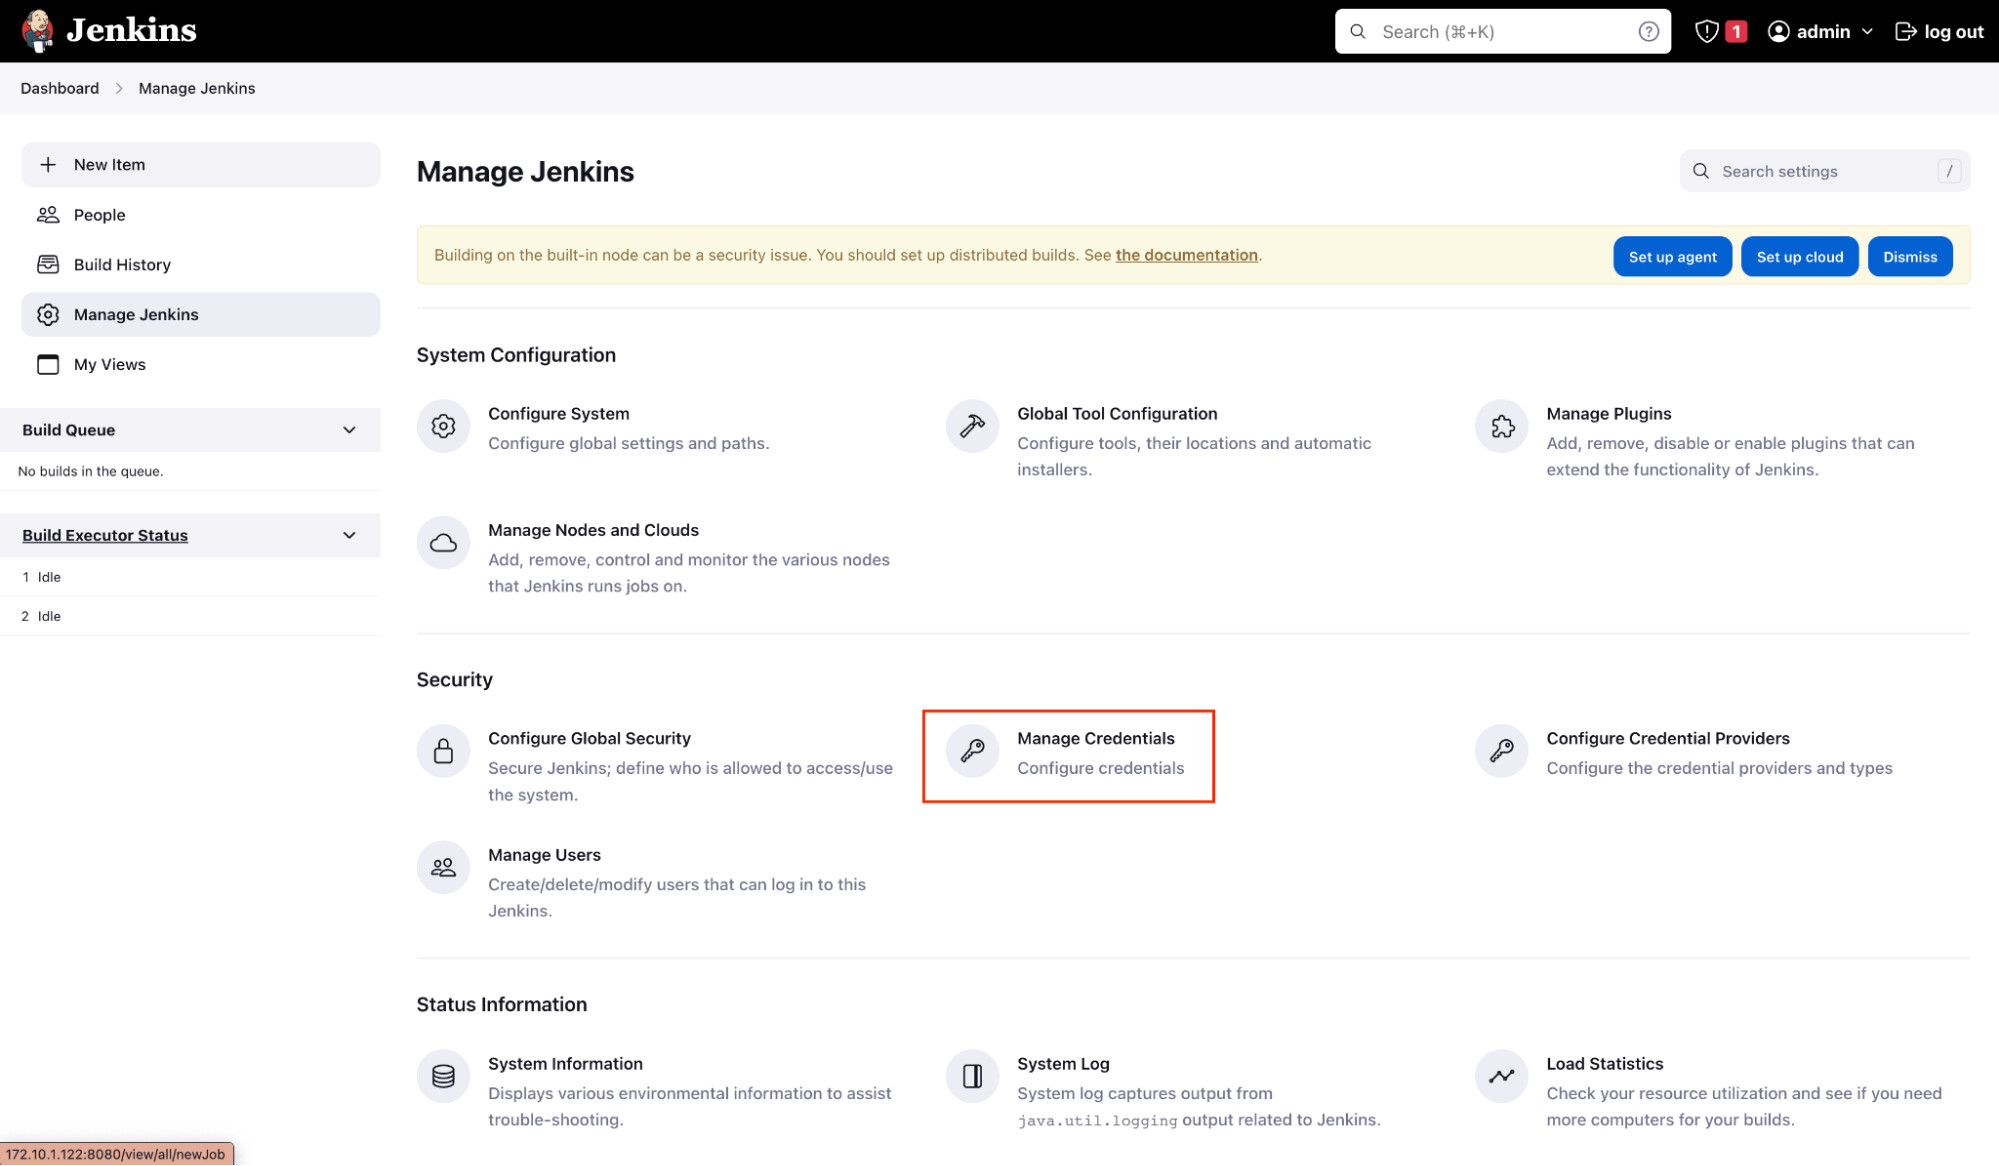
We should store the robot account in Secret text Credentials of Jenkins. To do that, from the Jenkins dashboard page, we click Manage Jenkins > Manage Credentials.
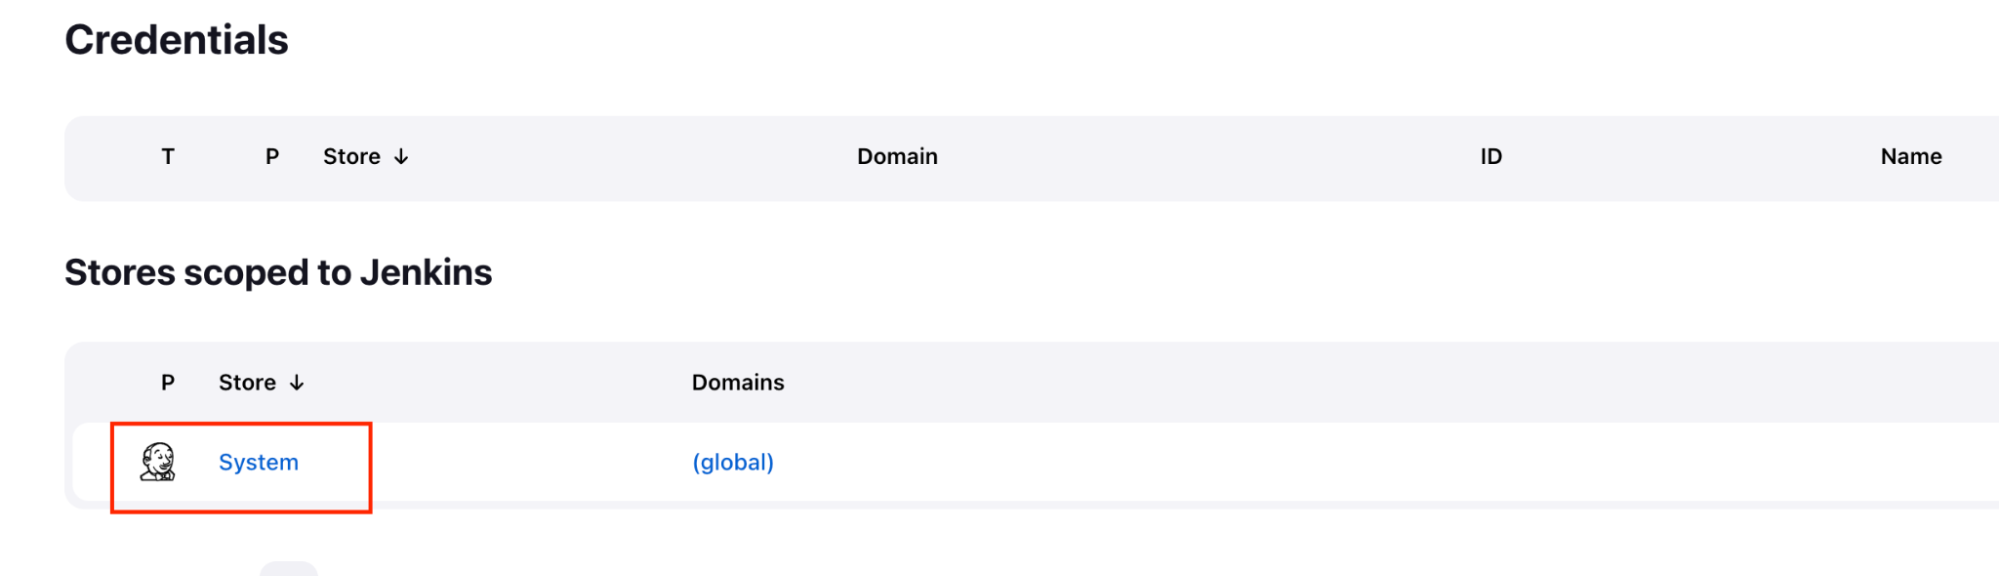
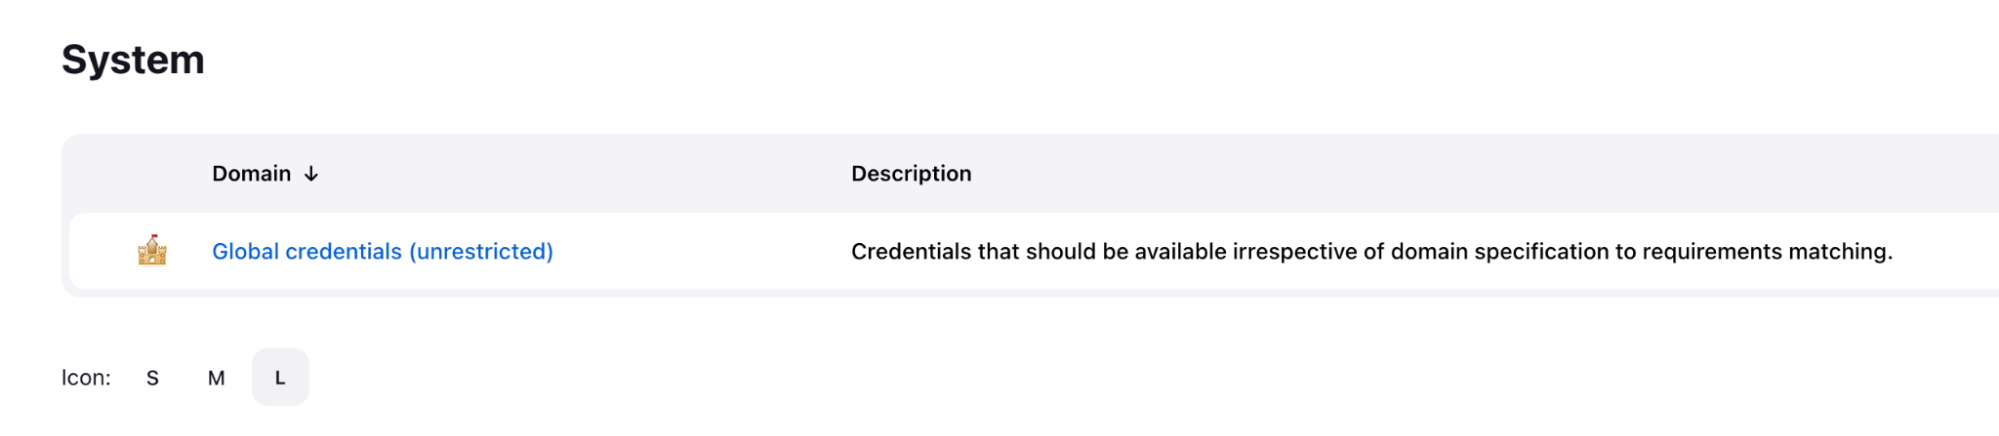
Under Stores scoped to Jenkins on the right, click on System.
Under System, click the Global credentials (unrestricted) link to access this default domain.
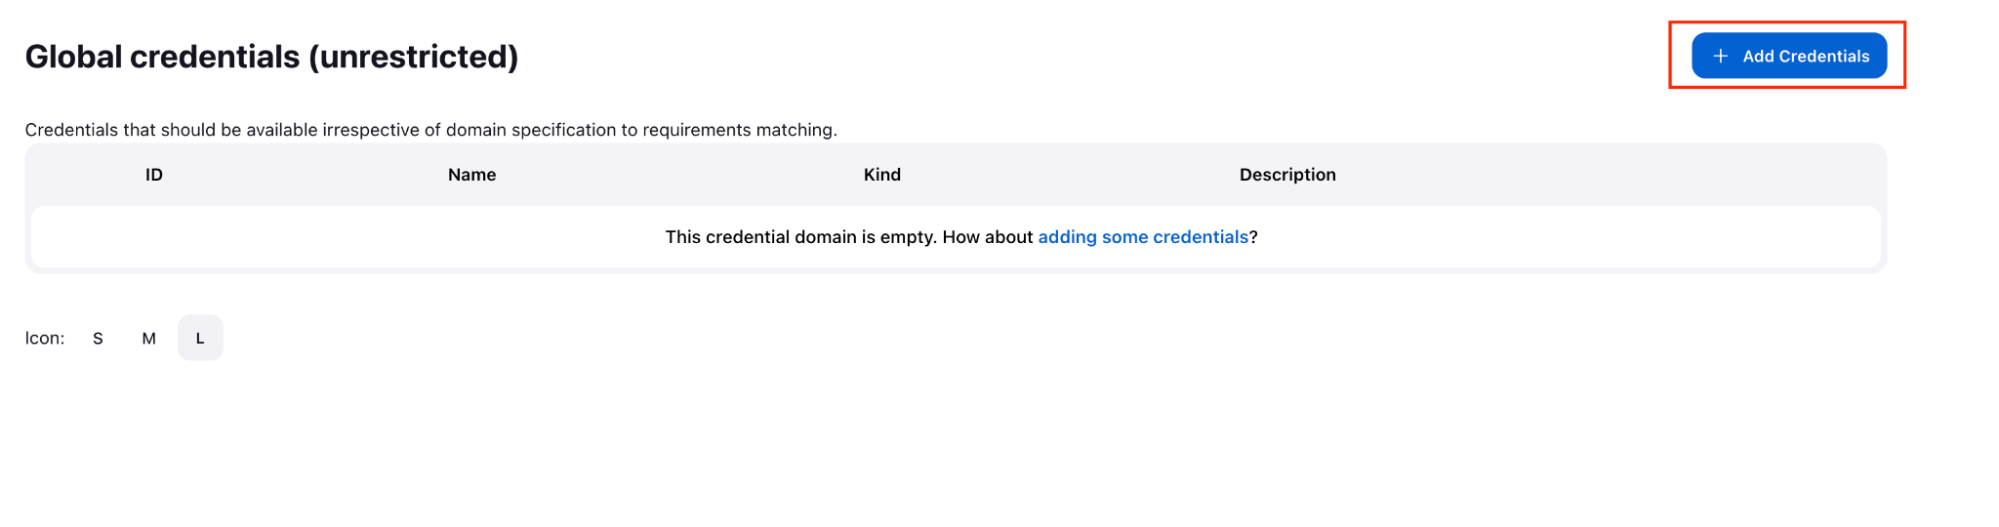
We need to create 2 credentials: registryUser and registryPassword.
Click Add Credentials on the left.
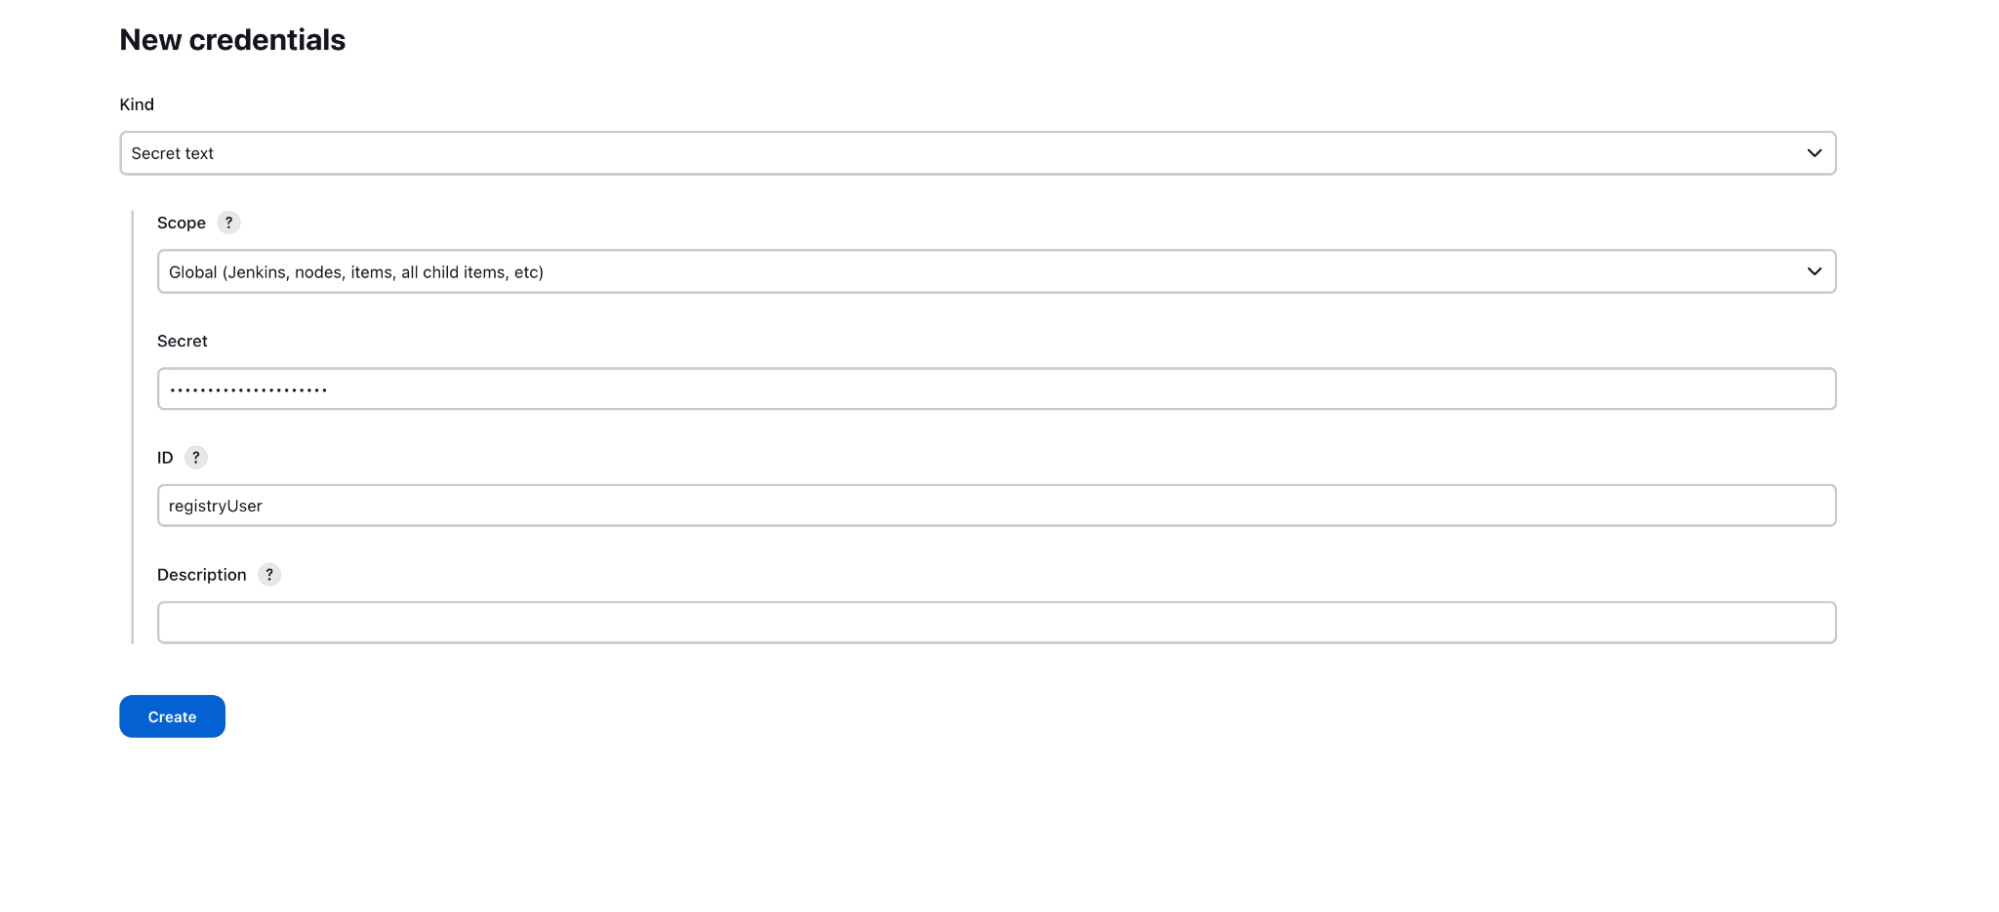
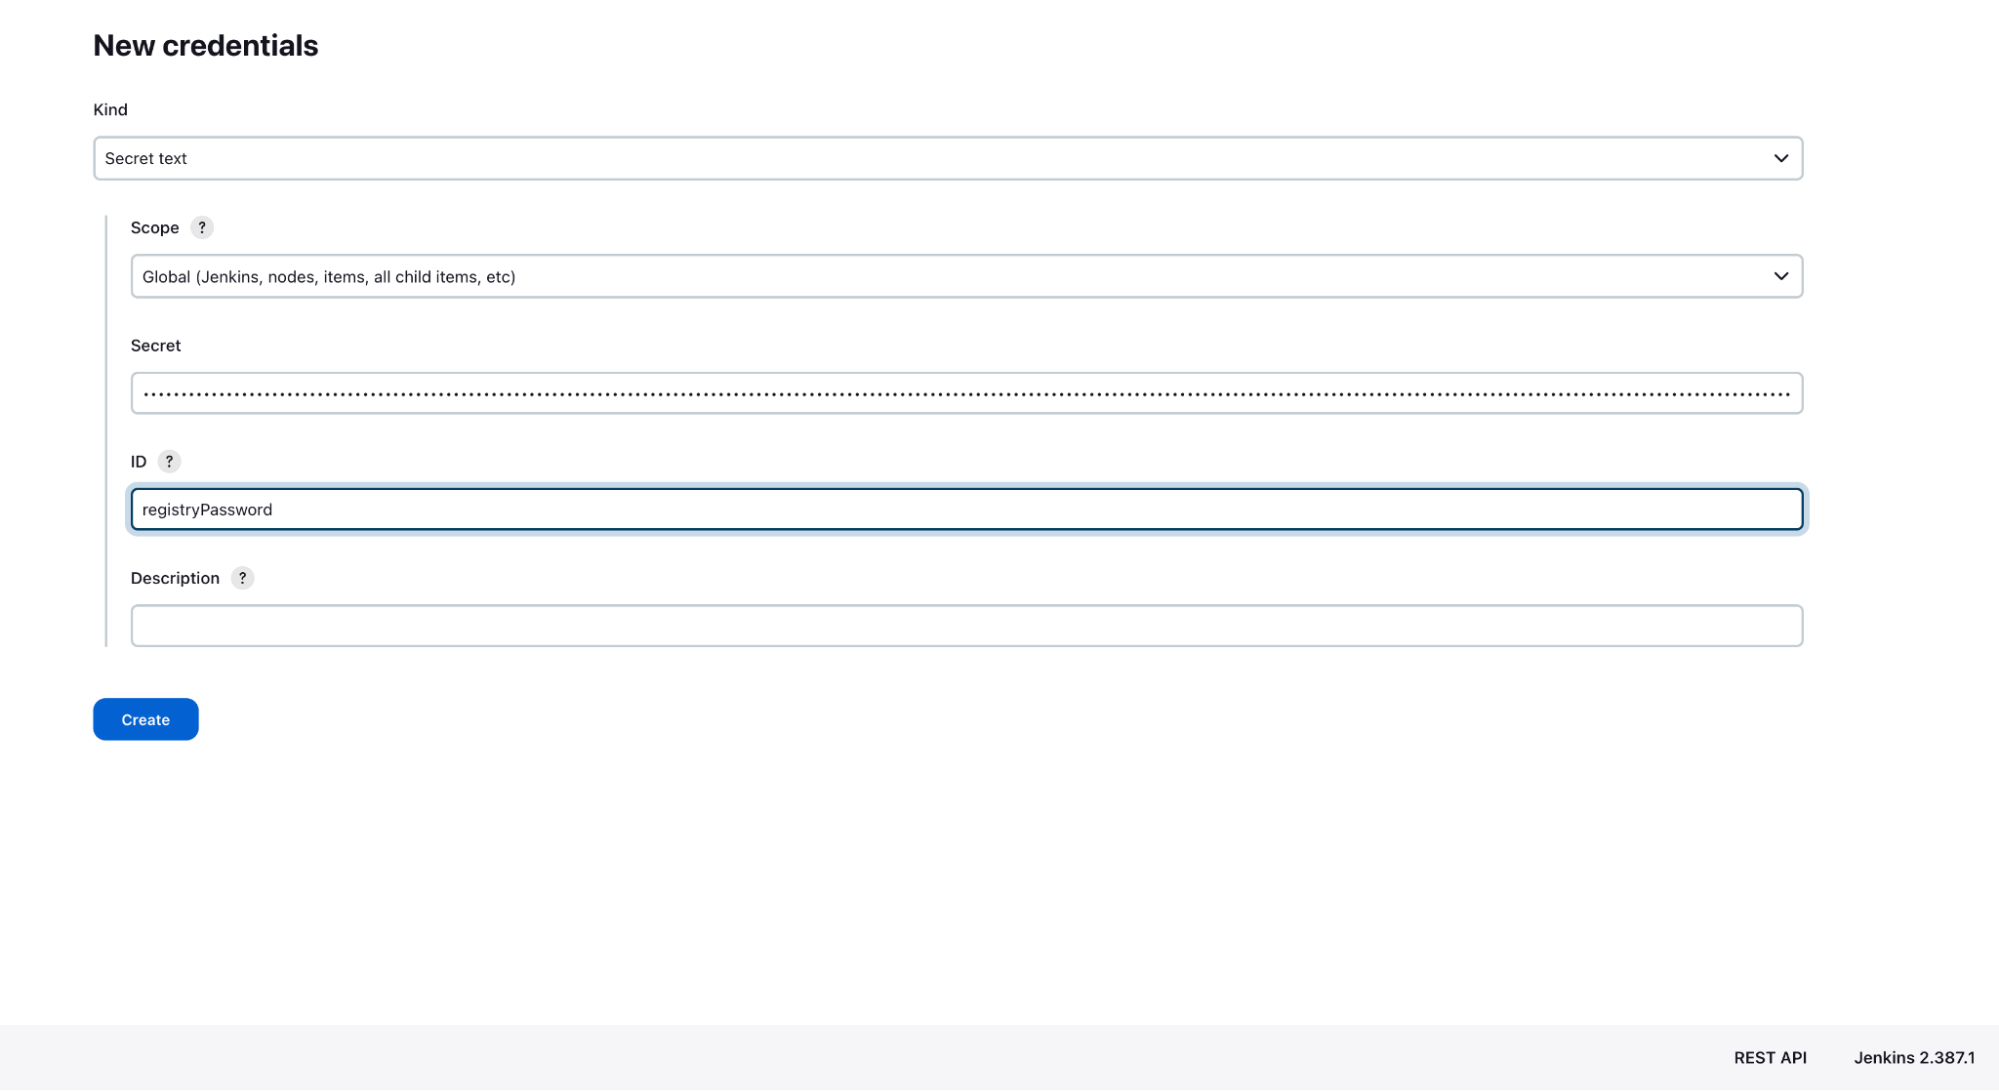
From the Kind field, choose the secret text and then copy and paste it into the Secret field as below:
Name robot account for ID registryUser.
Token robot account for ID registryPassword.
Jenkins Pipeline Job
I have prepared an example application with Dockerfile and Jenkinsfile in the link below: GitHub - raymondbaoly/jenkins-example
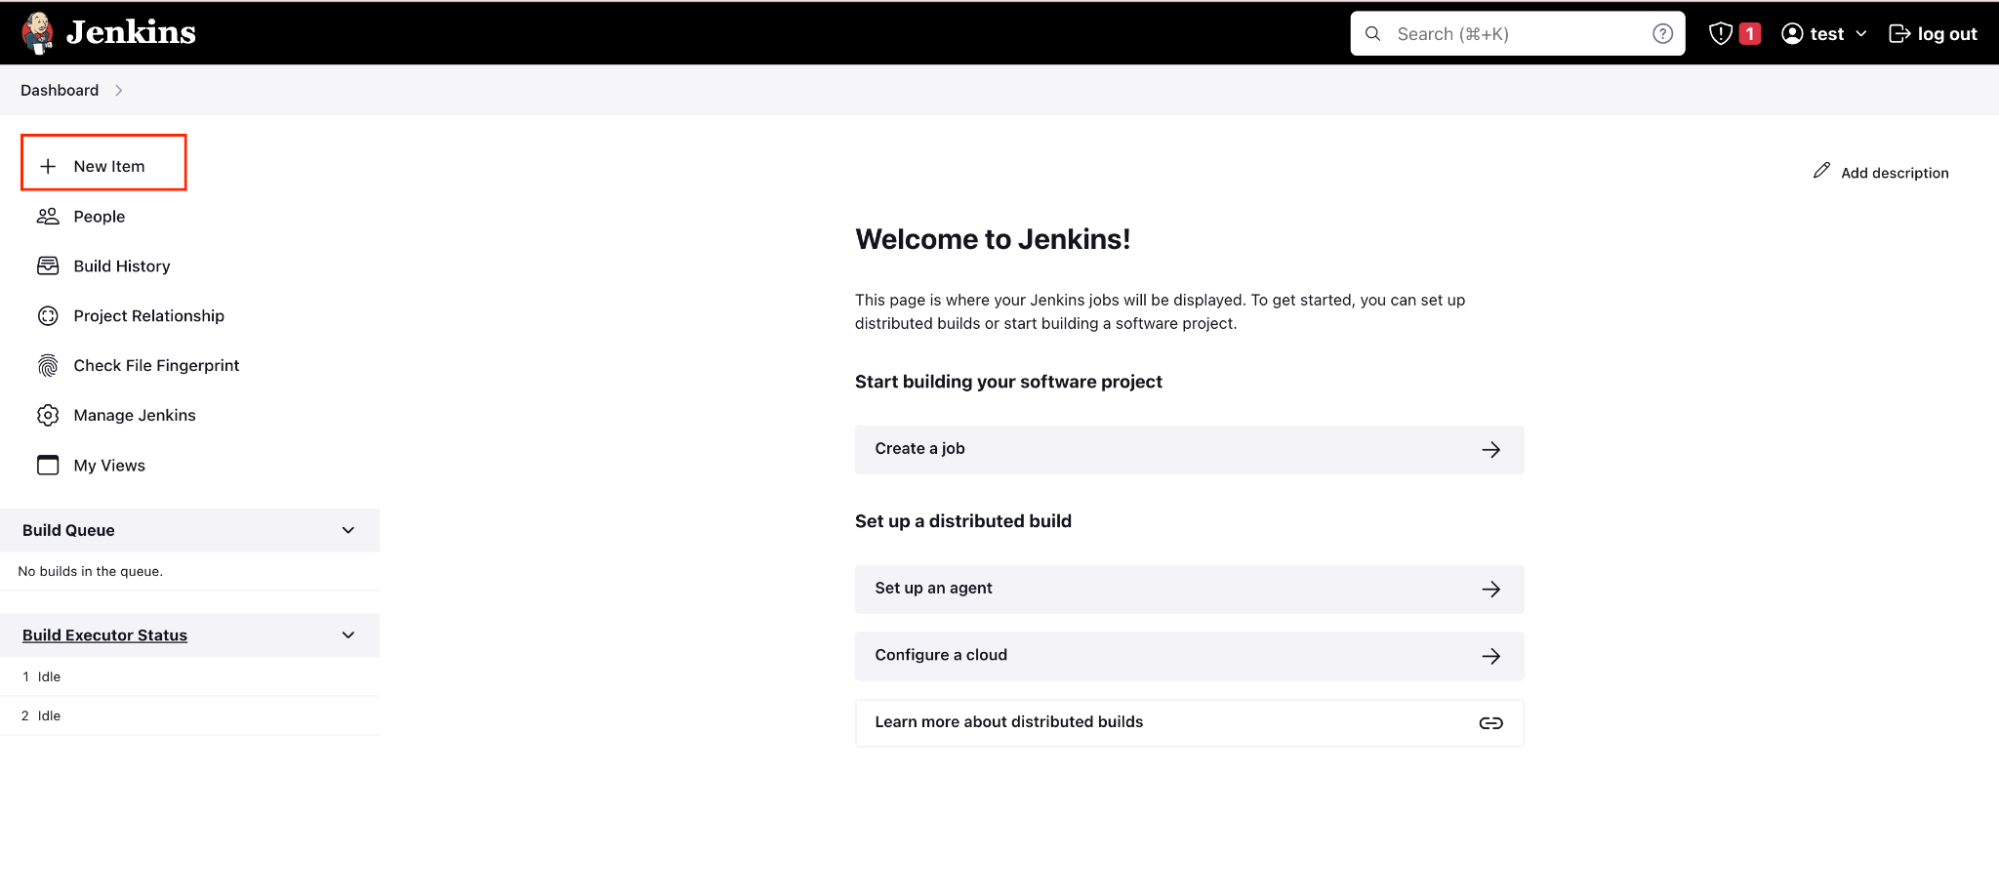
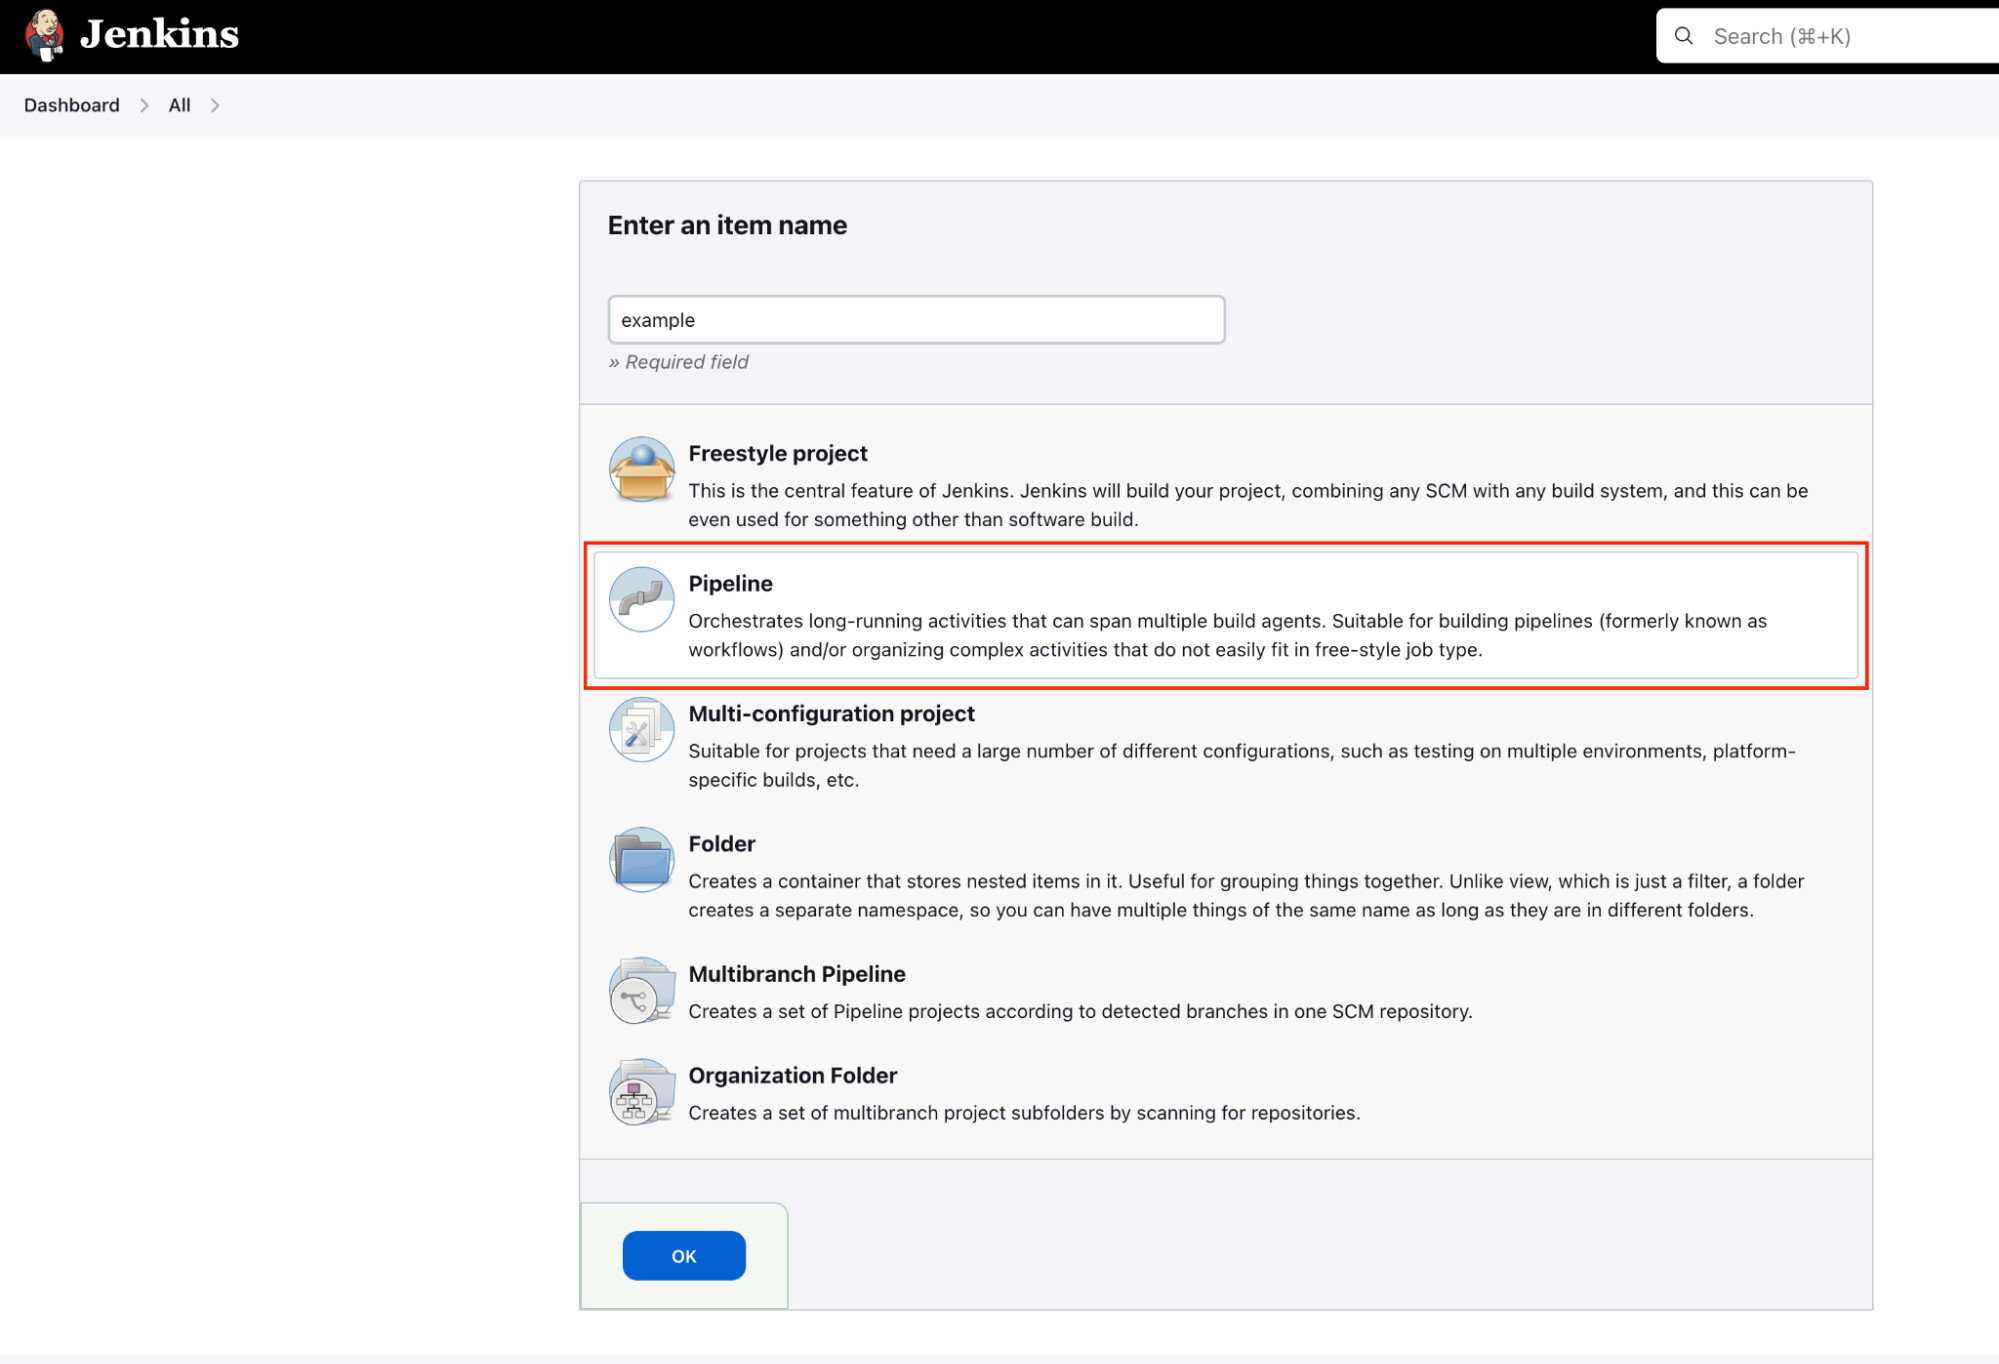
To create the Pipeline job, from the dashboard page, click New Item > input the job name and choose the Pipeline
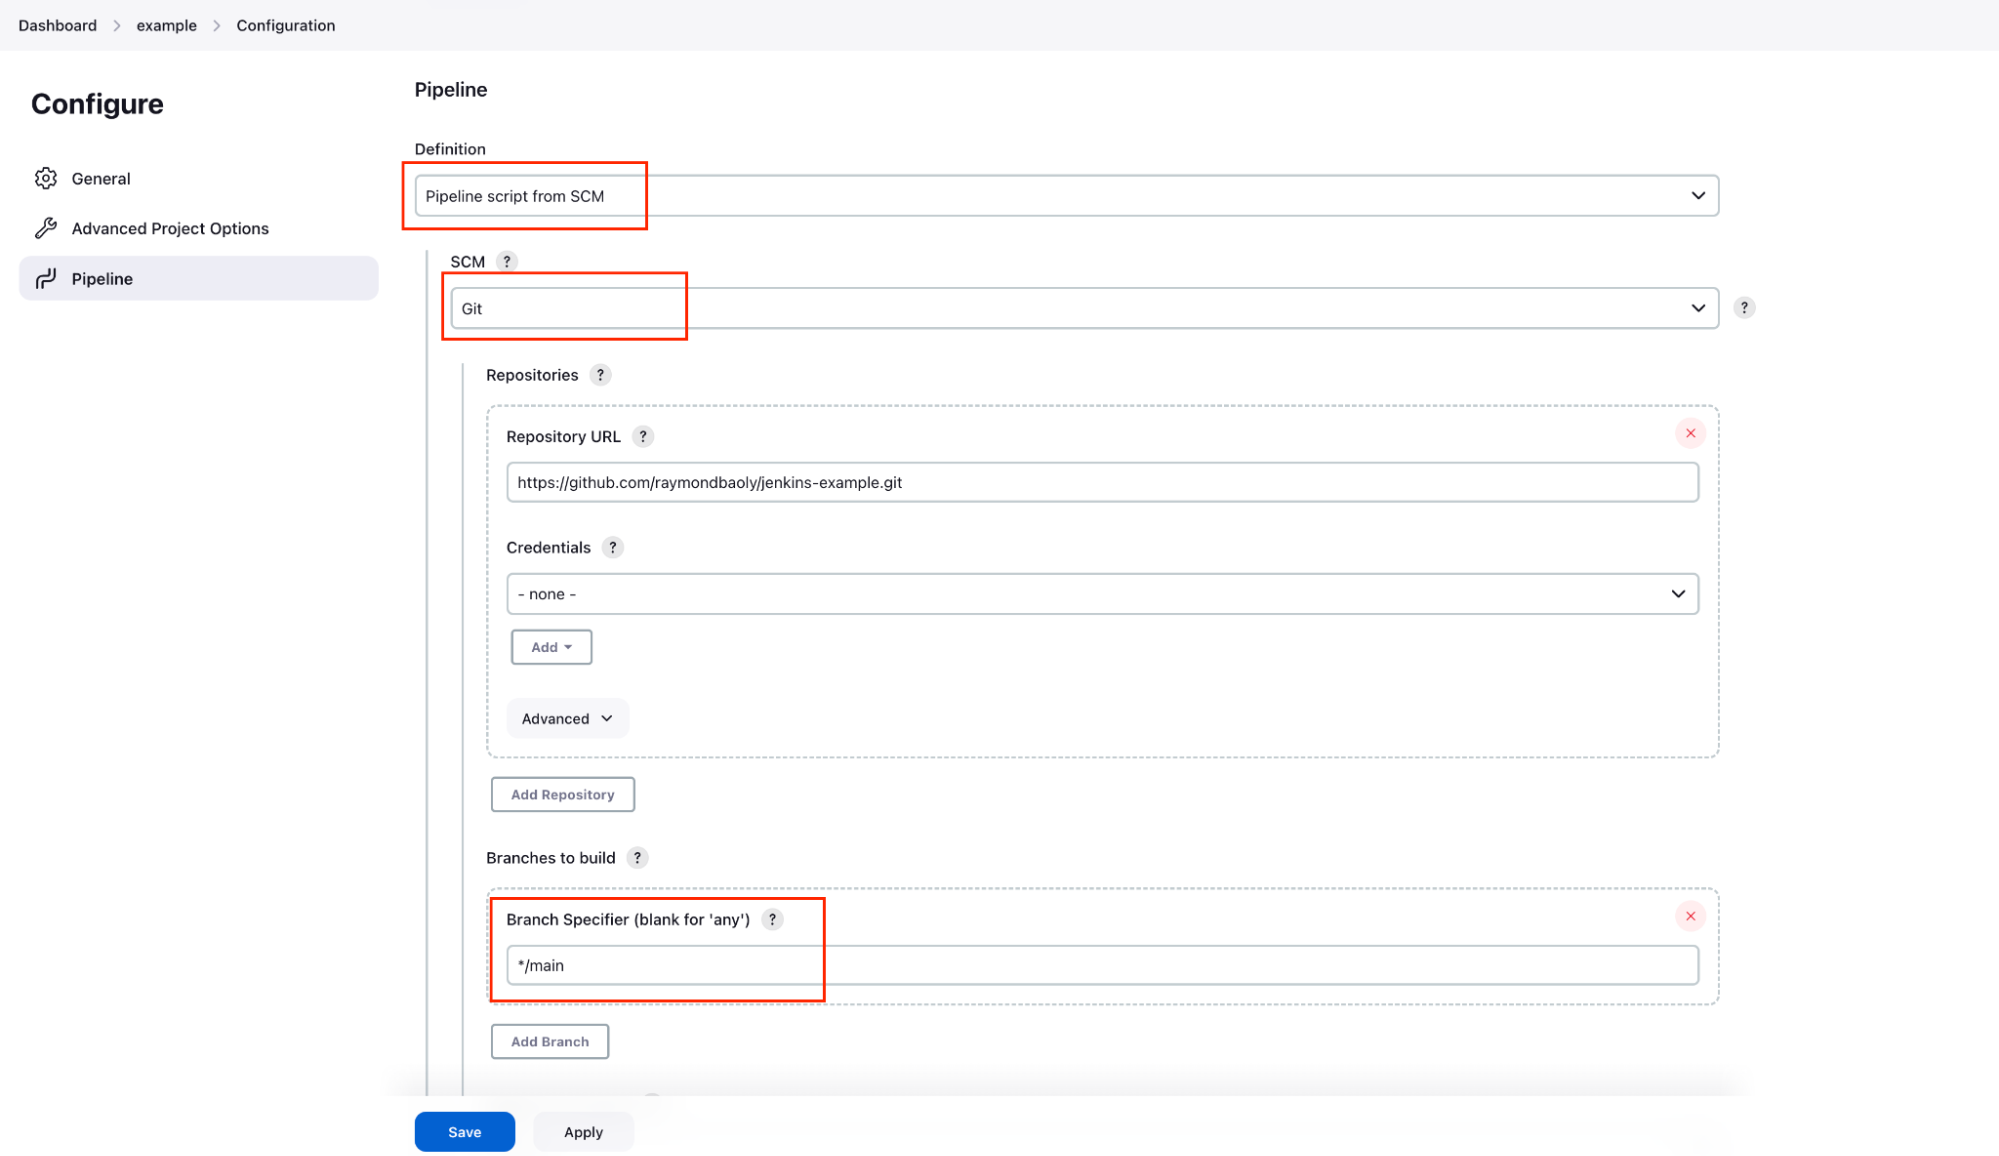
Under Pipeline > Definition, choose Pipeline script from SCM, then choose Git and paste the link source code git. Next, update Branch Specifier to the branch you want, which is “main” here.
Note: If you use private repository git, you need to specify “Username with password credentials”. Here we use the public repository Github so it is chosen as none.
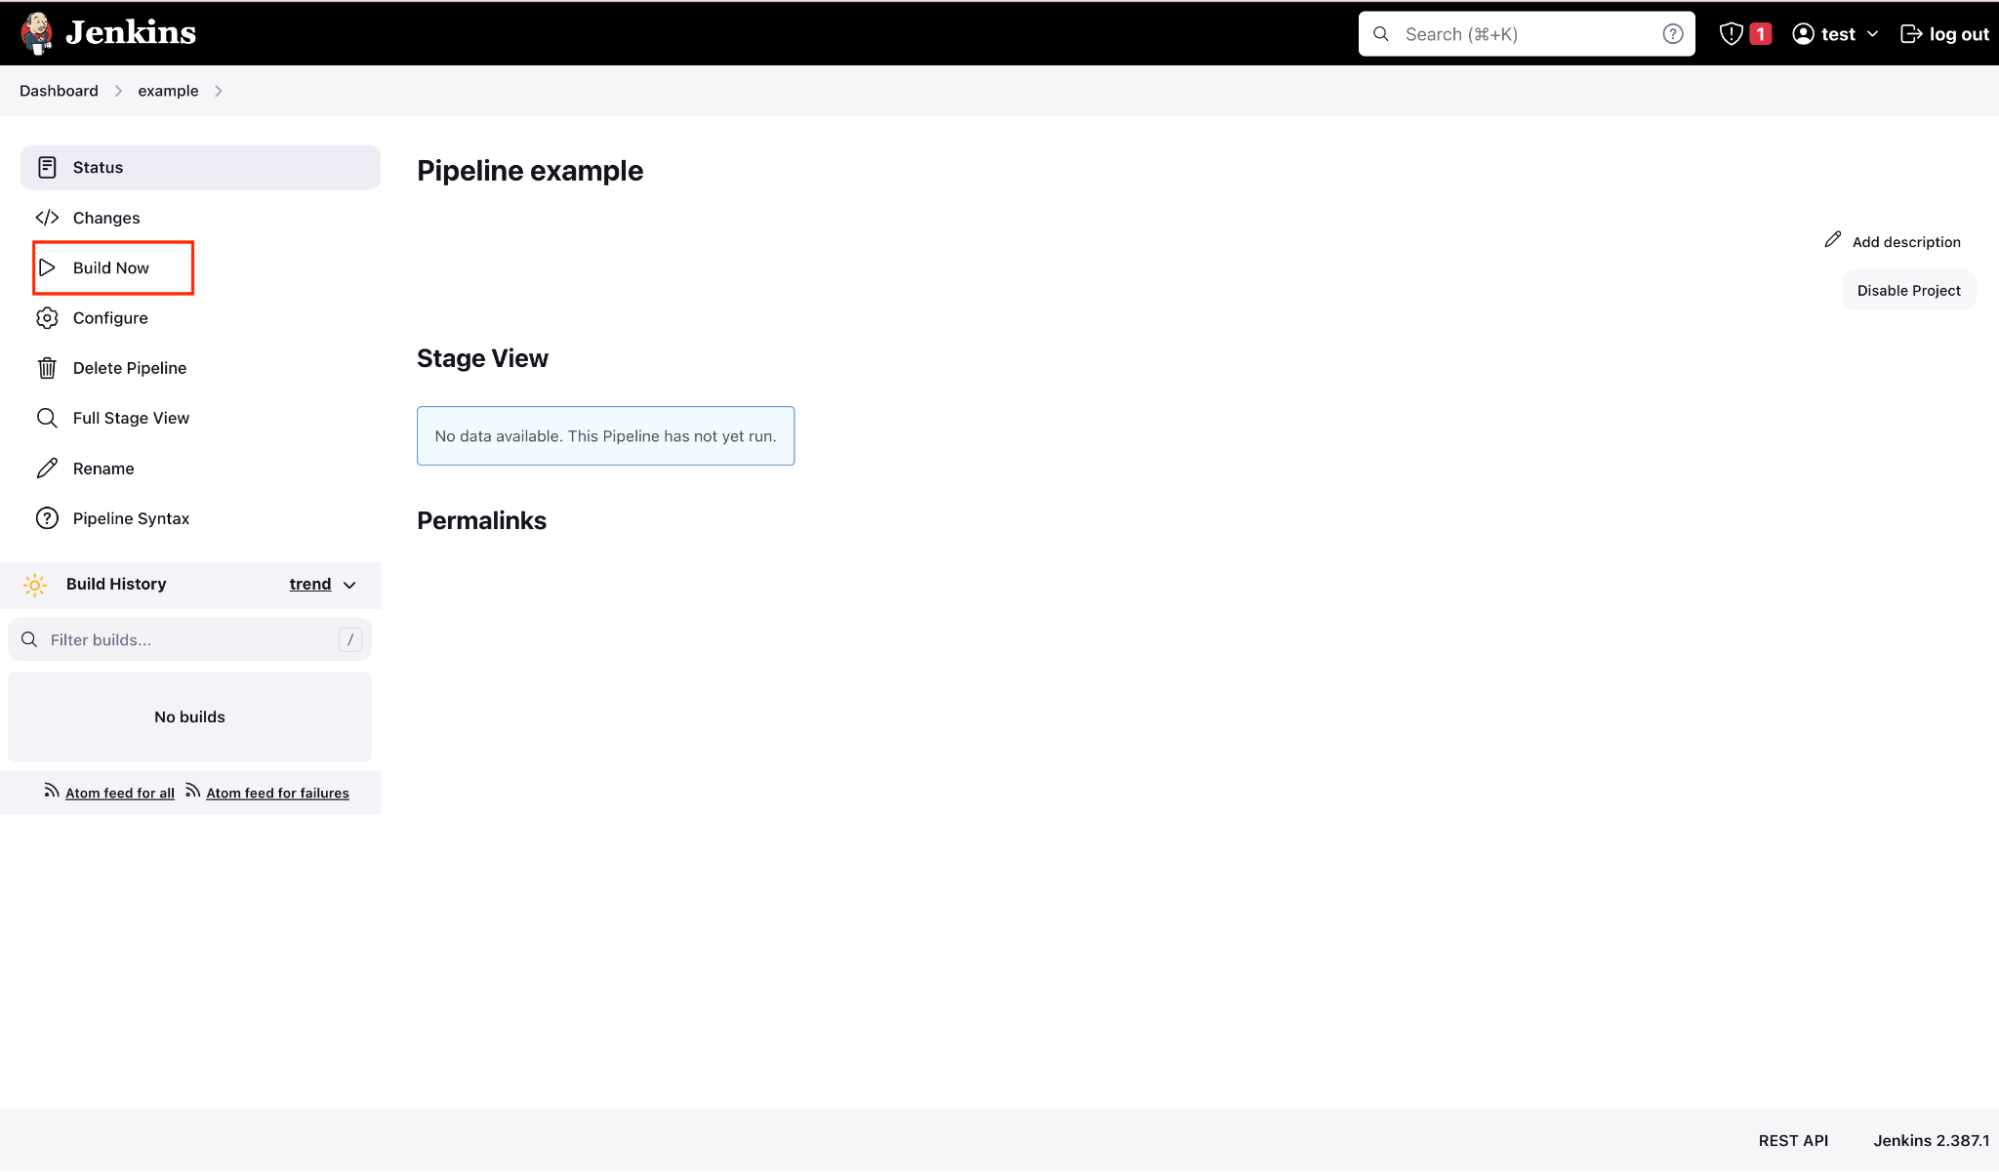
At this point, we click Build Now to start executing Jenkinsfile.
Here is Jenkinsfile:
pipeline {
   agent any

   environment {
       // Please update your own registry here
       REGISTRY = 'registry.baohoi.com'
       REGISTRY_IMAGE = "$REGISTRY/private/jenkins-example"
       DOCKERFILE_PATH = 'Dockerfile'

       REGISTRY_USER = credentials('registryUser')
       REGISTRY_PASSWORD = credentials('registryPassword')

       CURRENT_BUILD_NUMBER = "${currentBuild.number}"
       GIT_COMMIT_SHORT = sh(returnStdout: true, script: "git rev-parse --short ${GIT_COMMIT}").trim()
   }

   stages {
       stage('Build') {
           steps {
               sh 'docker build -t $REGISTRY_IMAGE:$GIT_COMMIT_SHORT-jenkins-$CURRENT_BUILD_NUMBER -f $DOCKERFILE_PATH .'
           }
       }
       stage('Push') {
           steps {
               sh 'docker login -u $REGISTRY_USER -p $REGISTRY_PASSWORD $REGISTRY'
               sh 'docker push $REGISTRY_IMAGE:$GIT_COMMIT_SHORT-jenkins-$CURRENT_BUILD_NUMBER'
           }
       }
   }
}
Eventually, we have the first successful pipeline.

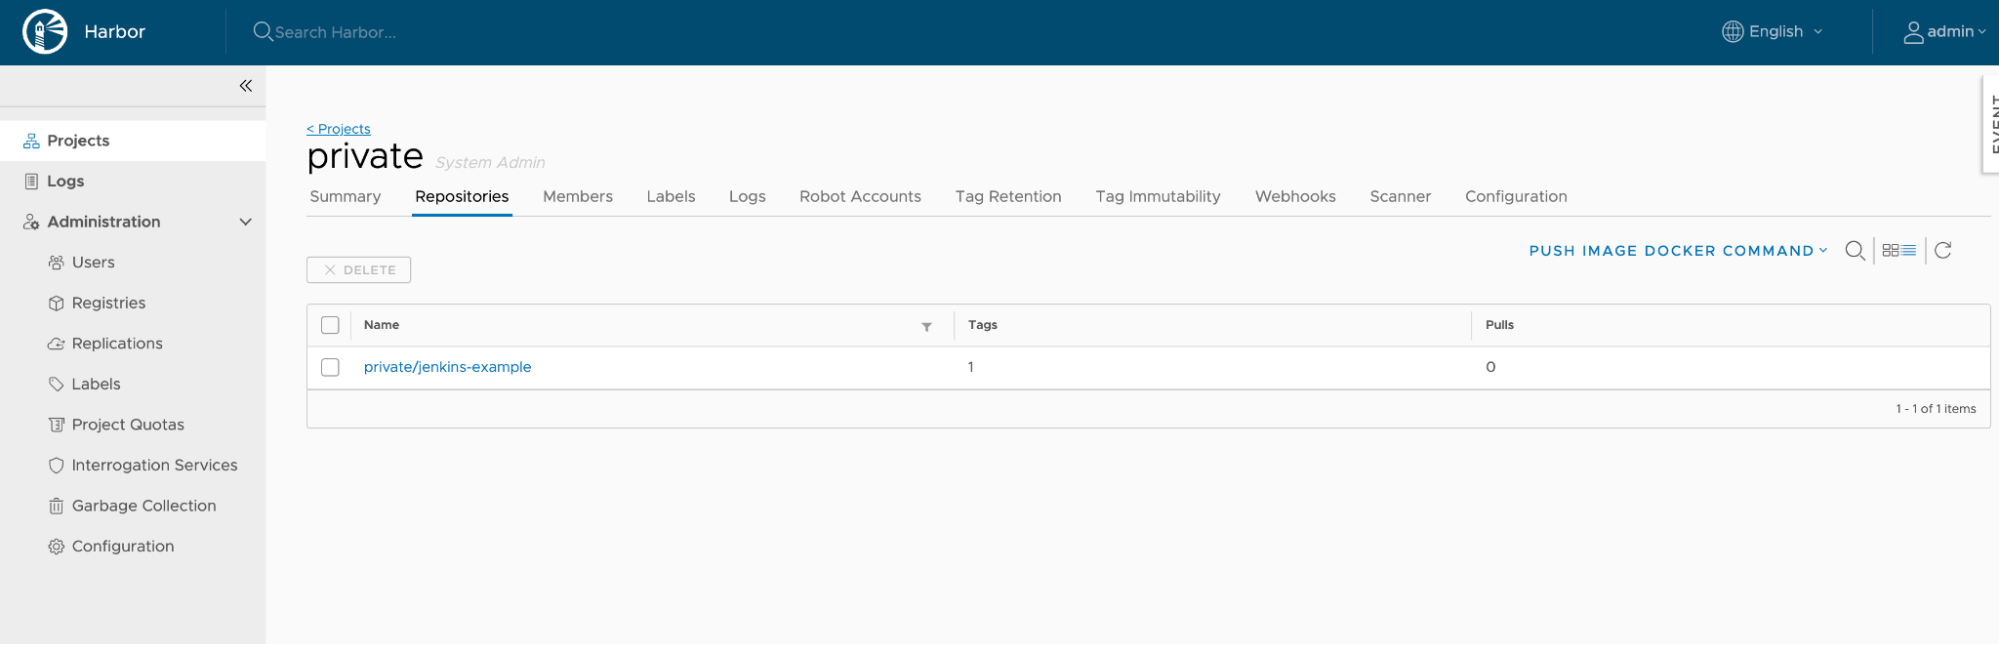
And we can make a check on the image in Harbor.
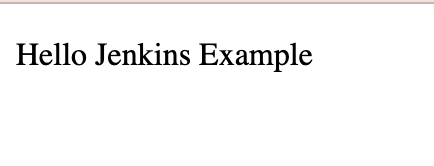
Finally, deploy and test this image by running the command:
$ sudo docker run -it -d -p 80:80 registry.baohoi.com/private/jenkins-example:8c8b3a7-jenkins-1
Here is the result:
From now on, you can build a new image with one click on Jenkins and manage these images on Harbor. You also can update the Jenkinsfile to add more commands which you want to do automatically. There are a lot of tasks we can use Jenkins, for example, a pipeline job for pulling a Helm git, updating the new tag image, and committing and pushing to the git repository(GitOps). Now, I hope you gain an overview and basic usage of Jenkins. We will have more blogs about implementing Jenkins in CI/CD pipeline and GitOps.