Update - March 2024
The latest version of this guide can now be found here, and is where any future updates will be applied.
Hello guys, I saw many of you faced problems while trying to create an AKS instance in the playground, so I decided to write a post on that with step-by-step guidelines, check it out!
- Provision your Azure playground lab
Prerequisite: Premium KodeKloud subscription.
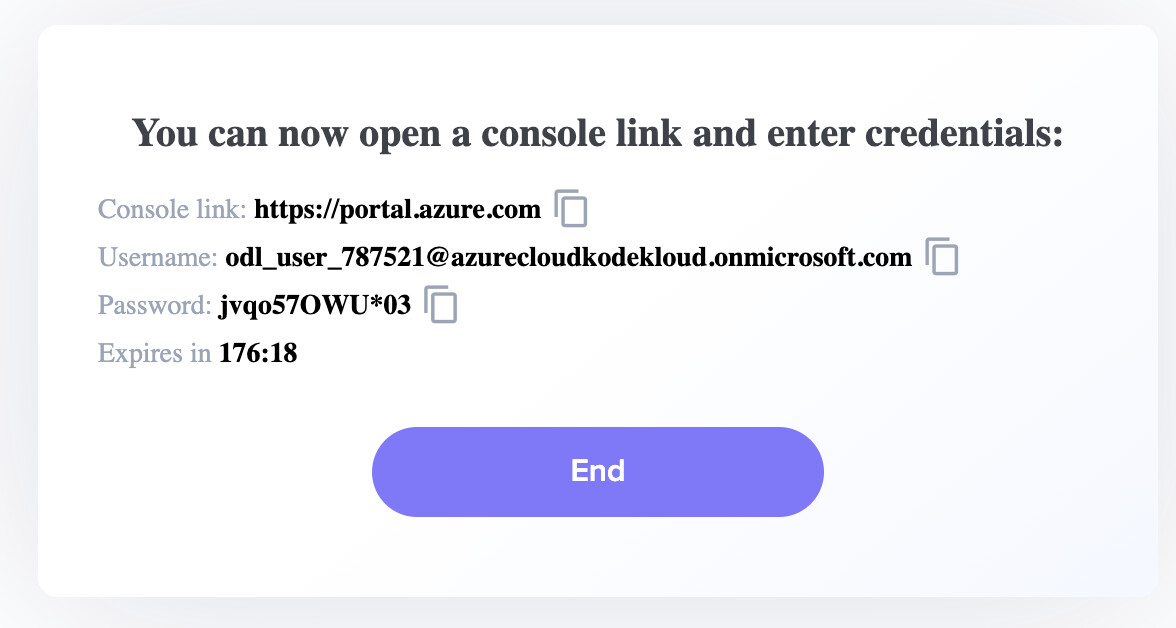
Access this link: Sign In | KodeKloud and click start lab to request a new Azure Playground instance, after a few seconds, you will receive your temp Azure portal account like the below image:
Access https://portal.azure.com using the provided account.
- Create Azure Kubernetes Service cluster
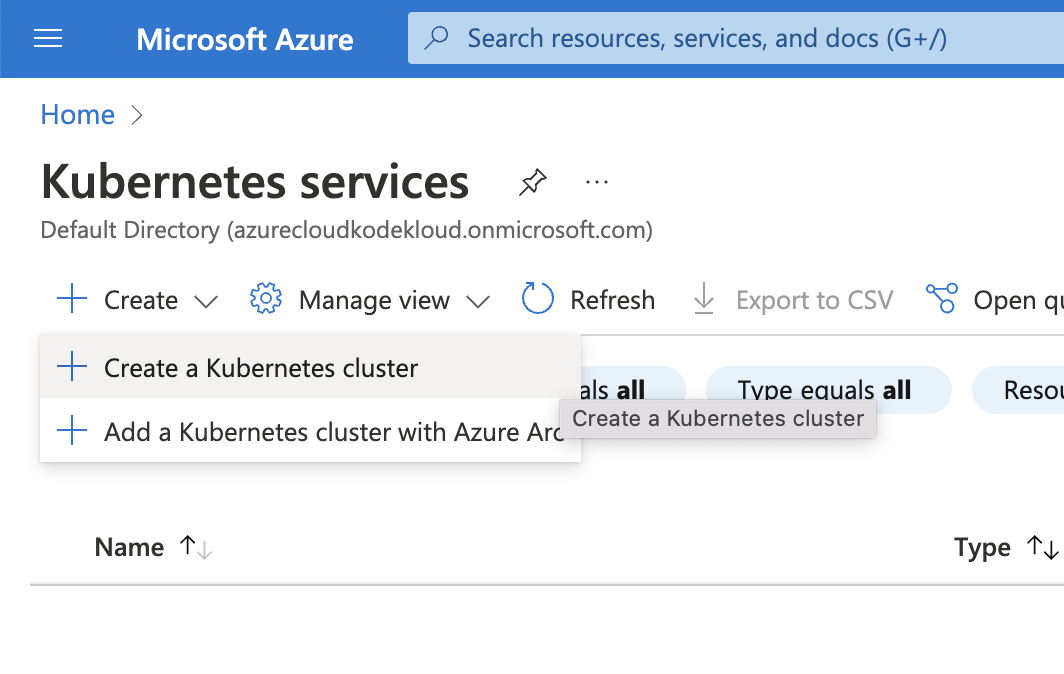
From the Azure portal dashboard, select Kubernetes Services or search for it in the search bar.

Then select “Create a Kubernetes cluster”
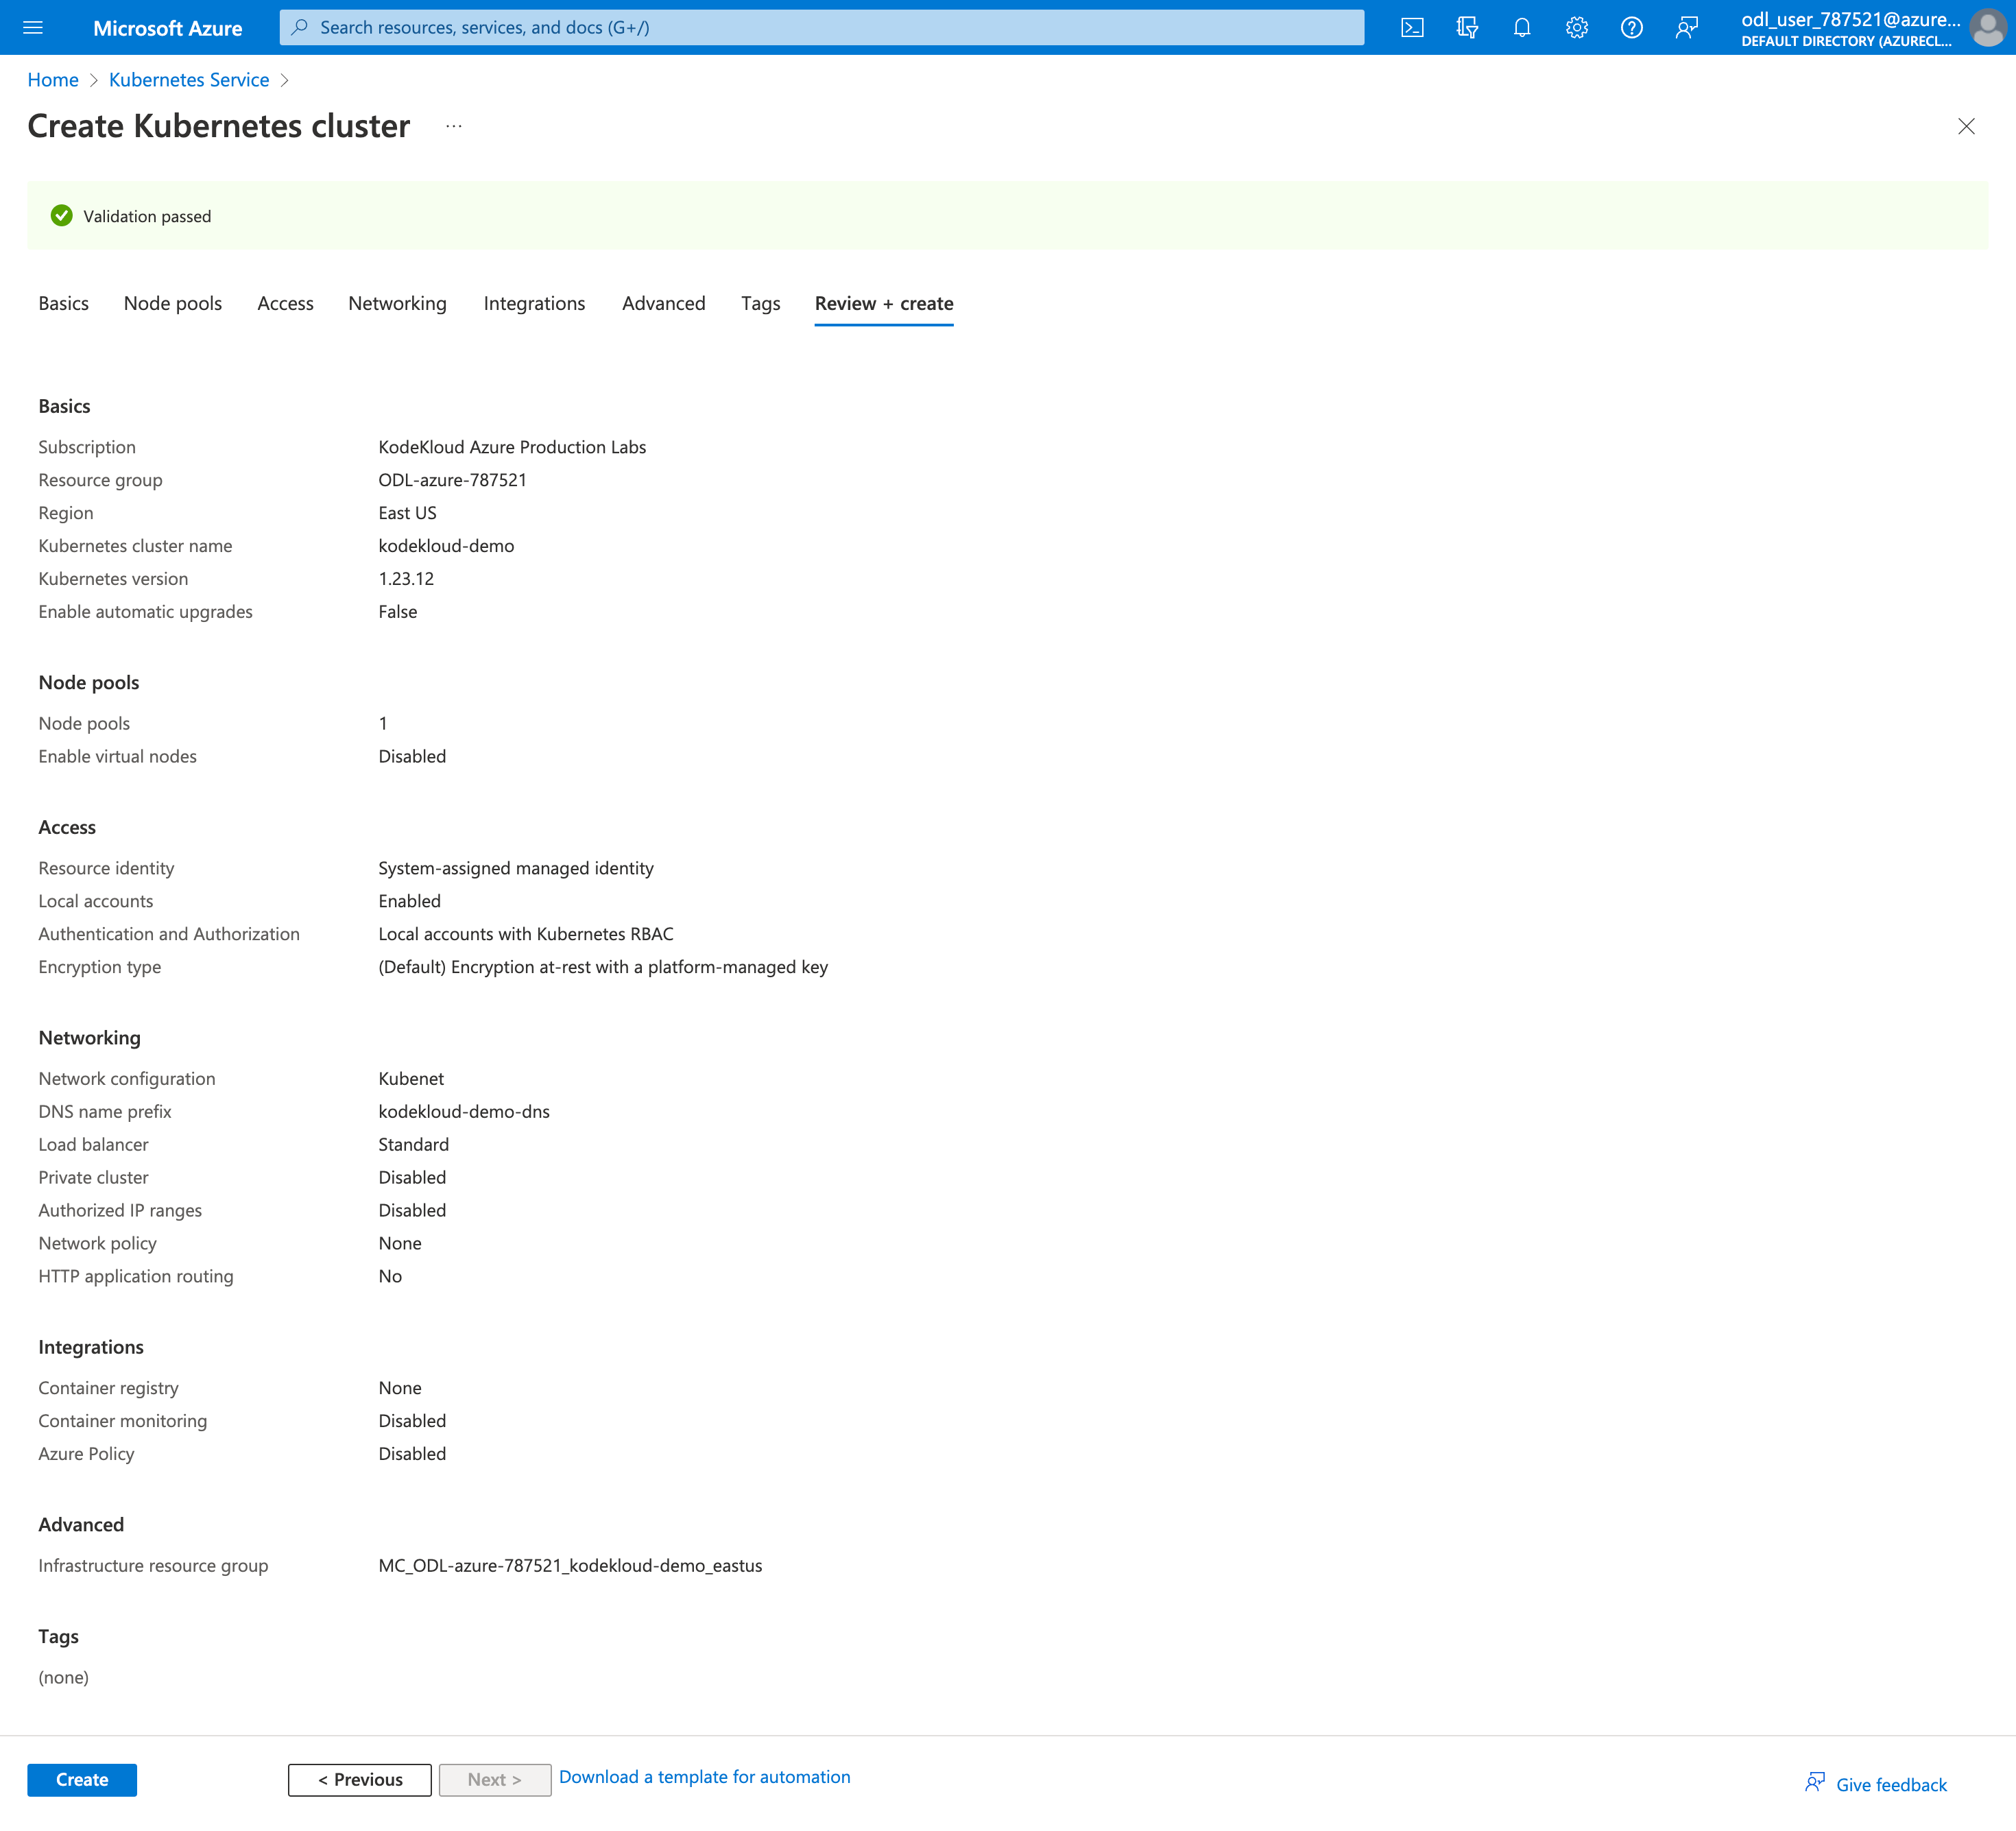
In the creation form, configure as below image
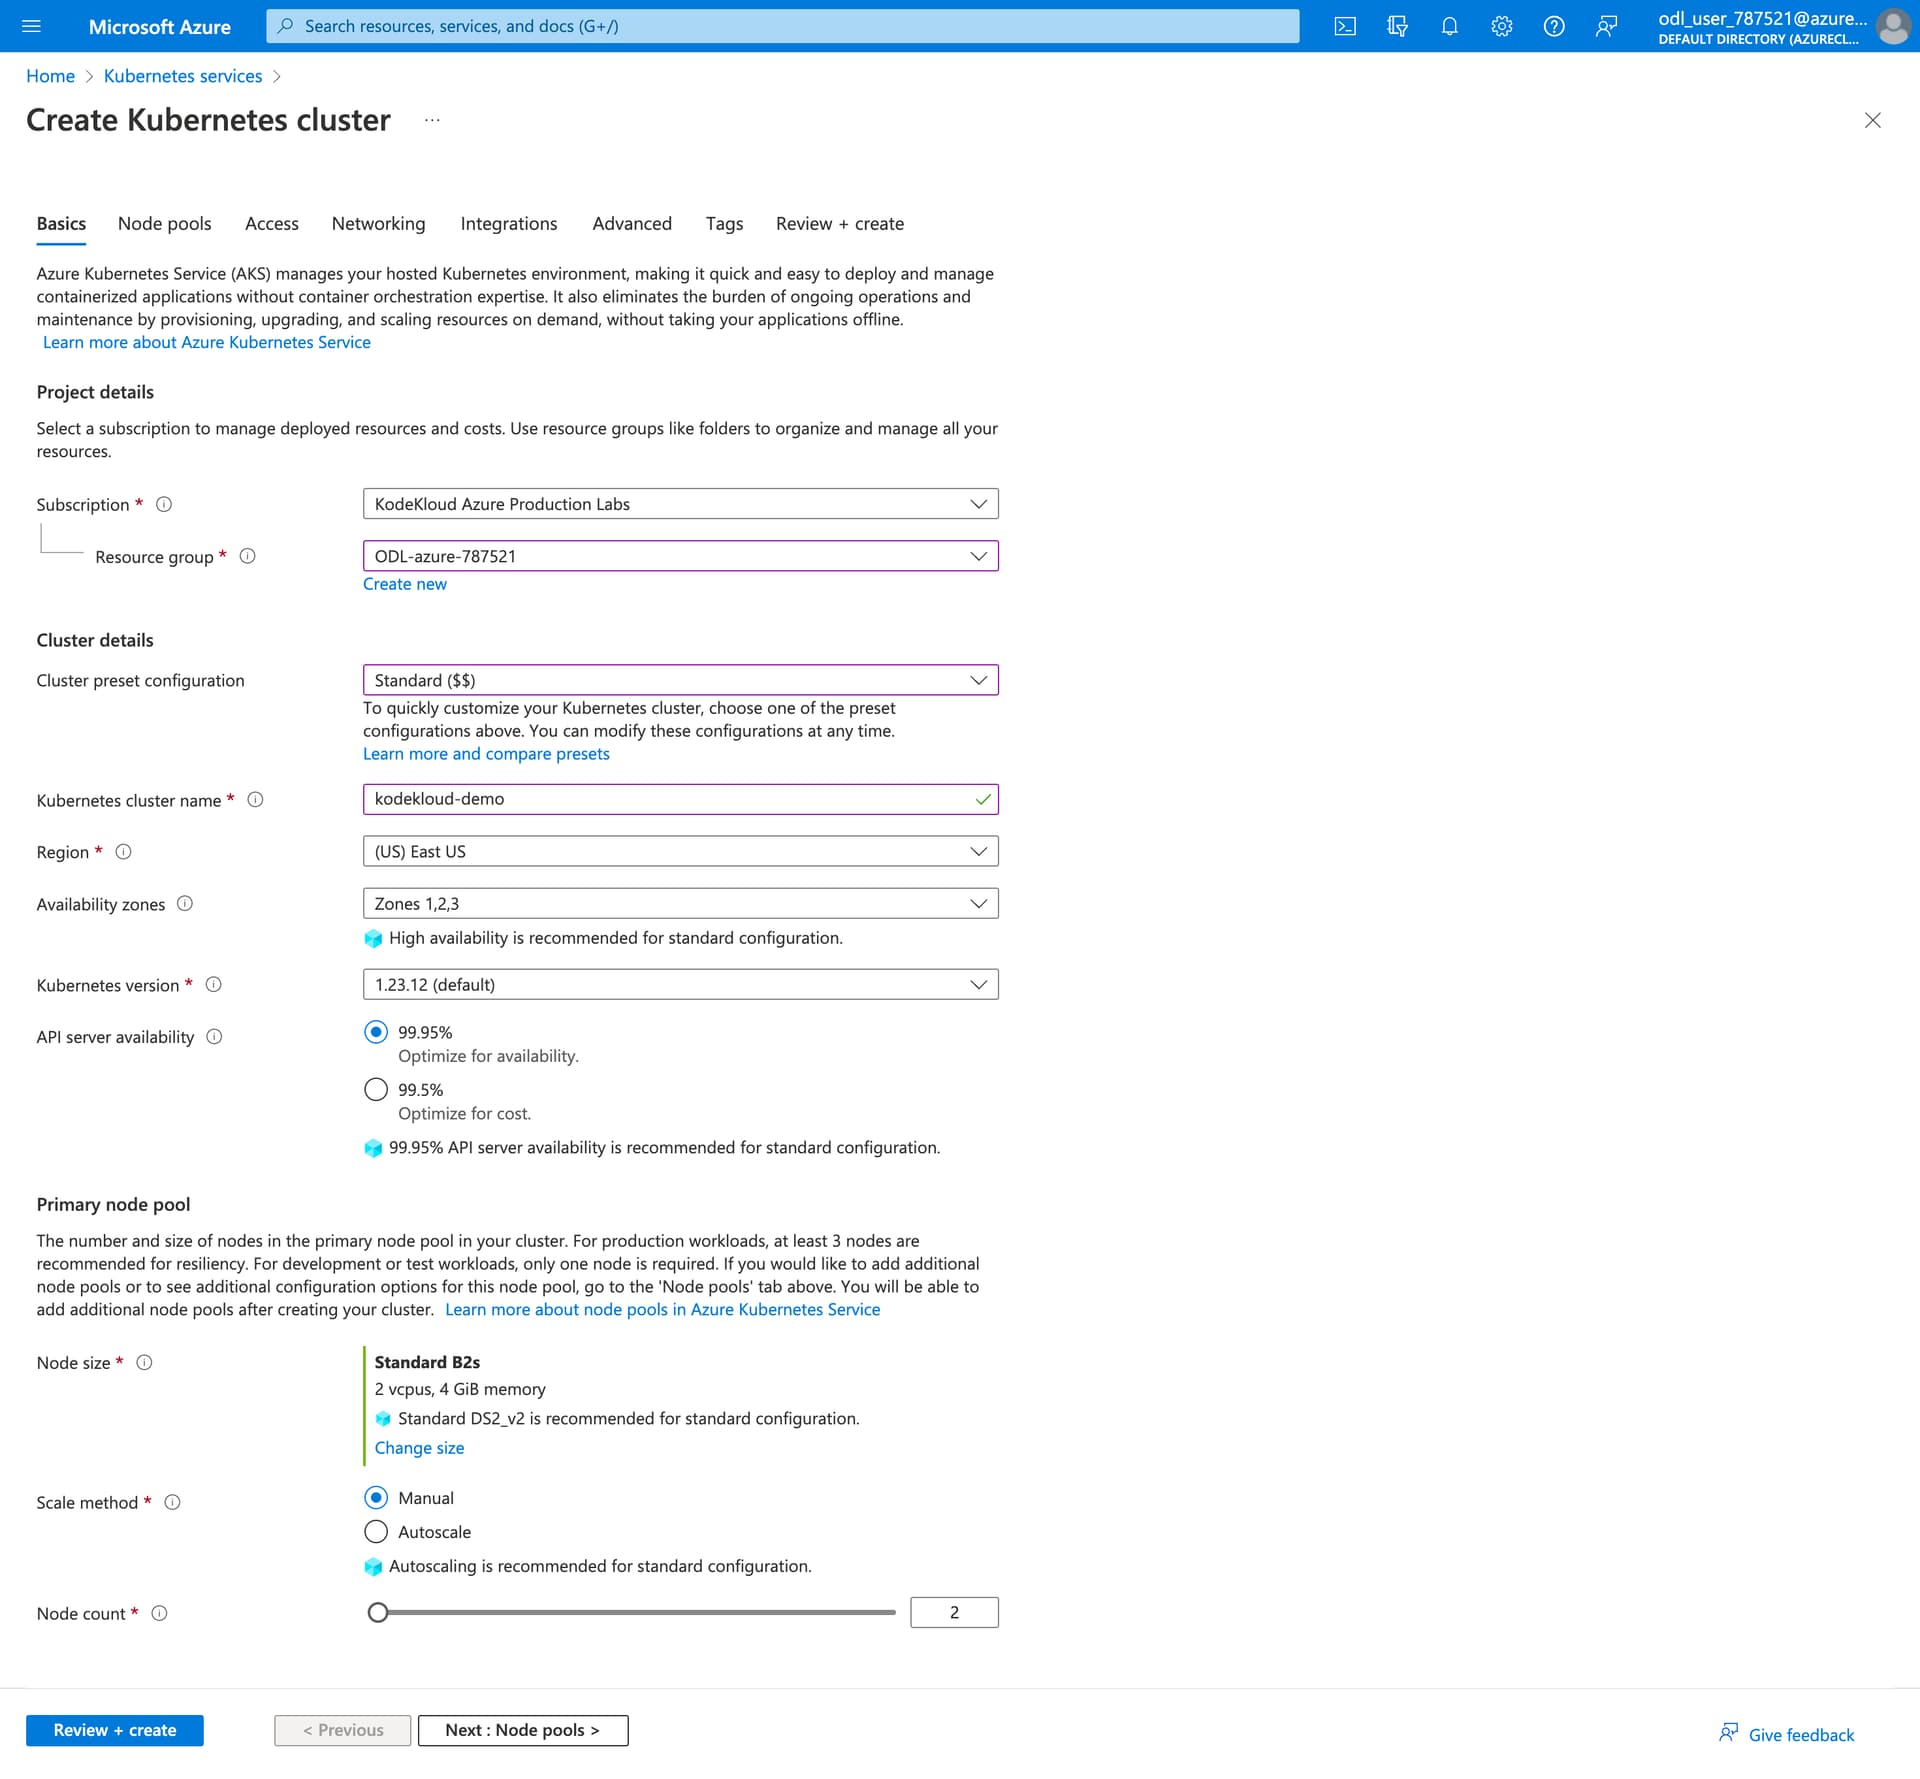
- Resource group: select the pre-defined one
- Cluster name: select any suitable name (kodekloud-demo)
- Node size: Standard B2s
- Scale Method: Manual
- Node count: 2
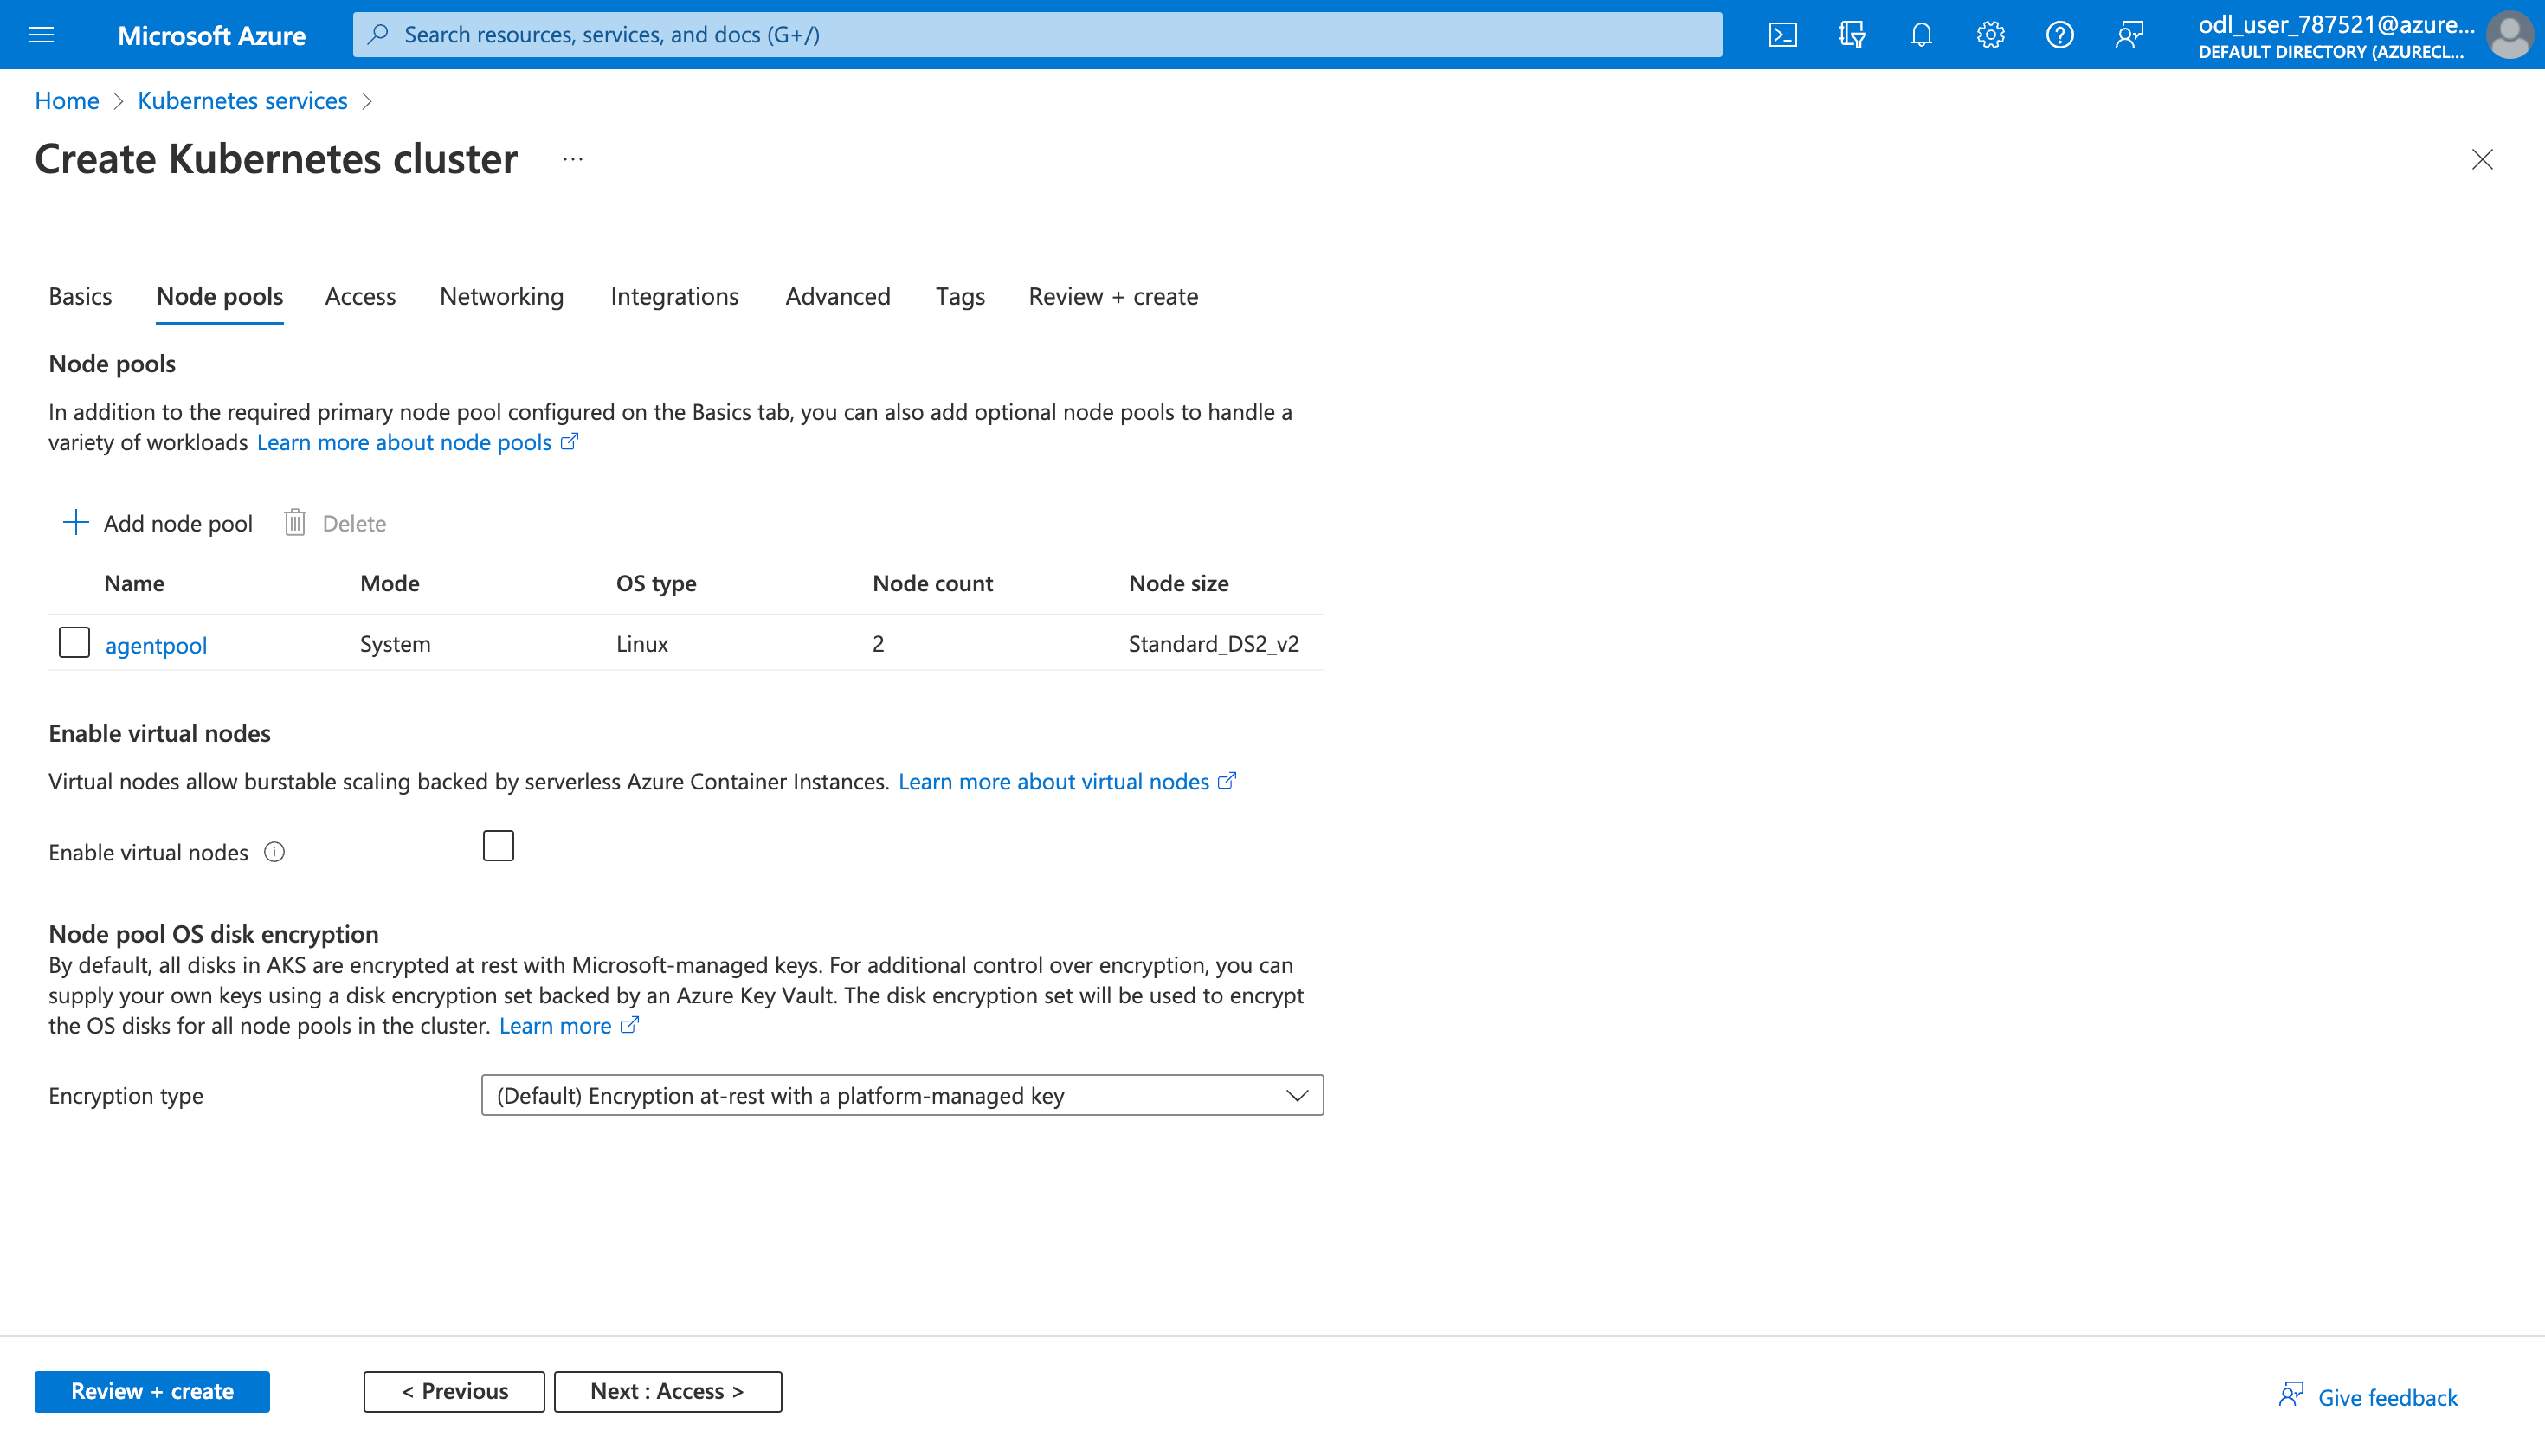
Then click Next: Node pools and keep default configurations.
Then click Next: Access and keep default configurations.

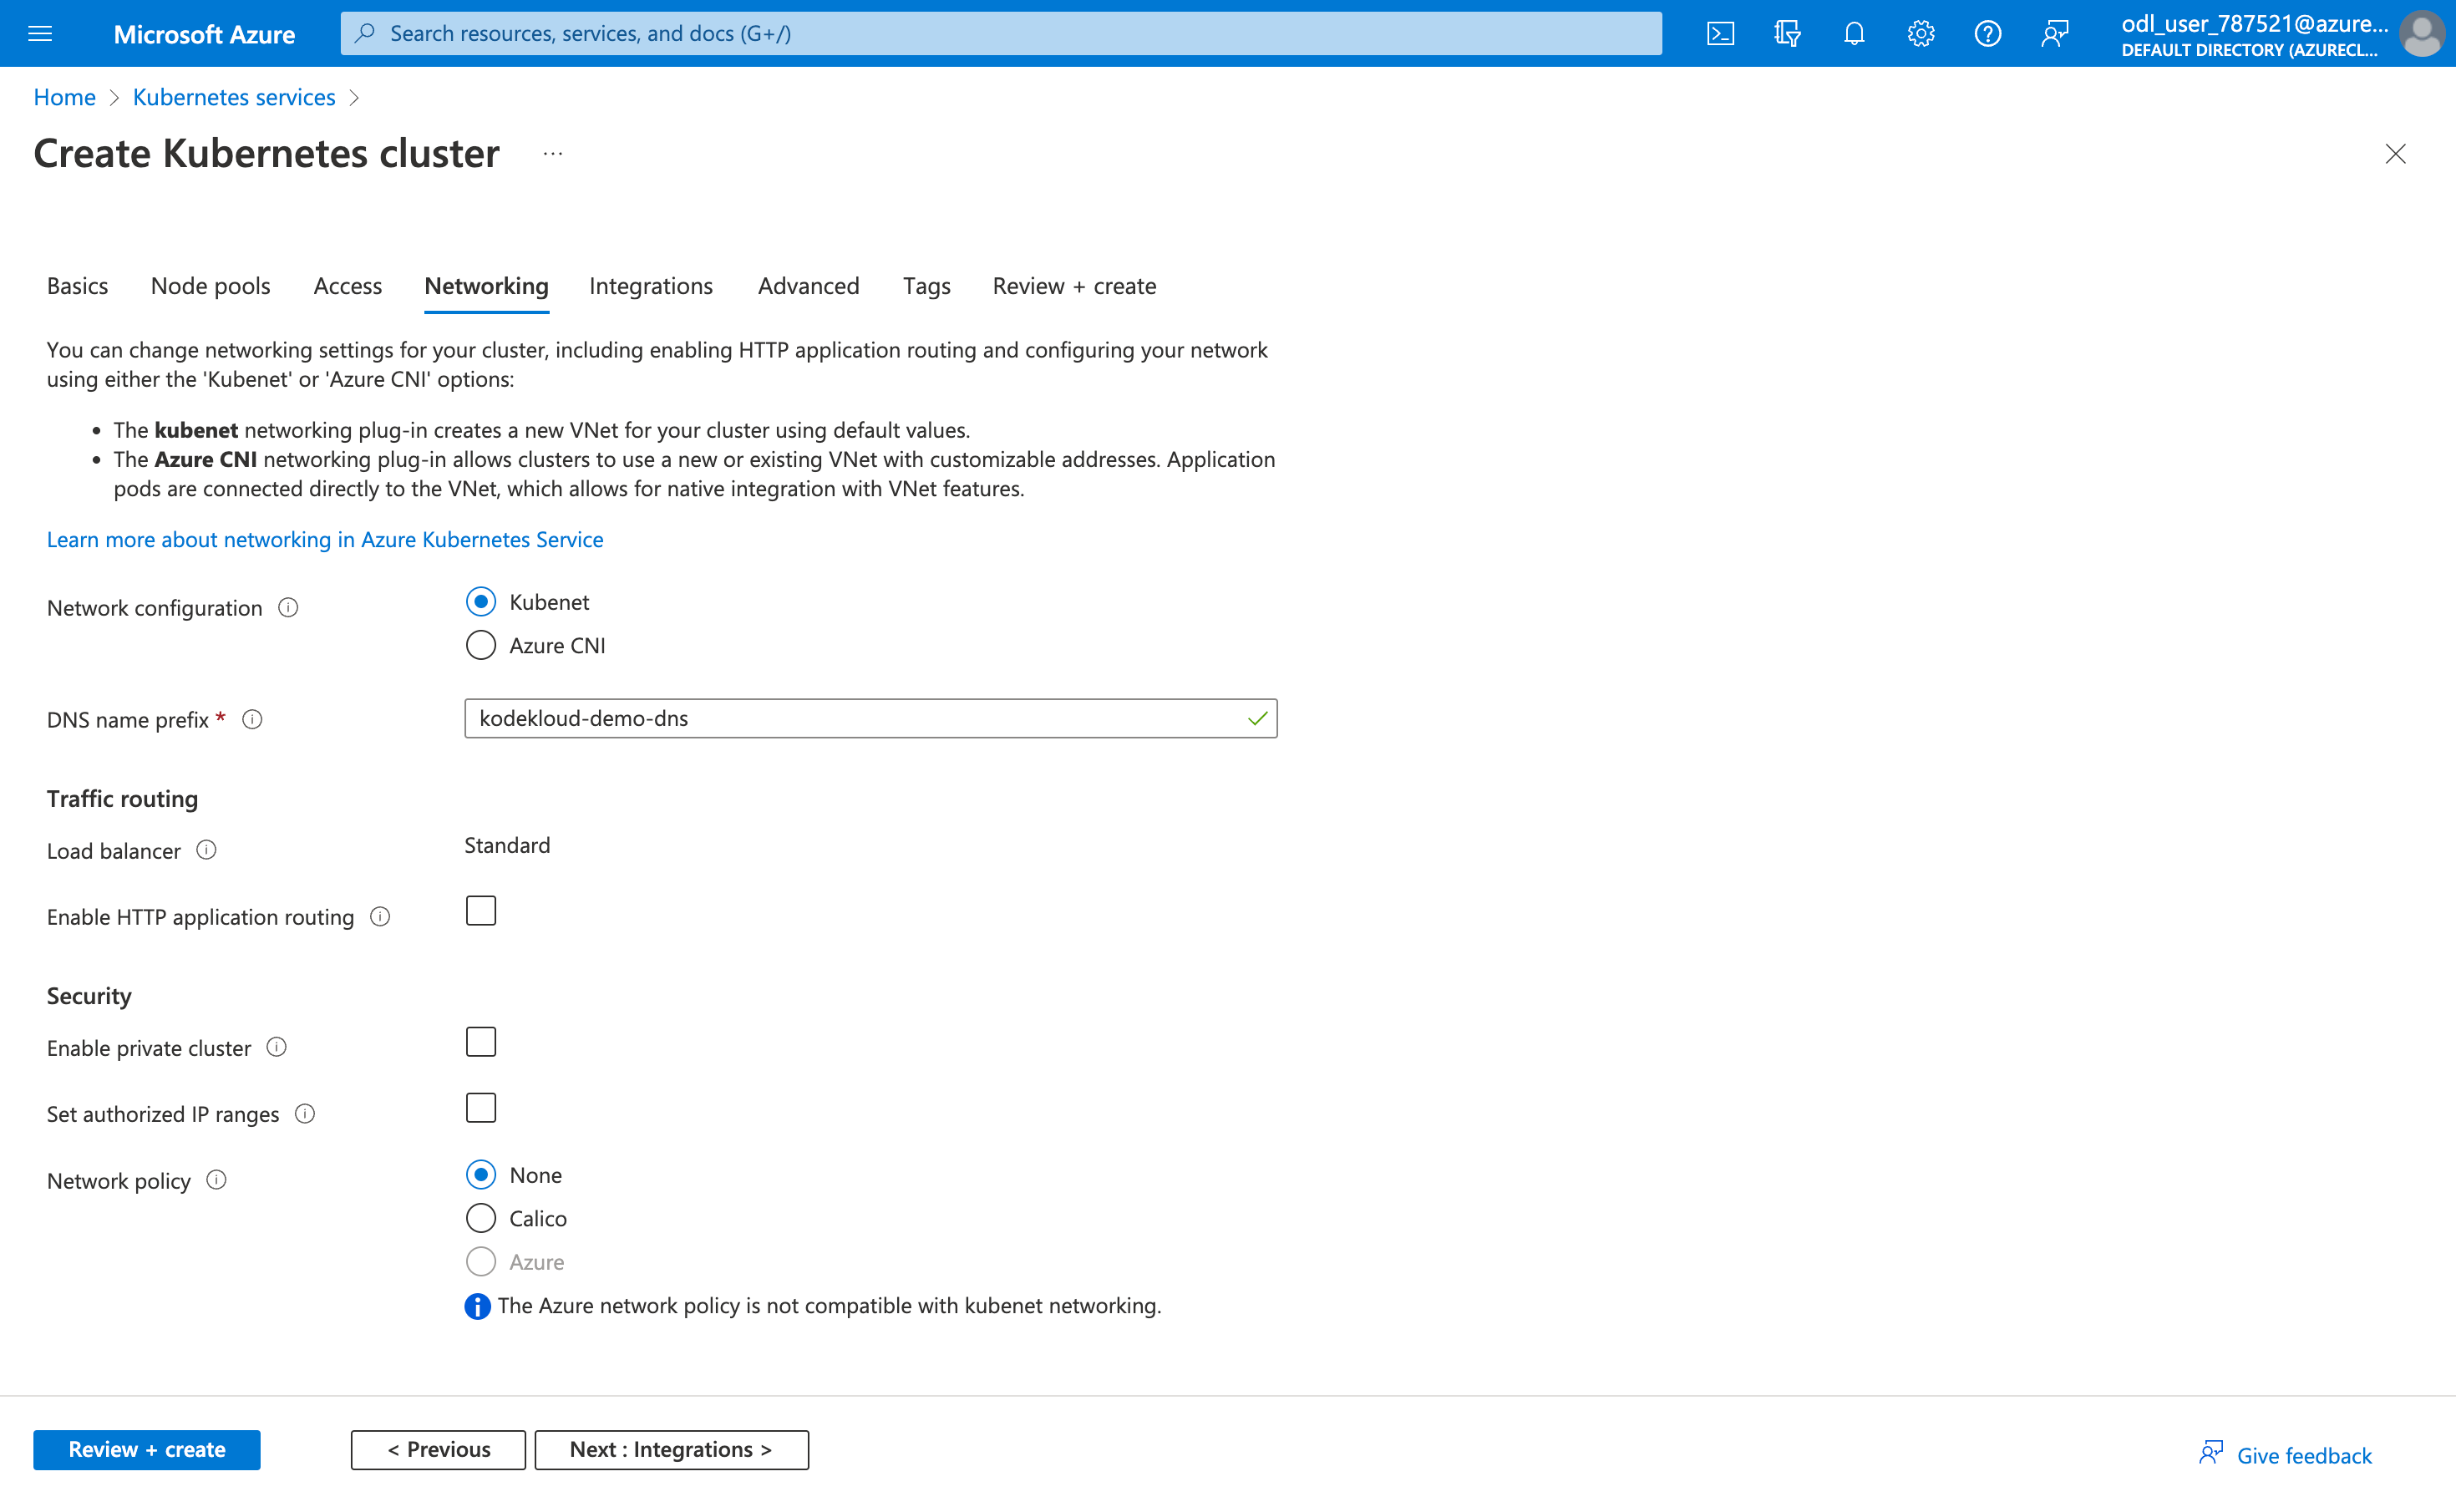
Then click Next: Networking and keep default configurations.
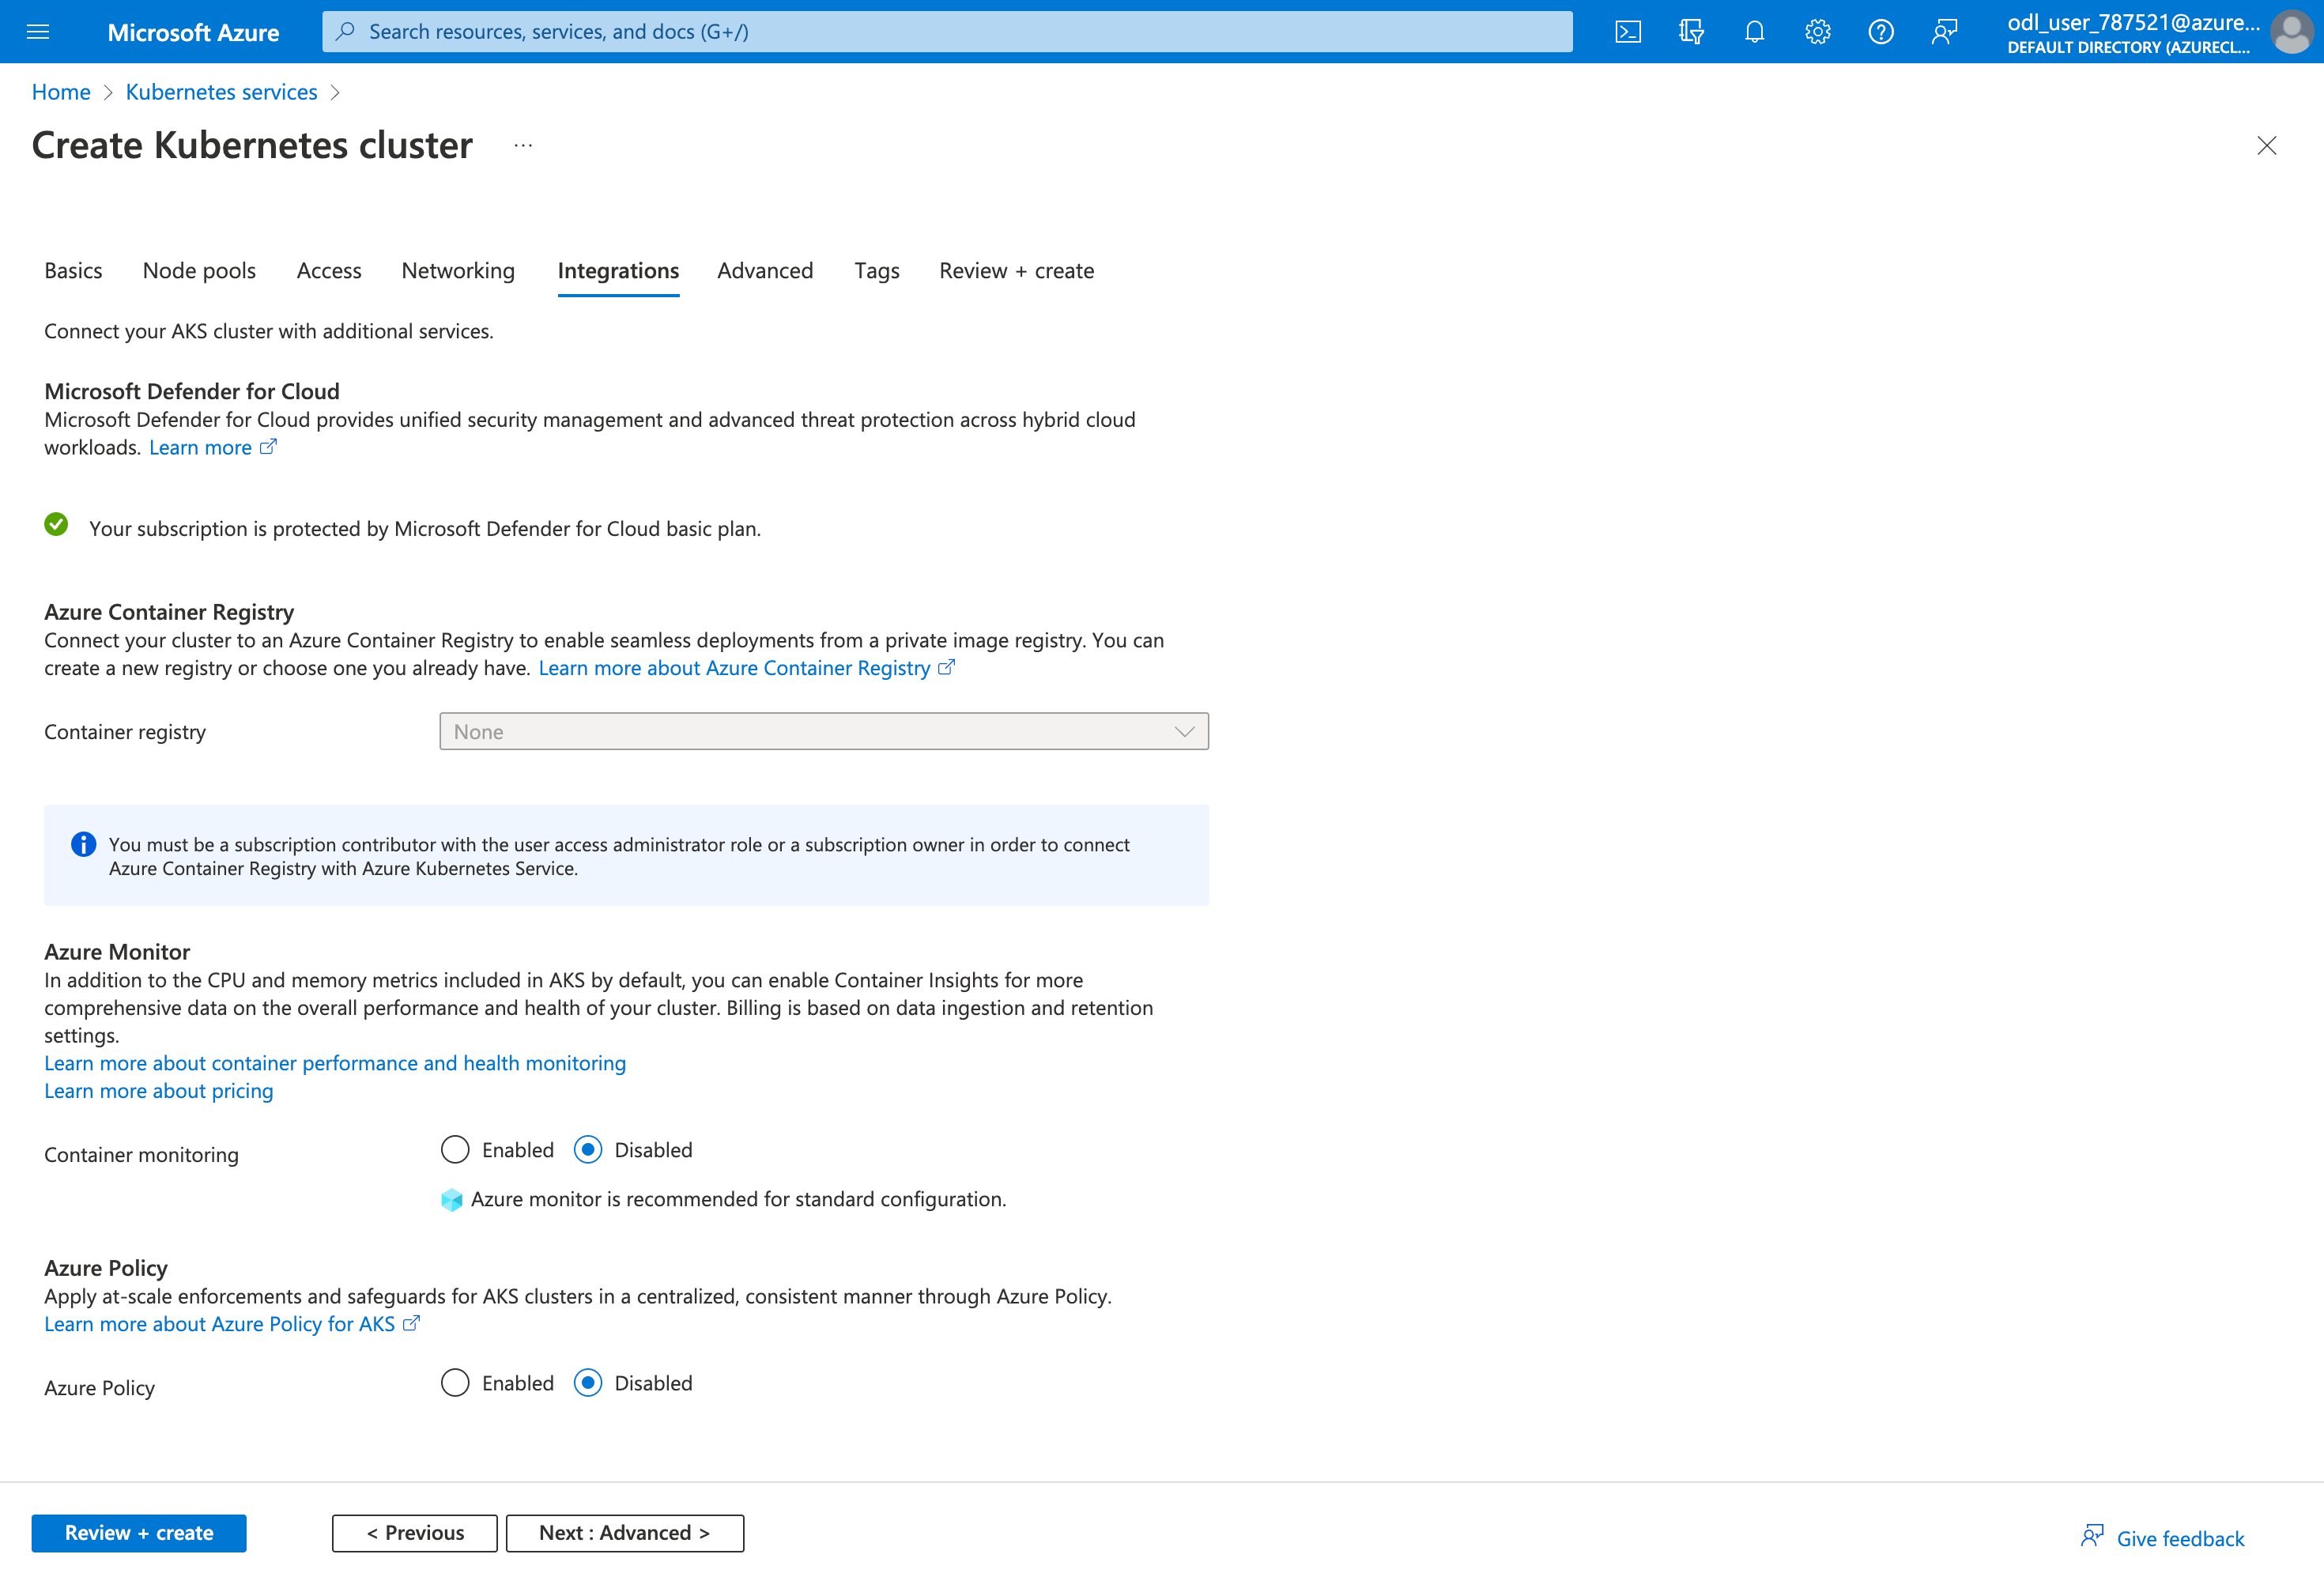
Then click Next: Integrations, in this tab, make sure you disable the Container Monitoring
Then click Review + Create, wait for the final validation pass, then click Create to deploy your AKS instance.
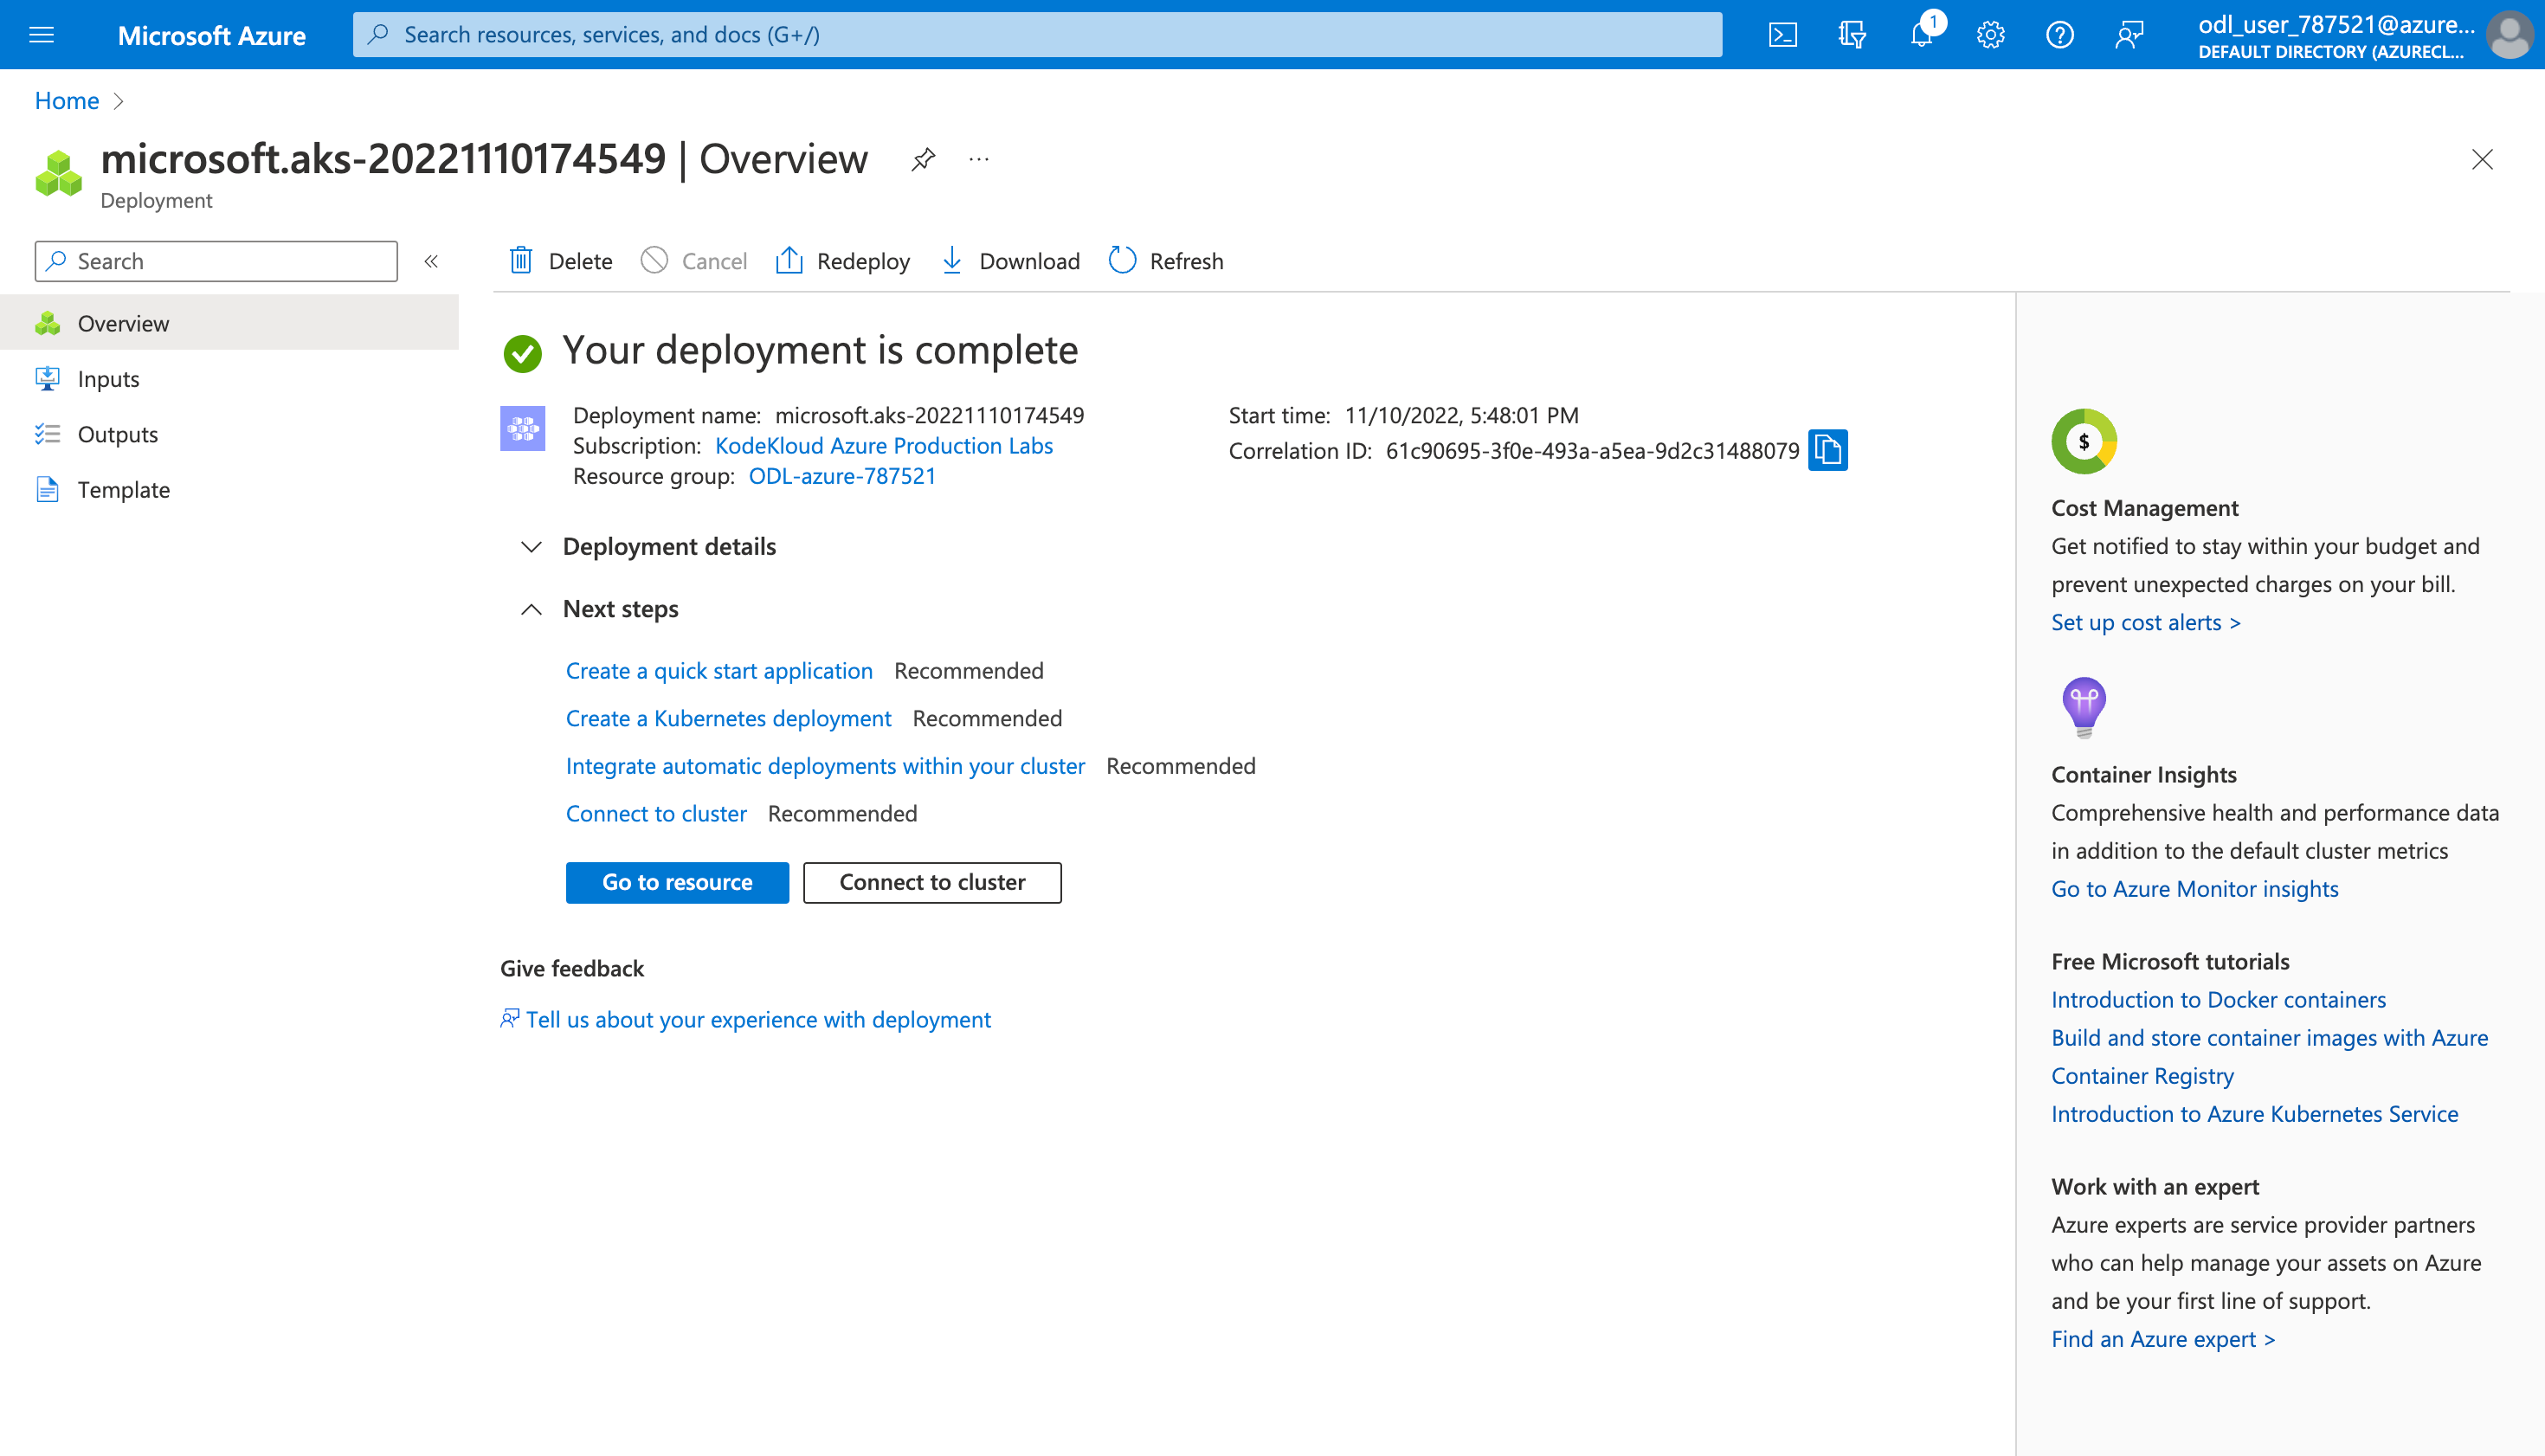
It will take a few minutes for Azure to provision the necessary resource, take a cup of coffee and then enjoy your brand-new Kubernetes instance.
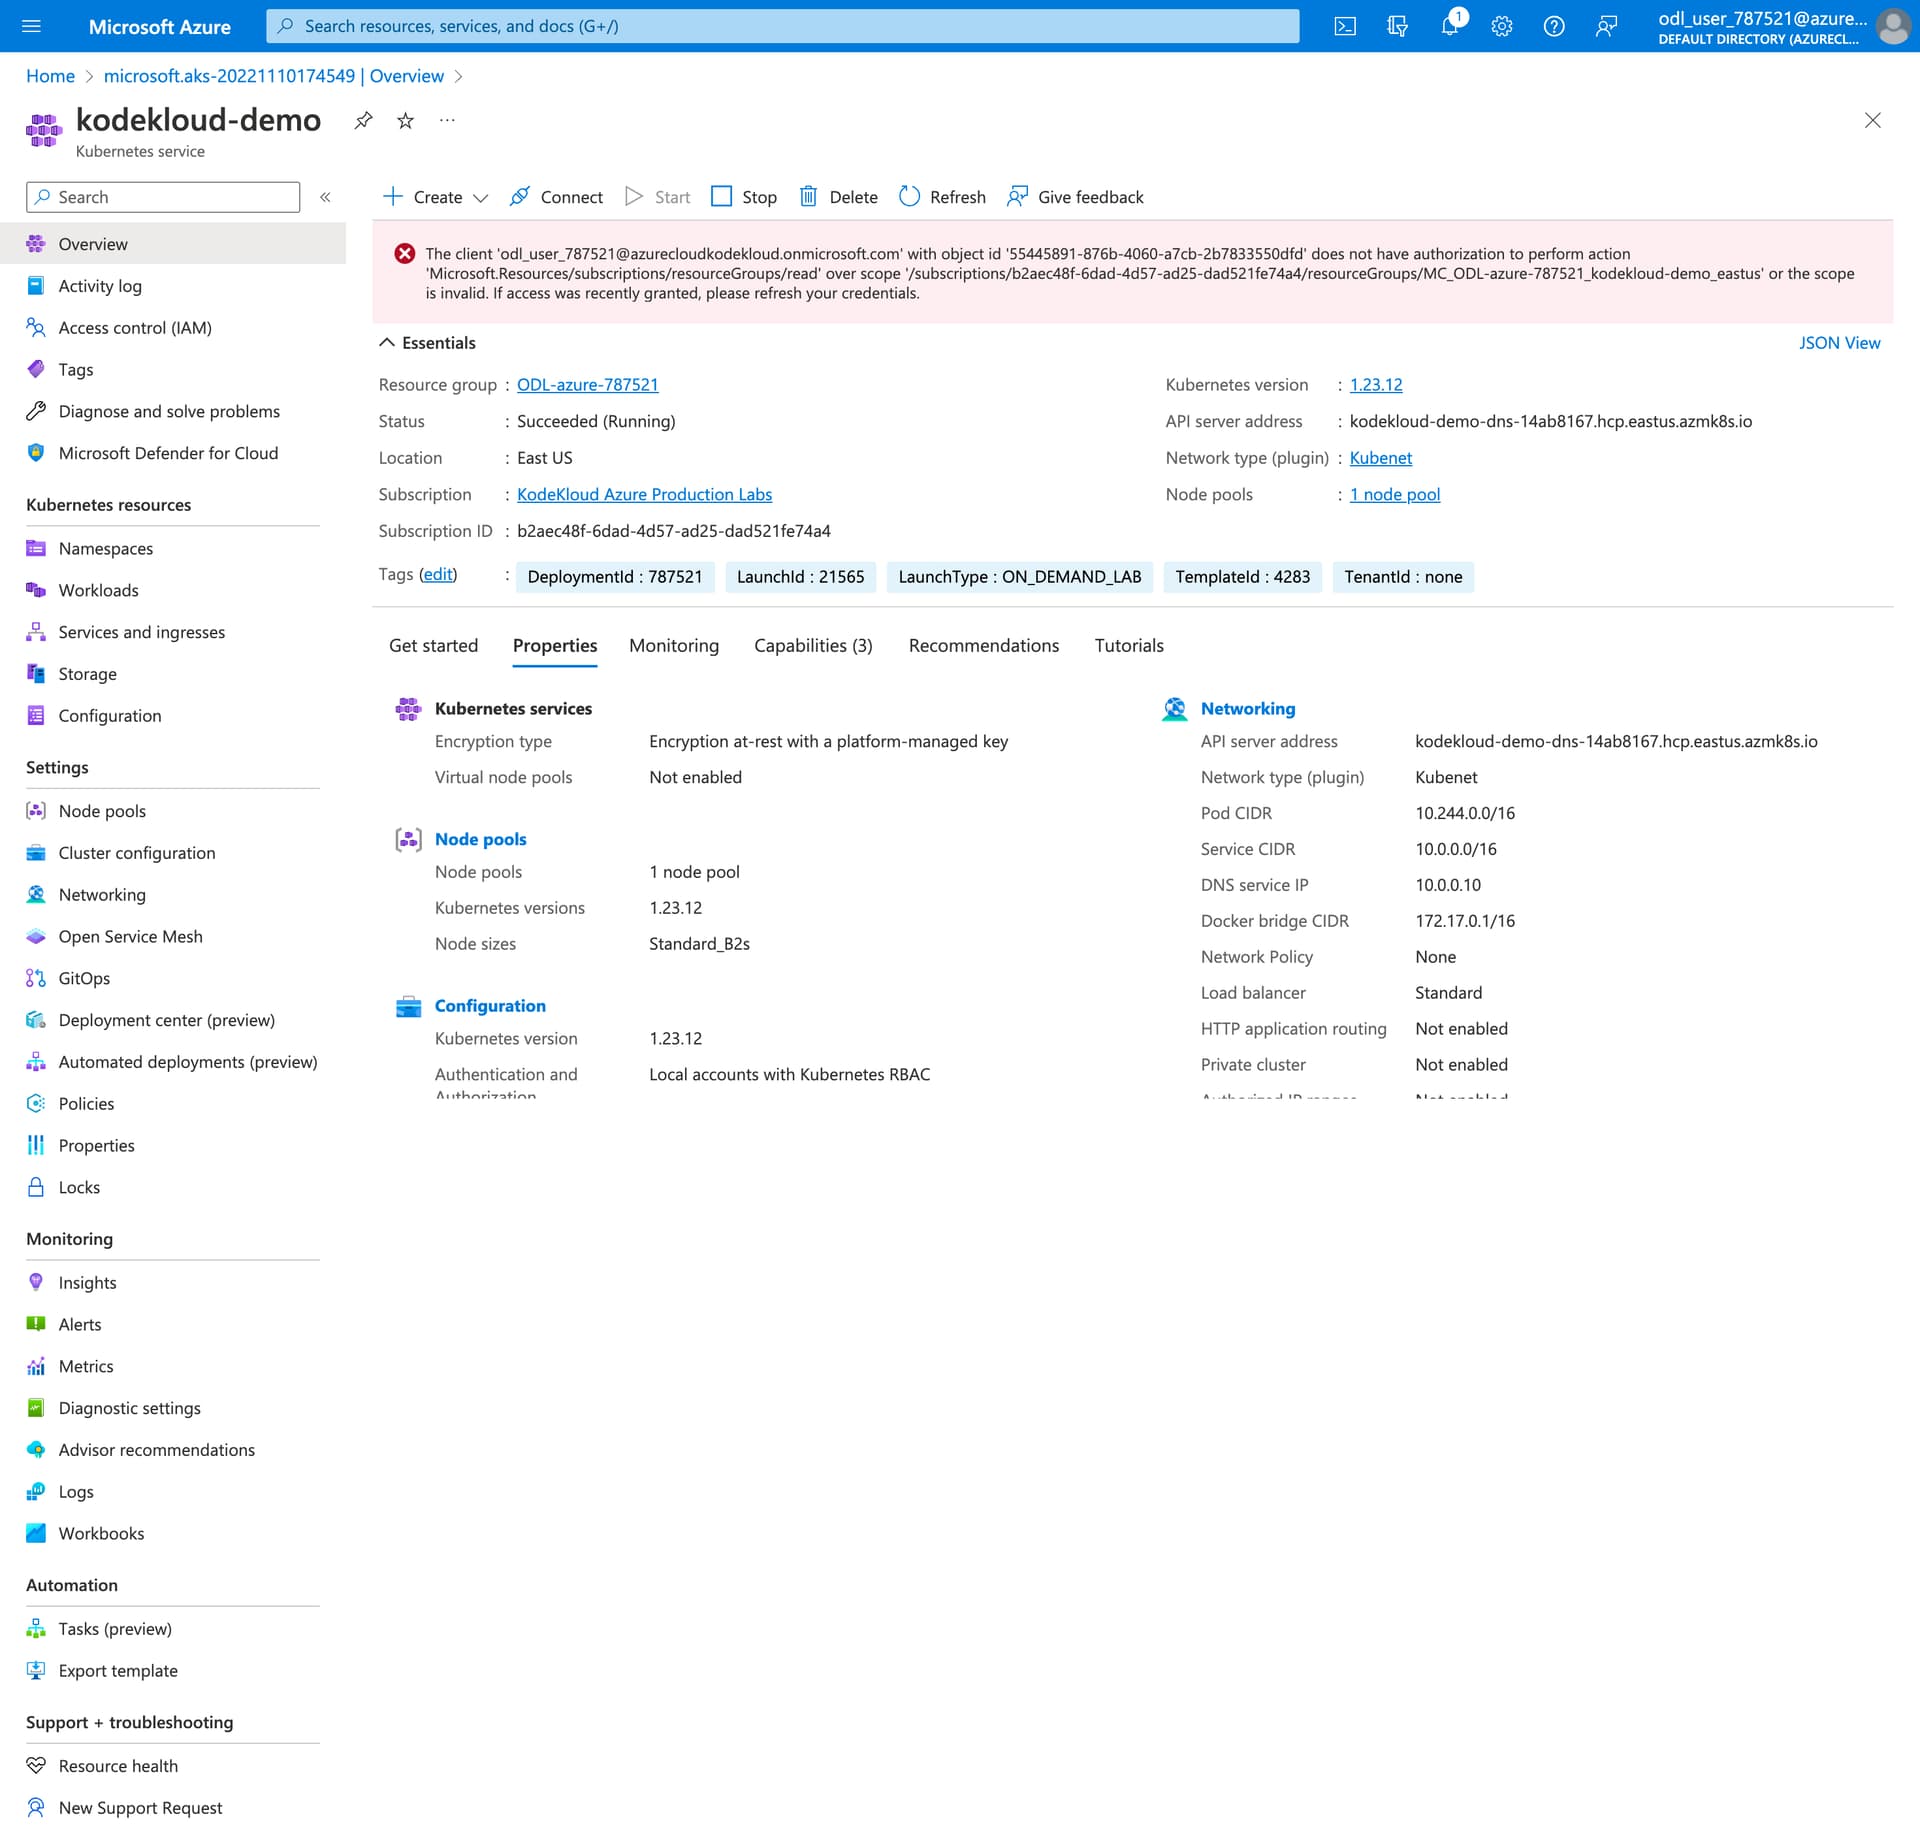
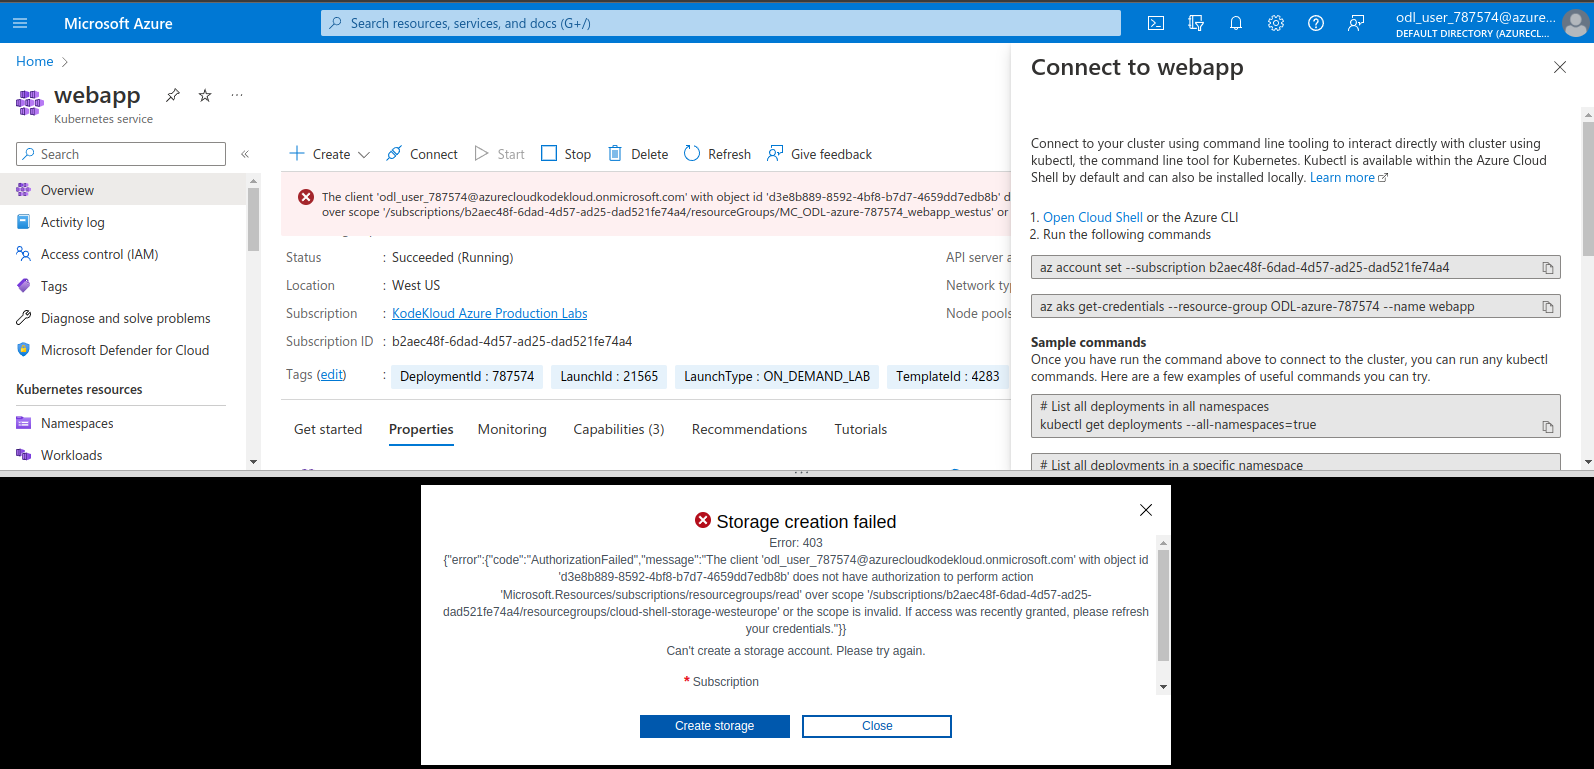
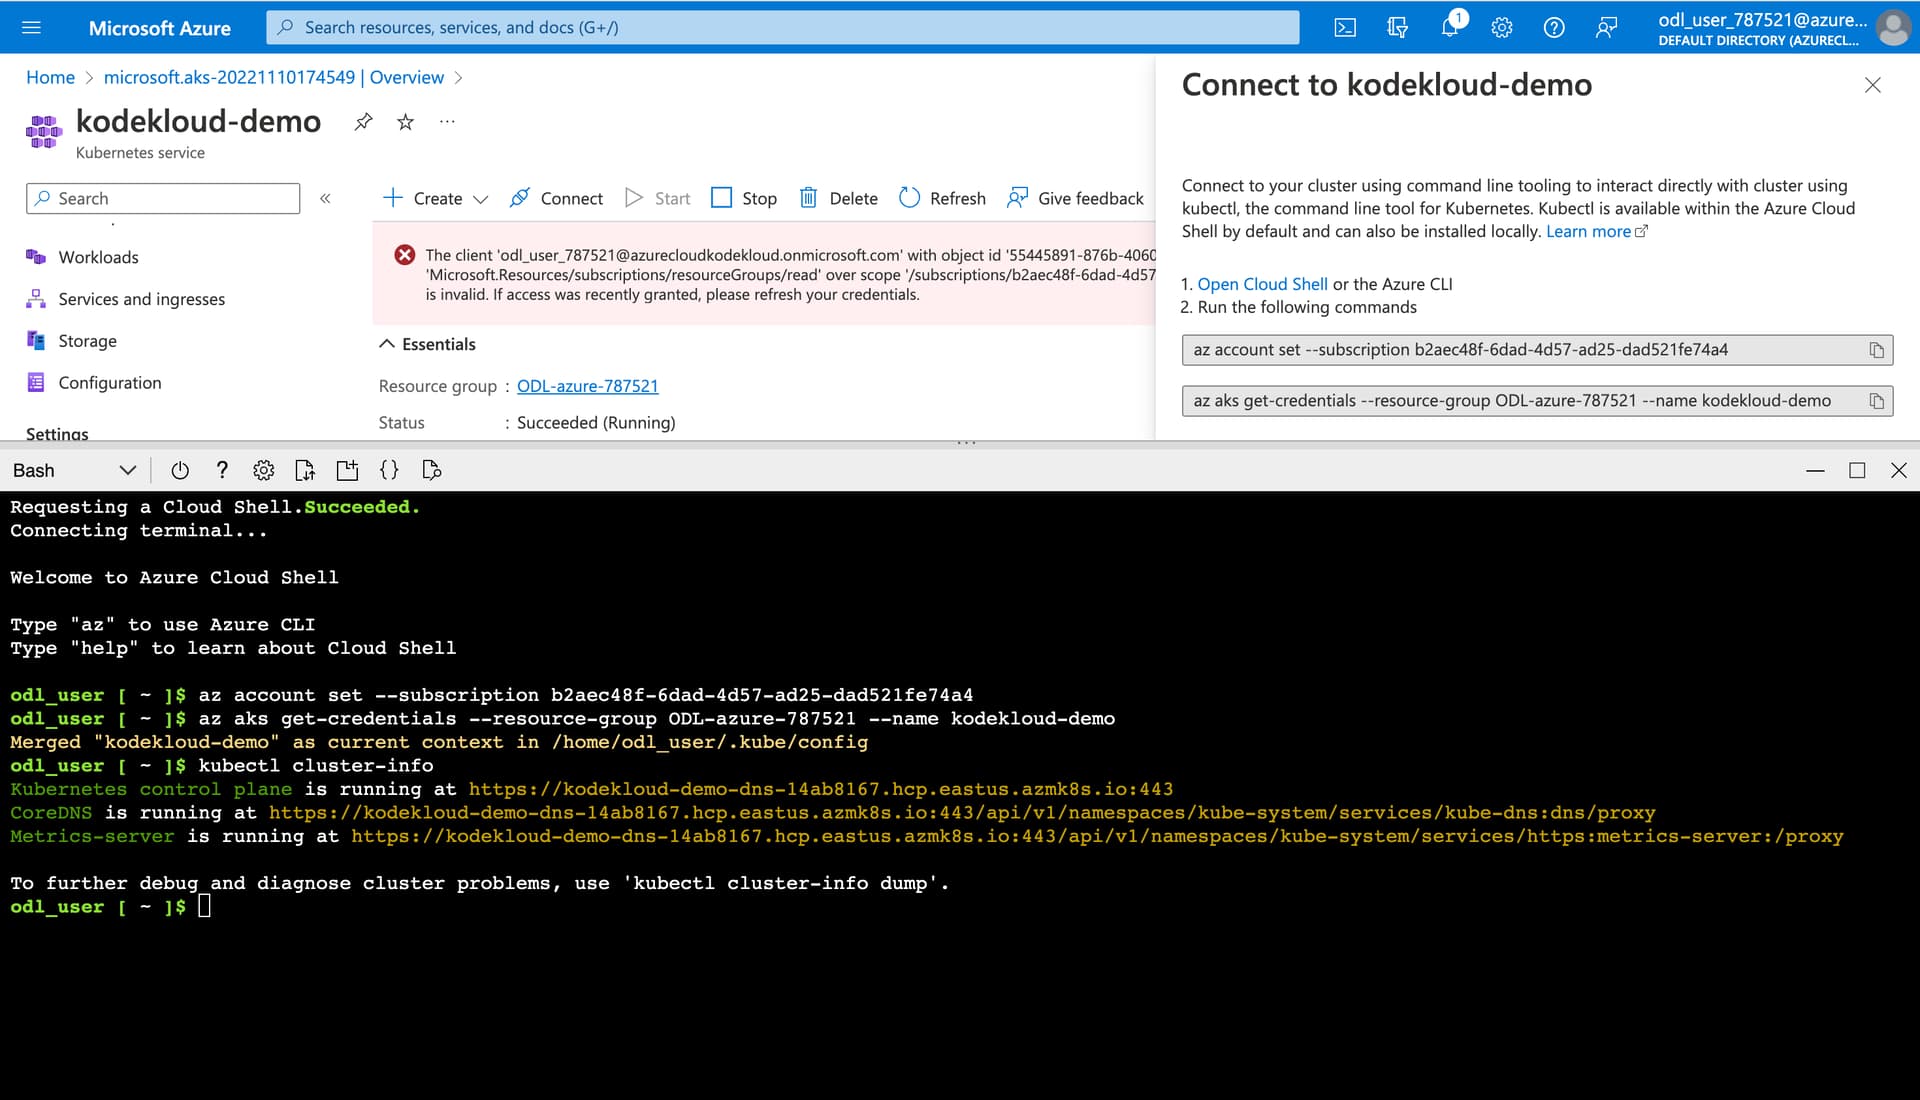
You may notice an error message in the red box like the below image, it expected issue in the Azure Playground and doesn’t impact any AKS’s features, so just ignored it.
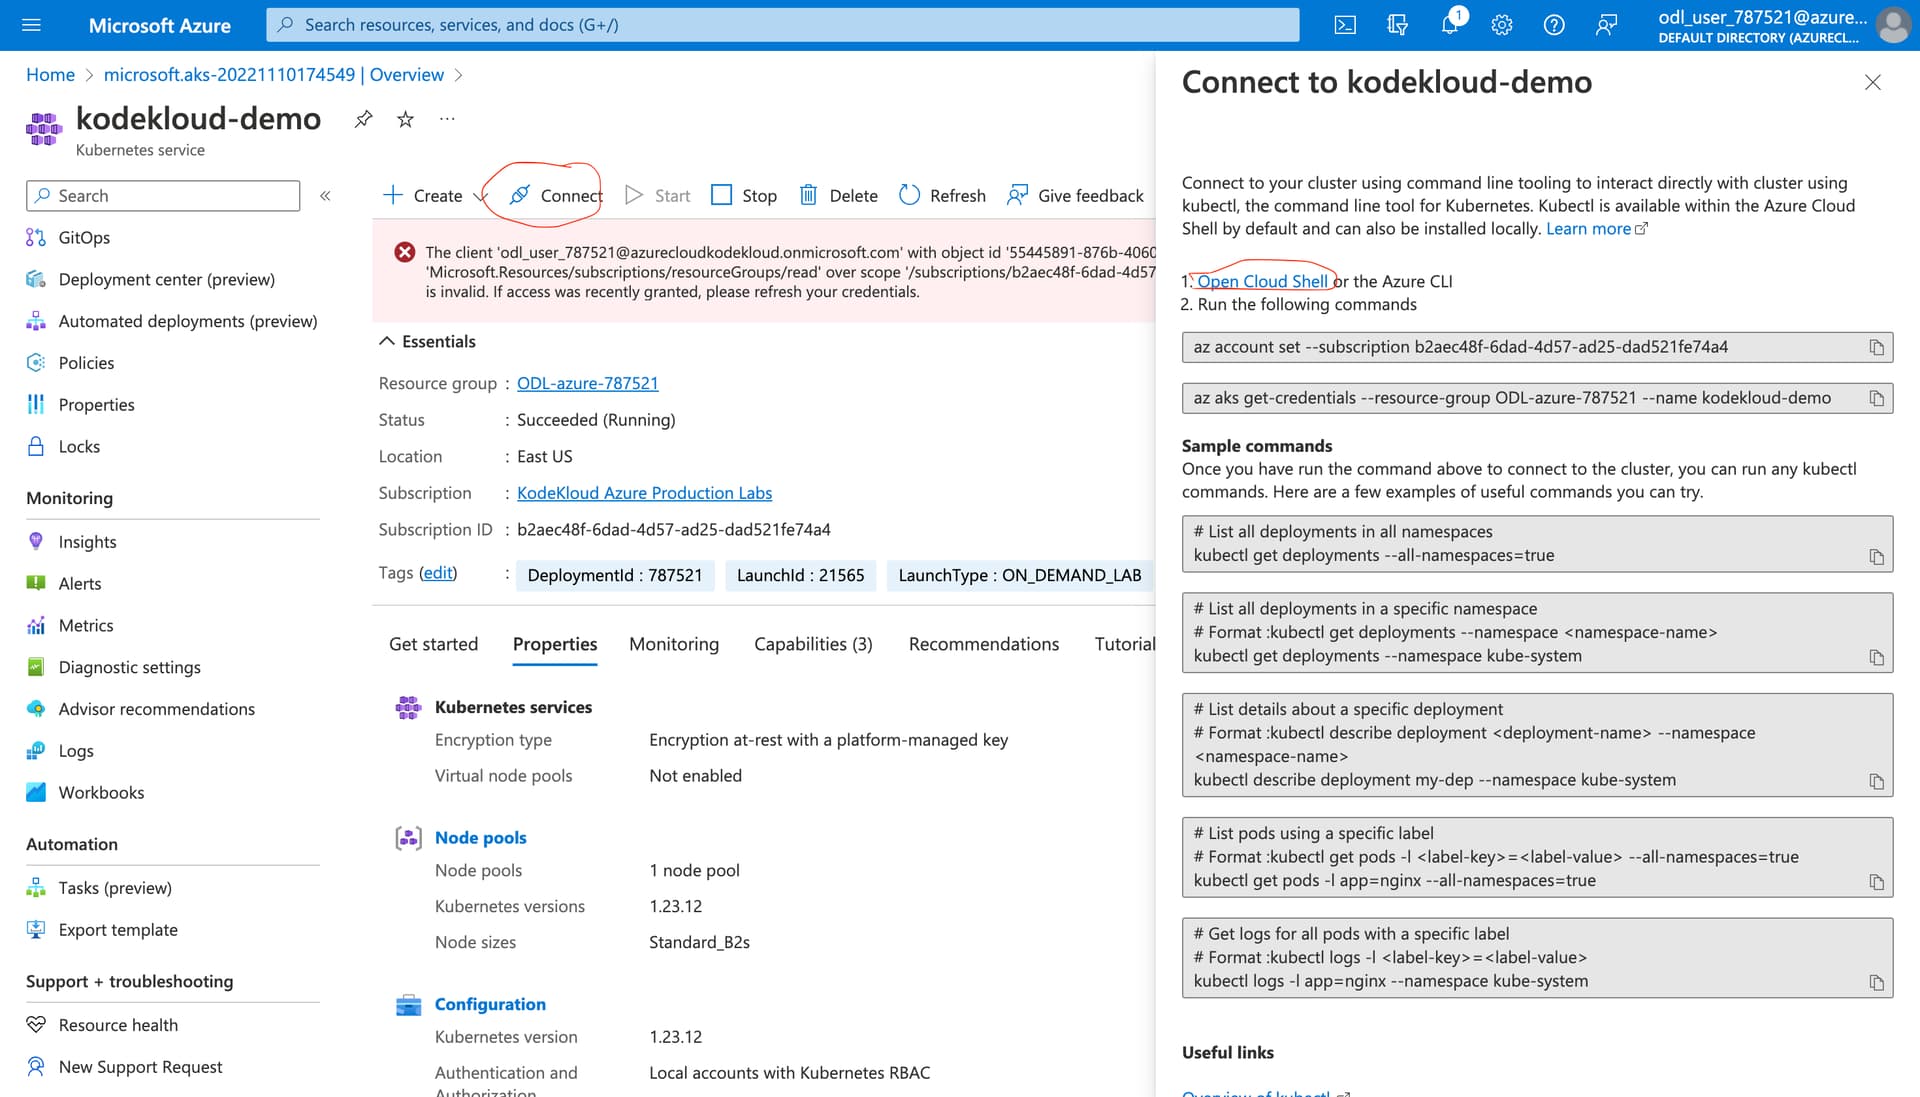
When you click on the link Open Cloud Shell, you will be asked to create a storage account for the cloud shell, please follow the below steps to avoid the permission error (403).
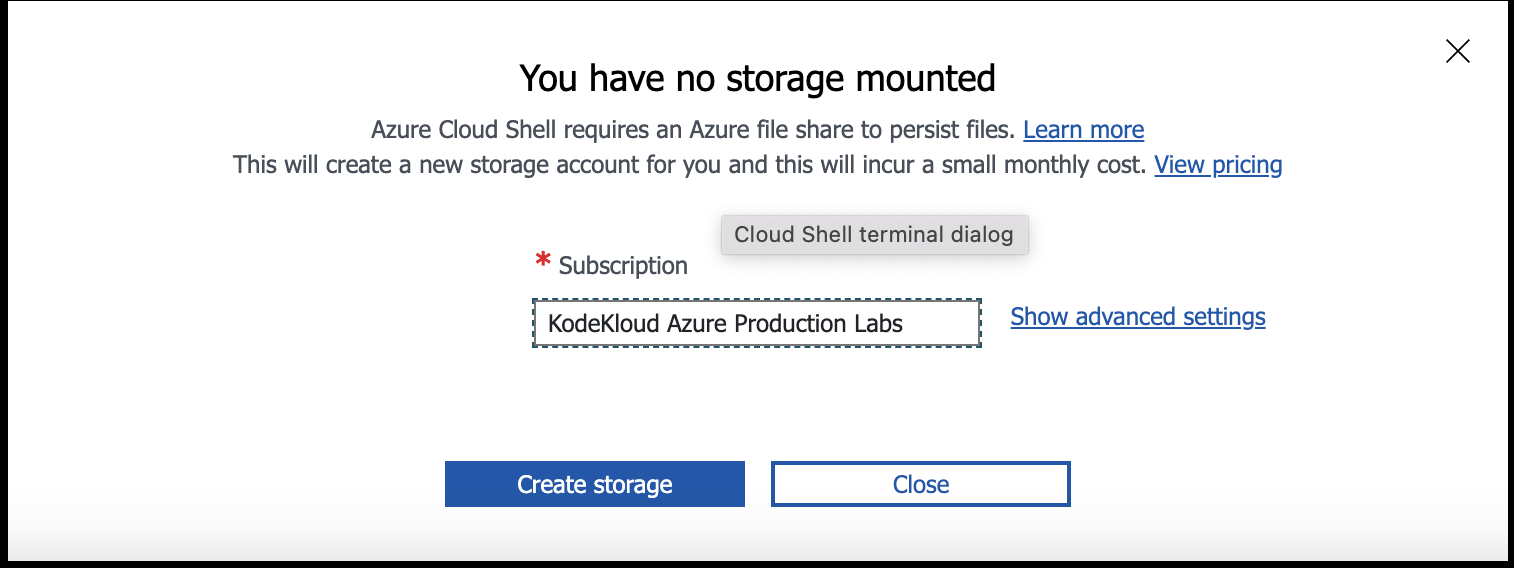
From the above popup click “Show advanced settings” and complete the form as below image.
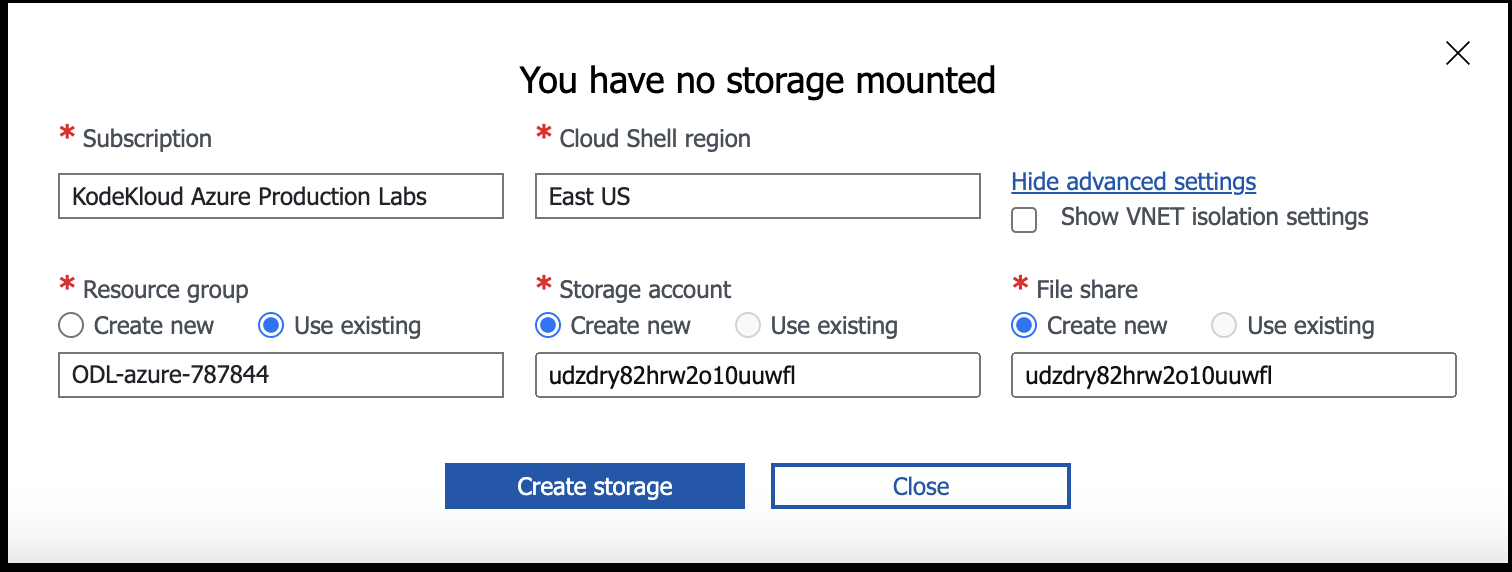
Subscription: leave the default value
Cloud Shell region: East US
Resource group: Use existing
Storage account: Create a new one (you need to pick a globally unique name)
File share: Create a new one (you need to pick a globally unique name)
As the name needs to be globally unique, you can use any random tool to generate a 24-character string with only lowercase char and number.
Then click CREATE STORAGE and wait for a few seconds, after created successfully, your Cloud Shell will appear to use.
Happy learning,
Trung.