Let’s demonstrate how to deploy a PHP application on Kubernetes. In this blog, I created a Deployment of PHP-FPM and Nginx using Pod Multiple Containers, ConfigMaps and Volumes.
Before starting, I like to share the usual way to deploy a PHP application without Docker and Kubernetes. First, we need to install PHP-FPM and Nginx on a server, then configure the Nginx for the PHP source code and PHP-FPM.
For example:
server {
   listen 80 default_server;
   client_max_body_size 500M;


   server_name localhost;
   root /app;

   error_log /var/log/nginx/error.log;
   access_log /var/log/nginx/access.log;

   index index.html index.php;

   location / {
       try_files $uri $uri /index.php$is_args$args;
   }

   location ~ ^/.+\.php(/|$) {
       fastcgi_split_path_info ^(.+?\.php)(/.*)$;
       if (!-f $document_root$fastcgi_script_name) {
           return 404;
       }
       include fastcgi_params;
       fastcgi_pass localhost:9000;
       fastcgi_index index.php;
       fastcgi_param SCRIPT_FILENAME $realpath_root$fastcgi_script_name;
       fastcgi_param DOCUMENT_ROOT $realpath_root;
       fastcgi_param REALPATHTEST $realpath_root;
       internal;
   }
}
In short, we just have 2 services running on 1 server, especially, both of these services must read the PHP file of the source code. So how do we do the same with Docker and Kubernetes? That’s why we need to use multiple containers in a pod and I will show you how to do it in this blog.
By the way, because this approach is based on my personal experiences, it is probably not the best way to deploy a PHP application in practice; however I have applied this way for a long time and there hasn’t been any problem, and it also helps me manage and scale these PHP applications easily. If you have any other ideas, your shares are always welcome.
Note:
PHP-FPM version 8.1.8
Nginx version 1.23.3
Kubernetes version 1.24.2
Prerequisites:
Basic knowledge of Docker and Kubernetes.
A Kubernetes cluster running. You can set this up with any kind suitable for you. For how to do this, you can follow here.
A registry server. You can use Docker registry or Harbor or the other way around. Here I use Harbor.
Step 1 - Create Dockerfile PHP-FPM, Nginx
In this step, first, we need to create an example file as index.php for demo purposes only.
File Index.php
<?php
echo phpinfo();
Then we will create the Dockerfile using images php:8.1.8-fpm-alpine, nginx:1.23.3.
File Dockerfile.php
FROM php:8.1.8-fpm-alpine
WORKDIR /app
COPY index.php .
CMD ["php-fpm"]
File Dockerfile.nginx
FROM nginx:1.23.3
WORKDIR /app
COPY index.php .
Step 2 - Build the images and push the images to registry
We have to prepare for the registry server and login to the registry server. I will have another blog about this but now I’m skipping it. I have set it up before. So I will build and push the images as below steps:
For Nginx:
docker build -t your.resgitry.com/kubernetes-in-practice/multiple-container-nginx:v1 -f Dockerfile.nginx .
And PHP:
docker build -t your.resgitry.com/kubernetes-in-practice/multiple-container-php:v1 -f Dockerfile.php .
Then we can push it to the registry server.
For Nginx:
docker push your.resgitry.com/kubernetes-in-practice/multiple-container-nginx:v1
And PHP:
docker push your.resgitry.com/kubernetes-in-practice/multiple-container-php:v1
After all, here is the result on Harbor:
Step 3 - Deploy the new PHP application
After pushing these images we need to deploy them for the registry server. Then we can start our applications.
Firstly, we use ConfigMaps to configure the Nginx server.
Creating configmap.yaml with the data below:

apiVersion: v1
kind: ConfigMap
metadata:
 creationTimestamp: null
 name: nginx-config
data:
 config : |
   server {
       listen 80 default_server;
       client_max_body_size 500M;
       server_name localhost;
       root /app;
       error_log /var/log/nginx/error.log;
       access_log /var/log/nginx/access.log;
       index index.html index.php;
       location / {
           try_files $uri $uri /index.php$is_args$args;
       }
       location ~ ^/.+\.php(/|$) {
           fastcgi_split_path_info ^(.+?\.php)(/.*)$;
           if (!-f $document_root$fastcgi_script_name) {
               return 404;
           }
           include fastcgi_params;
           fastcgi_pass localhost:9000;
           fastcgi_index index.php;
           fastcgi_param SCRIPT_FILENAME $realpath_root$fastcgi_script_name;
           fastcgi_param DOCUMENT_ROOT $realpath_root;
           fastcgi_param REALPATHTEST $realpath_root;
           internal;
       }
   }
Just in case, you’re wondering how we can use the localhost:9000 here. The reason is we will create a pod with multiple containers so they can share the network resource together within the same pod. You can refer to the document about multiple containers in a Pod here.
Save the file and create it on Kubernetes:
kubectl create -f configmap.yaml
We will see the following output:
configmap/nginx-config created
We also can verify it by command:
kubectl describe cm nginx-config
Secondly, we create a deployment with multiple containers and use the ConfigMap which has just been created to overwrite the file default.conf in the Nginx container.
apiVersion: apps/v1
kind: Deployment
metadata:
 labels:
   app: php-multiple-container
 name: php-multiple-container
spec:
 replicas: 1
 selector:
   matchLabels:
     app: php-multiple-container
 template:
   metadata:
     labels:
       app: php-multiple-container
   spec:
     containers:
     - image: your.registry.com/kubernetes-in-practice/multiple-container-nginx:v1
       name: nginx
       volumeMounts:
       - mountPath: /etc/nginx/conf.d
         name: nginx-config
     - image: your.registry.com/kubernetes-in-practice/multiple-container-php:v1
       name: php
     volumes:
     - name: nginx-config
       configMap:
         name: nginx-config
         items:
         - key: config
           path: default.conf
Please remember to update your registry server. After that, we can create the deployment.
kubectl create -f deployment.yaml
The output will be:
deployment.apps/php-multiple-container created
List the deployments and pods which are running:
kubectl get deploy,pod
Everything is good:
NAME                                     READY   UP-TO-DATE   AVAILABLE   AGE
deployment.apps/php-multiple-container   1/1     1            1           21s

NAME                                          READY   STATUS    RESTARTS   AGE
pod/php-multiple-container-5655d87ff5-wqcqk   2/2     Running   0          21s
However, how can we ensure if it is working or not? It is right time for using Service, we can use NodePort with this command:
kubectl expose deployment php-multiple-container --type NodePort --port 80
The following output:
service/php-multiple-container exposed
List Service:
kubectl get svc
The following output:
kubernetes ClusterIP 10.96.0.1 <none> 443/TCP 224d
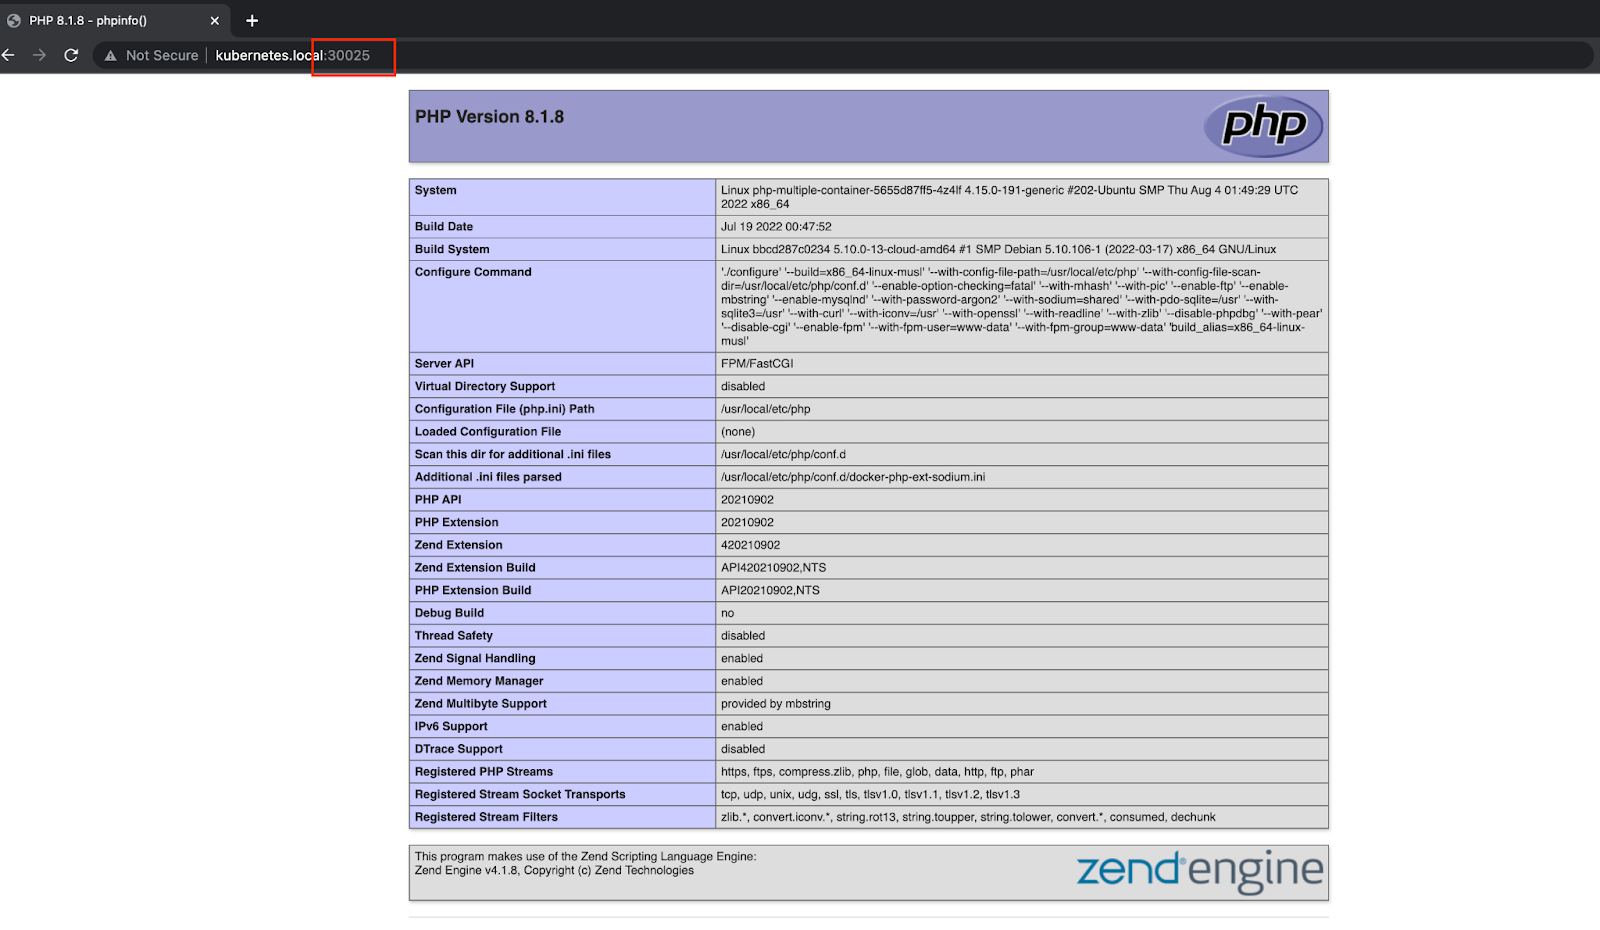
php-multiple-container NodePort 10.103.3.50 <none> 80:30025/TCP 6s
Finally, you can access to http://your-host:30025 and the page phpinfo will appear.
Hoping you have known how to deploy PHP applications to Kubernetes and how to implement an application with multiple containers. This not only makes it easier and more efficient to manage multiple PHP applications but also helps you to scale the PHP applications flexibly. Plus, if you’re studying for CKA and CKAD, you need to know how to work with multiple containers because this is a scenario in the exam.