In this post, I will walk you through 5 steps to host your portfolio profile on GCP using Cloud Storage & Load Balancer, check it out.
If you want to follow the post, start your own KodeKloud Playground lab and follow my steps, to start a Google Cloud Playground:
- You need to have a premium KodeKloud subscription
- Access this page: https://kodekloud.com/topic/playground-google-cloud-platform/
- Click start lab
- Waiting for the lab provisioned and access https://console.cloud.google.com/ using provided temporary account.
Step 1: Create a new Google Cloud Storage bucket
Before starting, you should create a new GCP project for this lab for better resource management (we can delete this project after finishing to save money as all underlying resources will be deleted as well).
From the https://console.cloud.google.com/ dashboard, navigate to the Cloud Storage page (search “cloud storage” in the search bar) as below and create a new bucket.
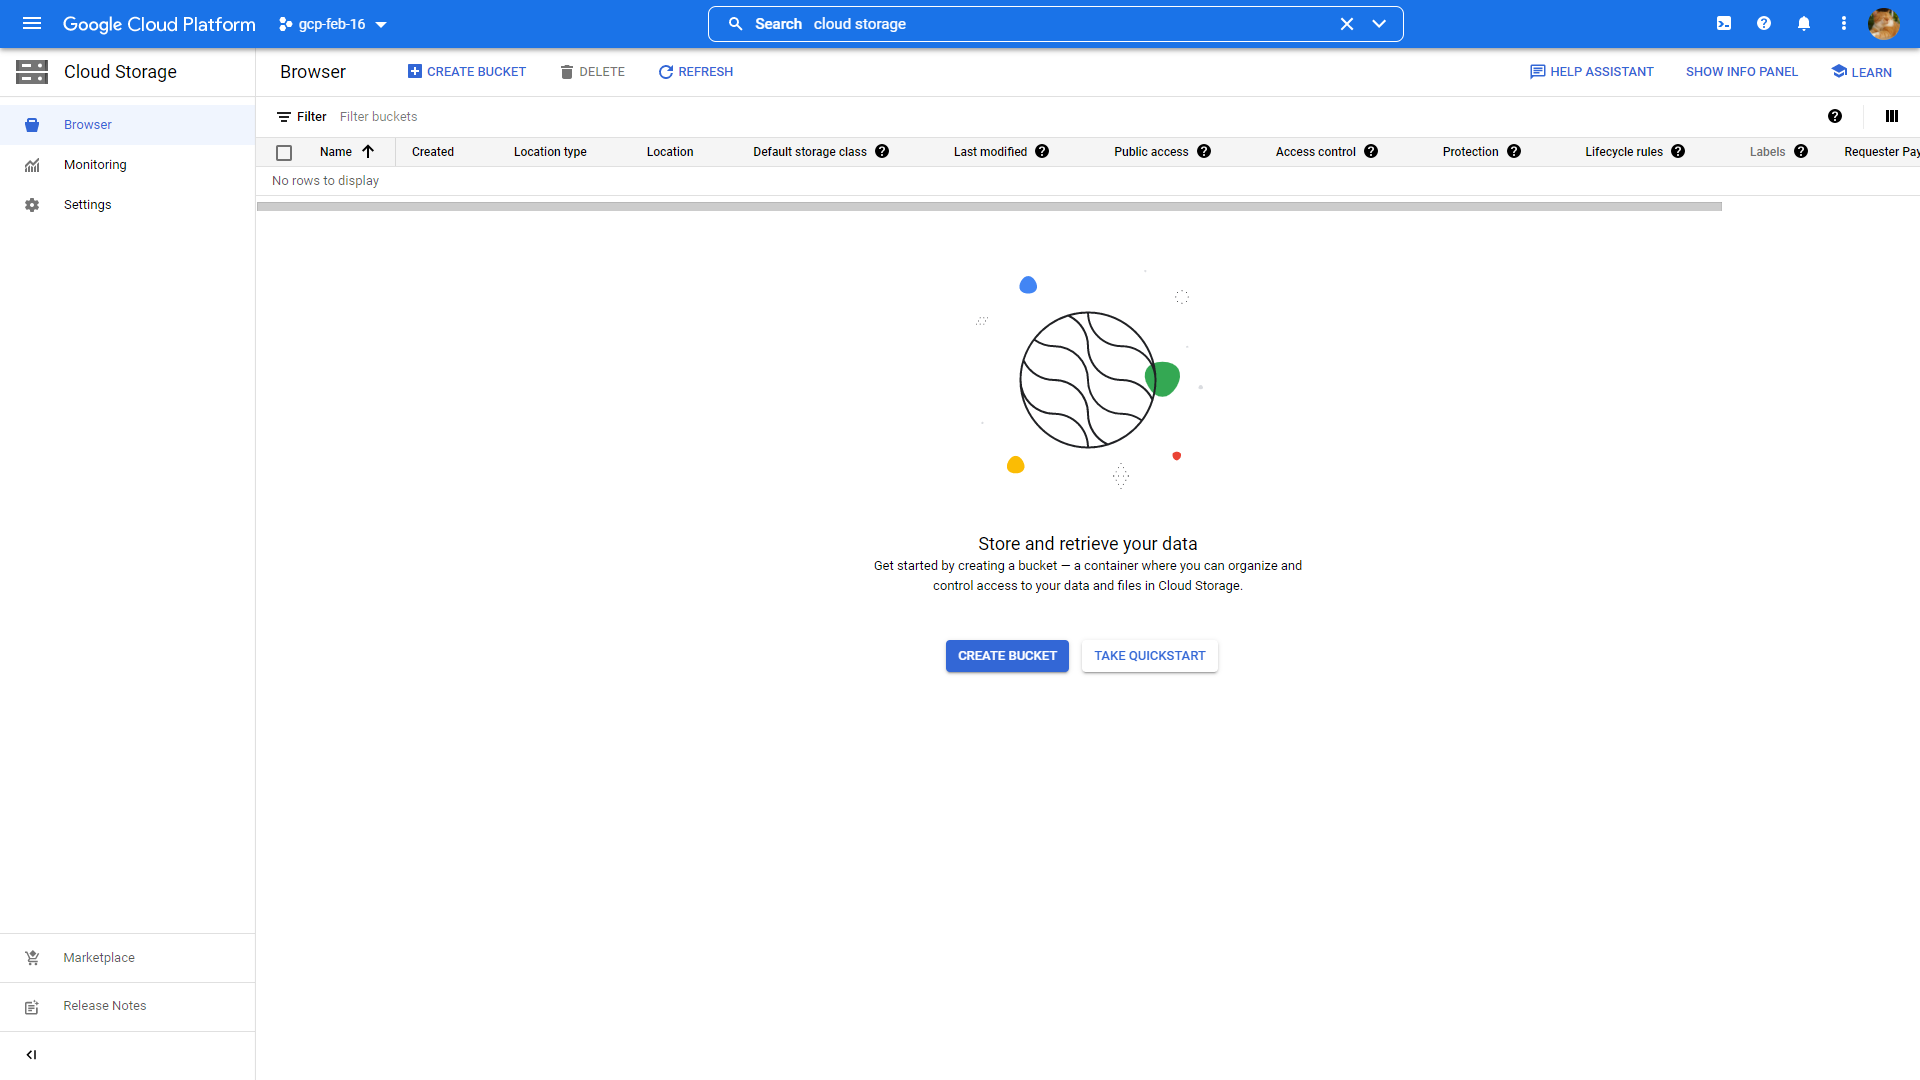
Click the " CREATE BUCKET " button to create a new storage bucket, we will upload all portfolio files to this bucket later then.
Config the bucket as below image, as the bucket name is globally unique, you need to find your own name, it can be whatever, as long as it is not being used by anyone in GCP.
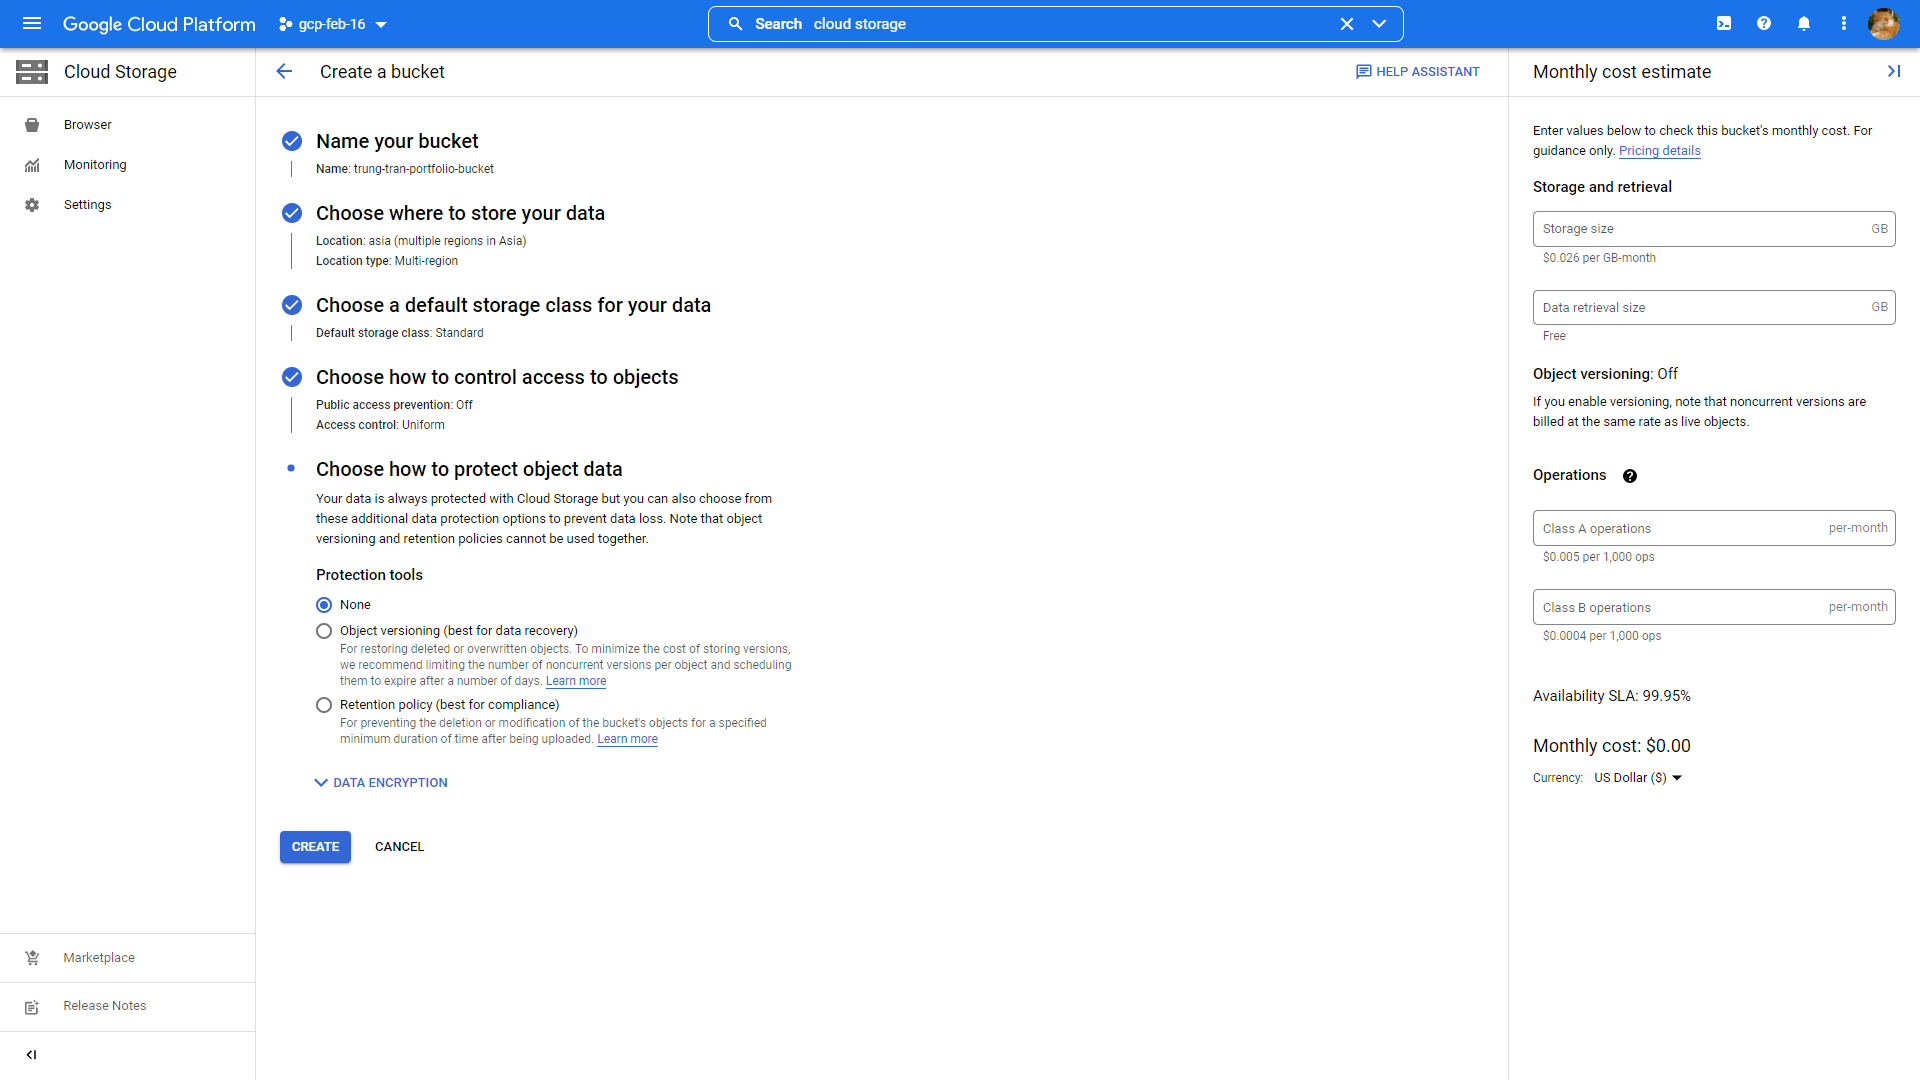
Name: any globally unique name , location: Asia , location type: Multi-region , Default storage: Standard , Public access prevention: off , Access control: Uniform , Protection tools: none .
Step 2: Upload your portfolio files to the cloud storage bucket
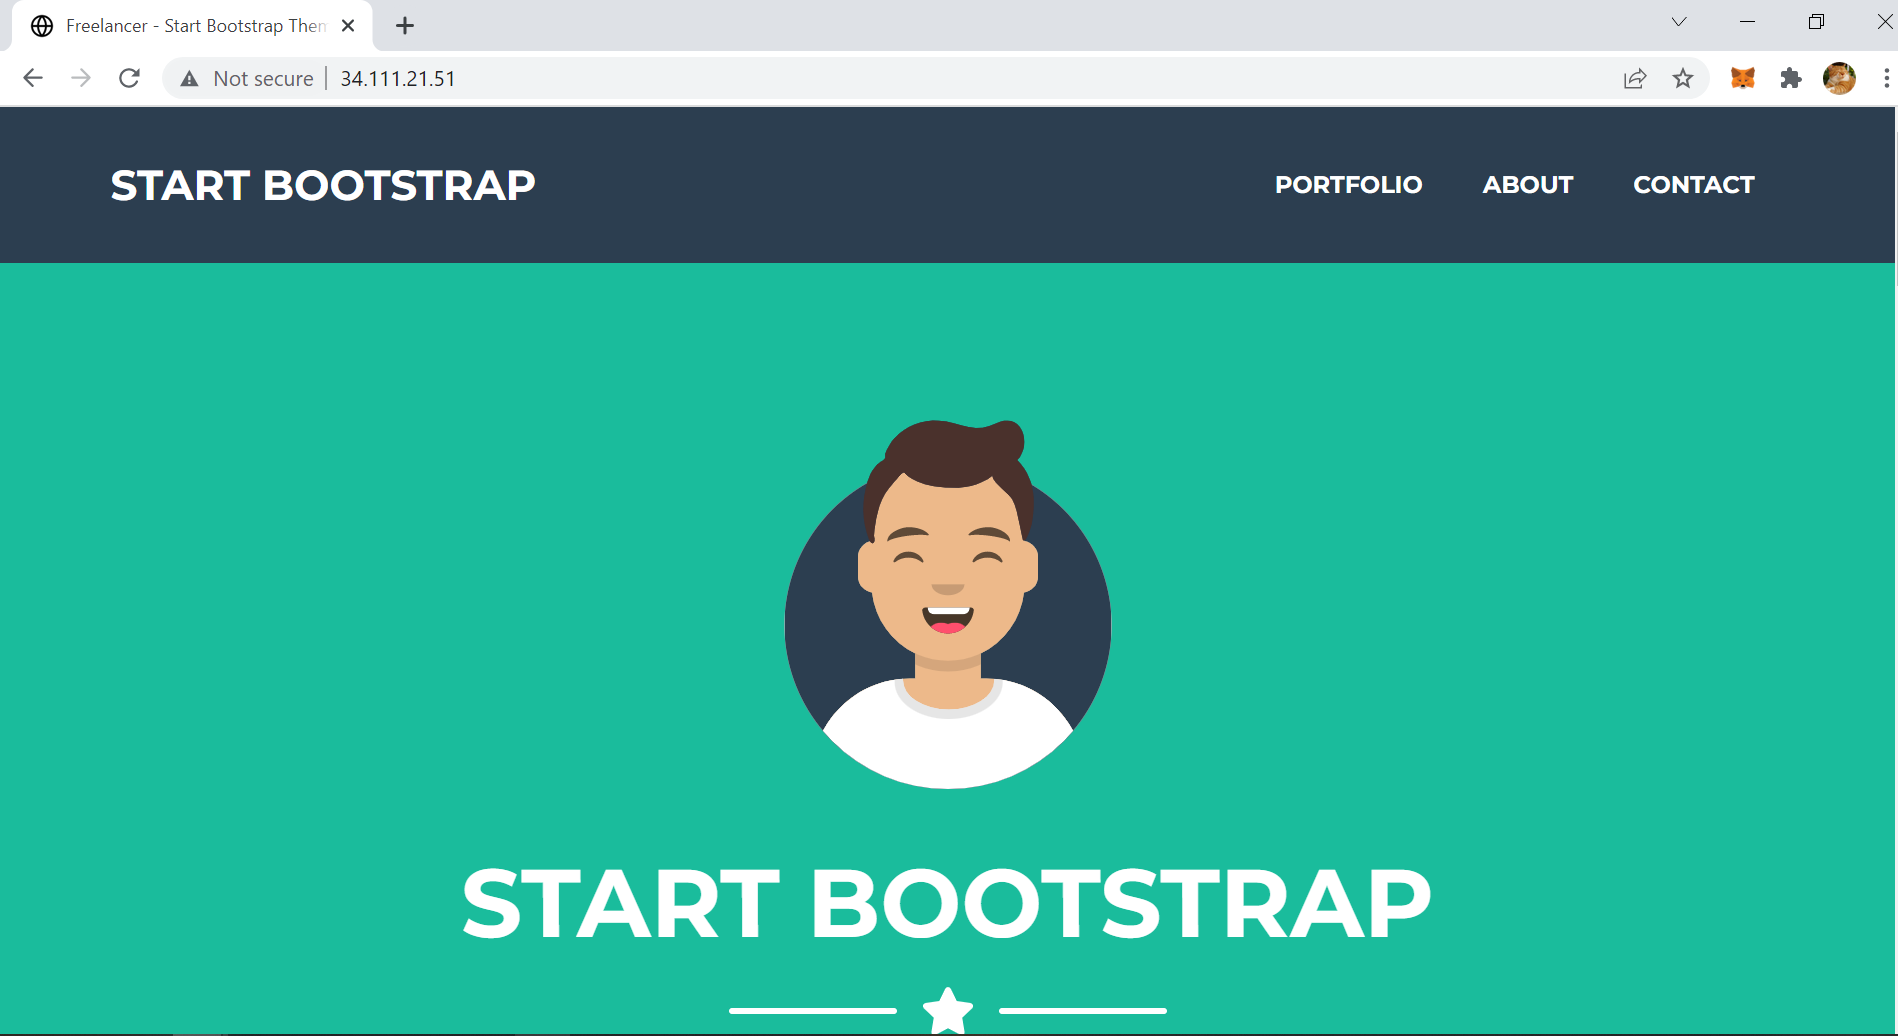
I will use a sample portfolio template from startbootstrap.com which can be downloaded here: https://github.com/startbootstrap/startbootstrap-freelancer/archive/gh-pages.zip. Extract the zip file and upload all files to the bucket created above.

Step 3: Allow public users to access the storage bucket
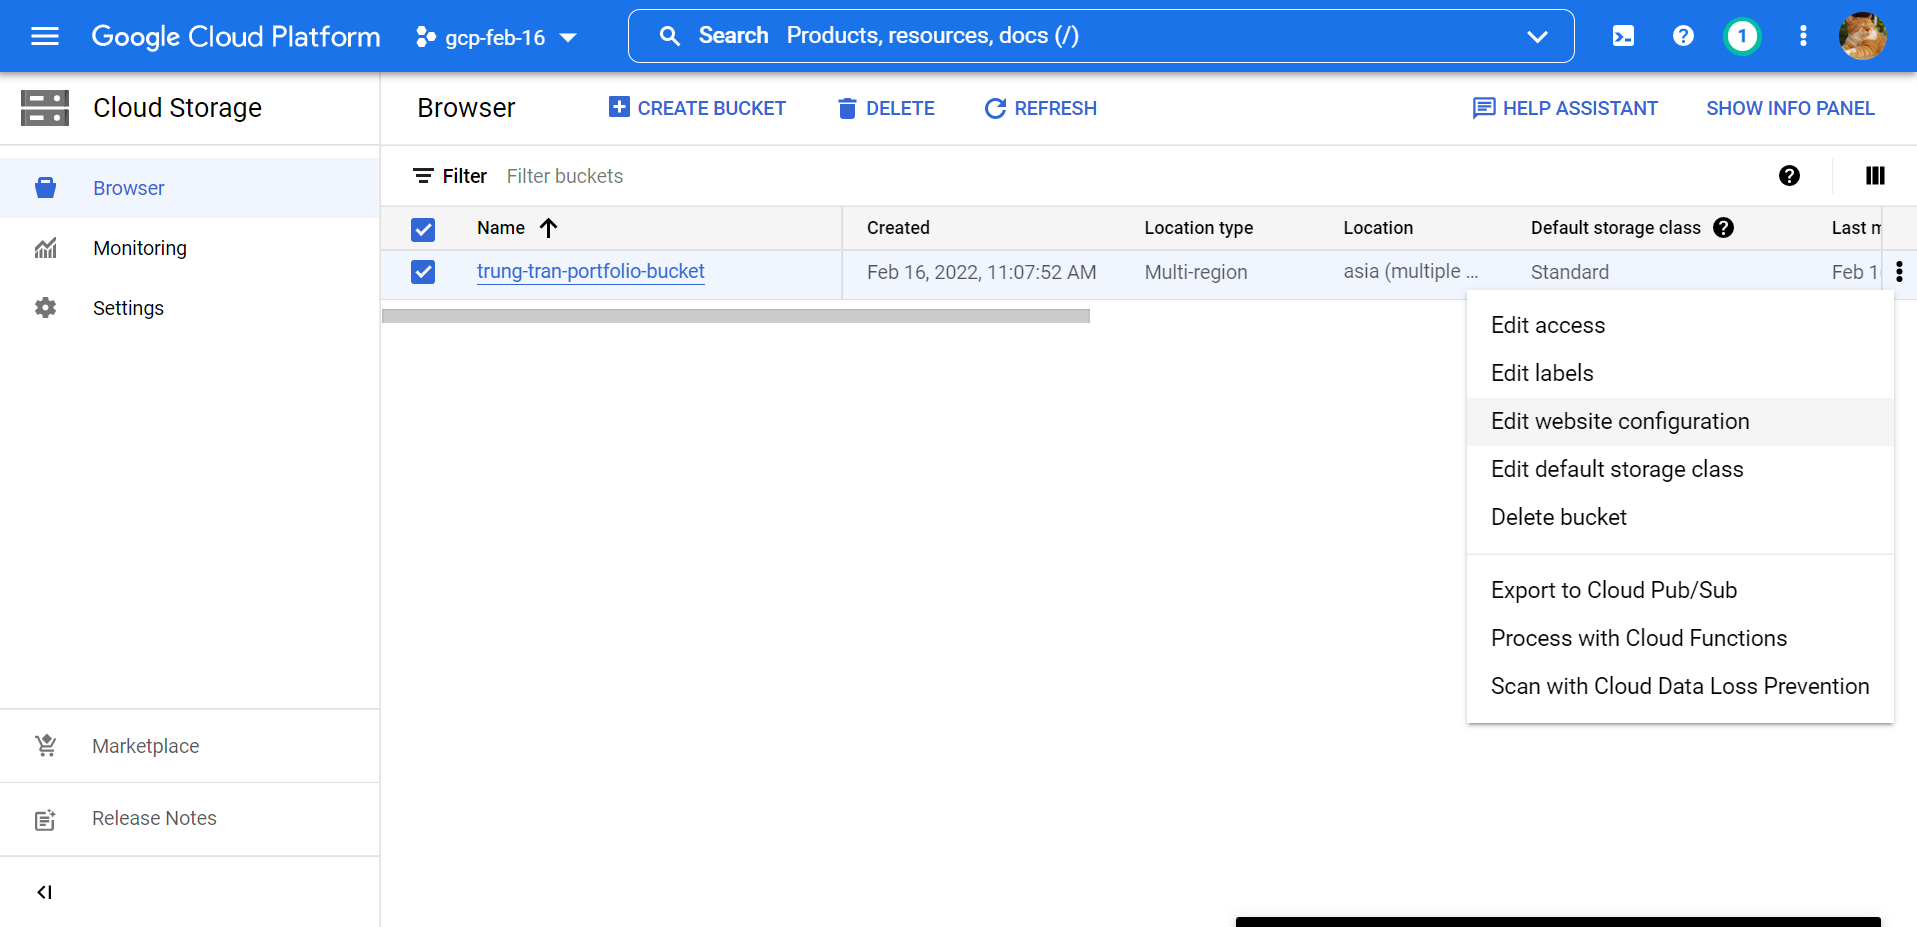
The storage bucket needs to allow the public users access to our portfolio site, from the bucket details page, select the PERMISSIONS tab and add new permission as below images:
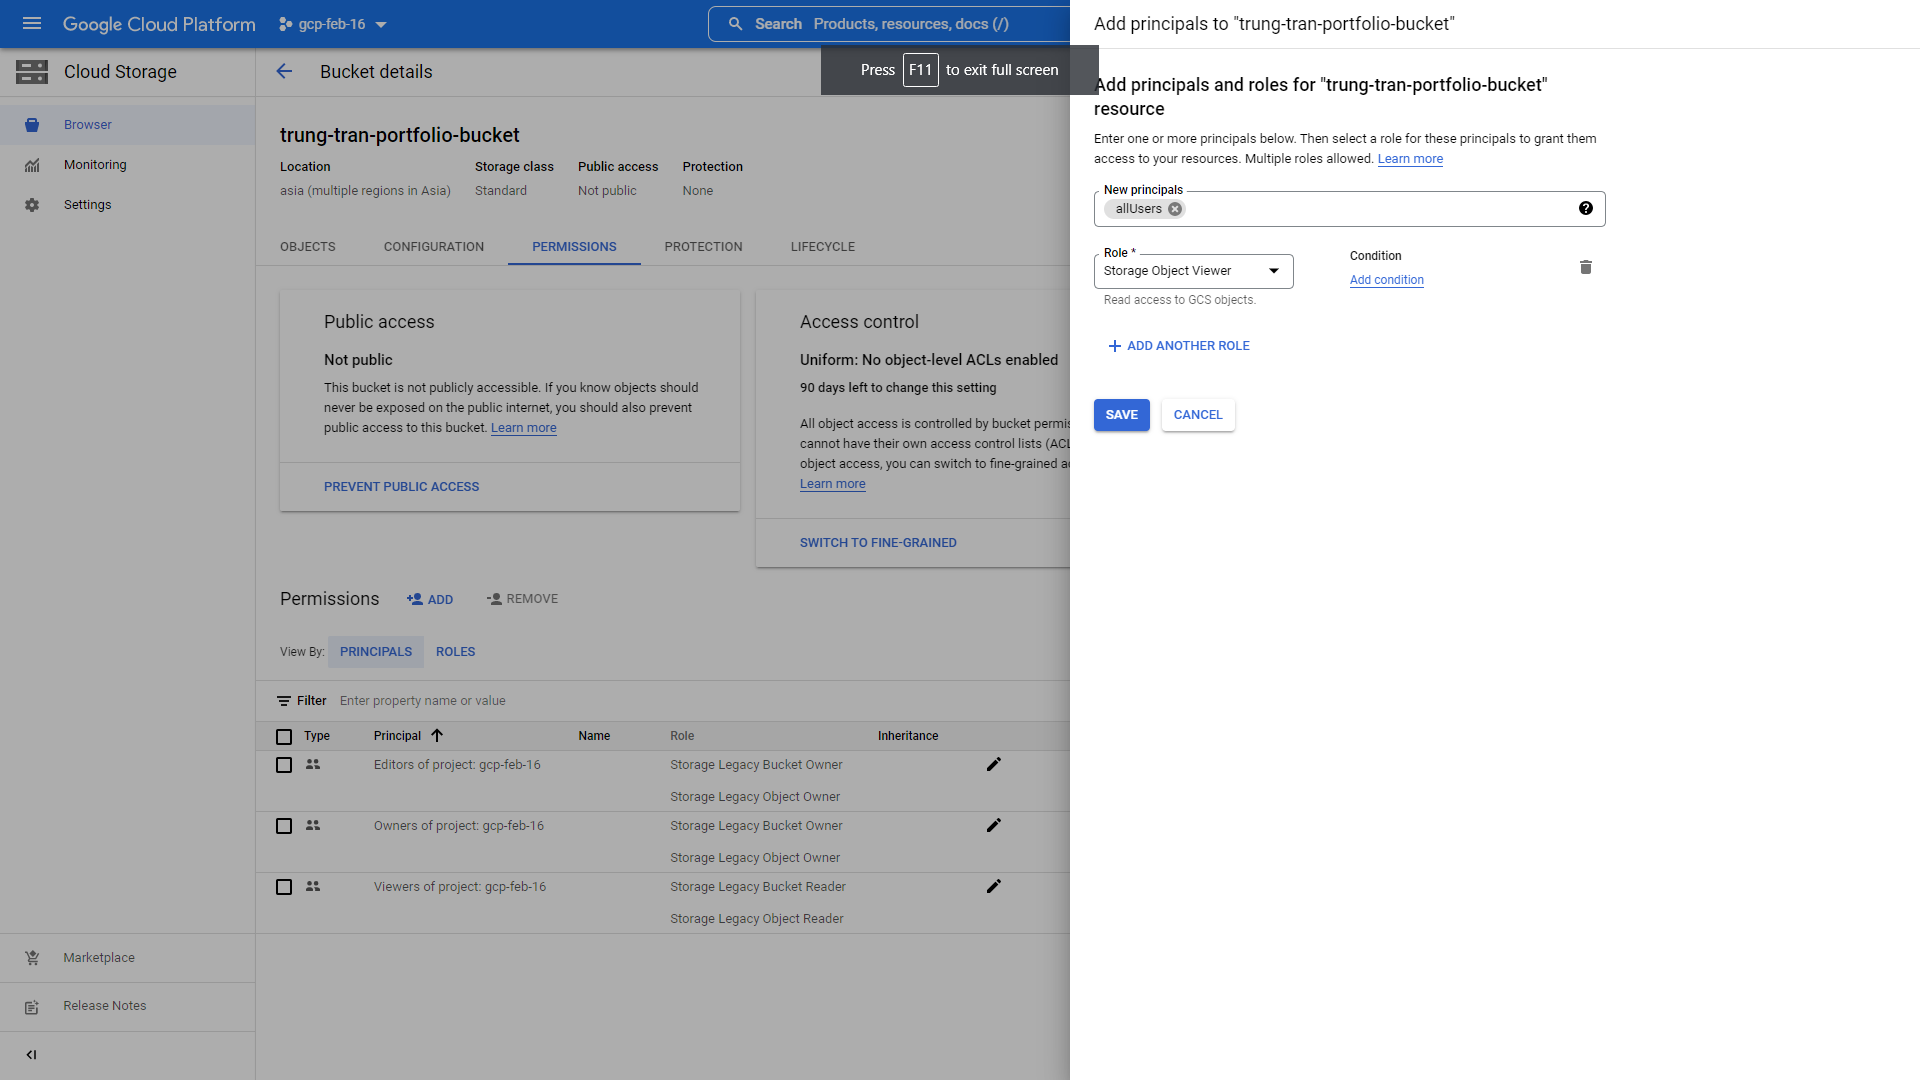
Principals: allUsers , role: Storage Object Viewer .
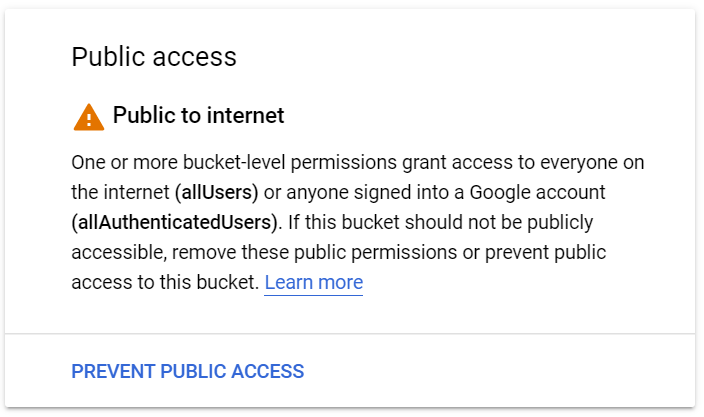
You can verify the configuration as the above image or access the public URL of the bucket: https://storage.googleapis.com/{your-bucket-name}/index.html
In my case, the bucket name is trung-tran-portfolio-bucket , you will need to use your own.
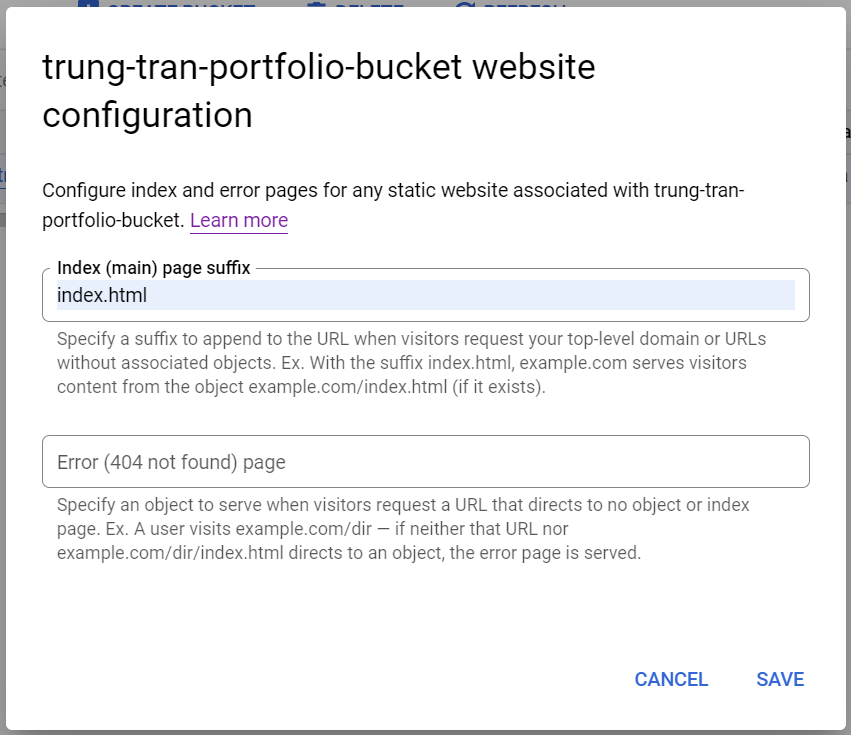
Next, go back to the cloud storage index page and Edit website configuration of your bucket.
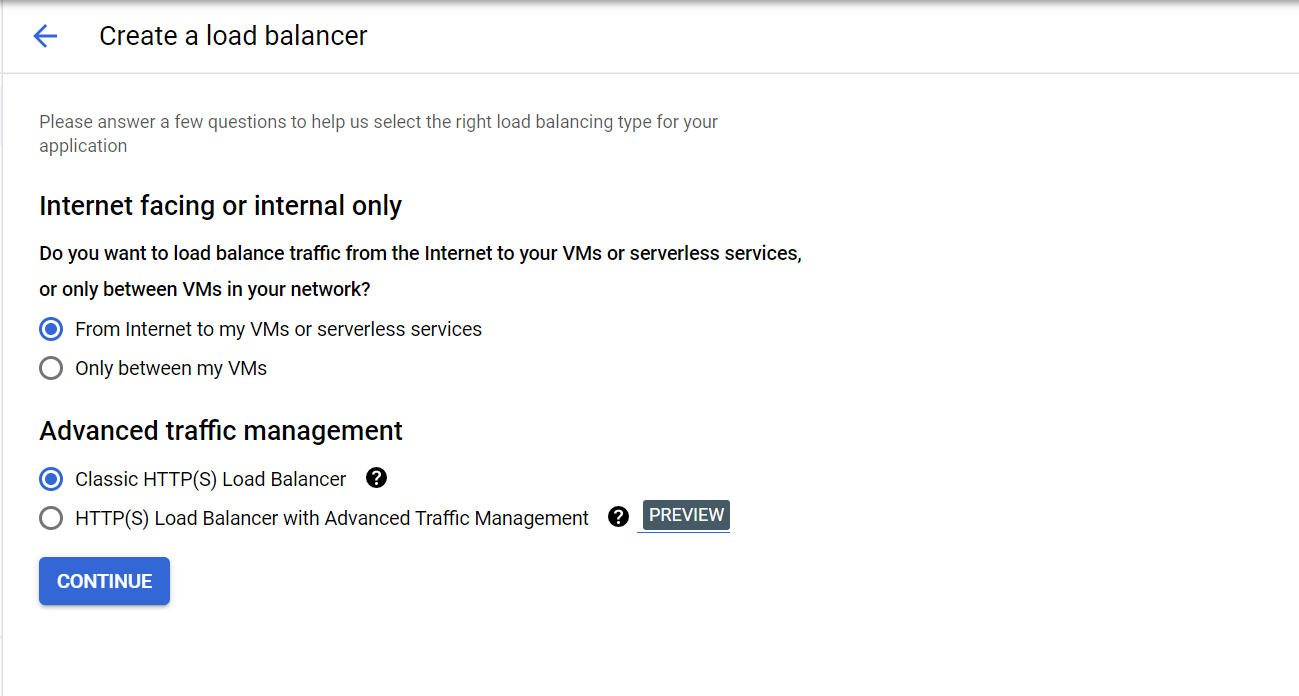
Step 4: Expose your site via GCP Load Balancing
Navigate to the Load Balancing page and create a new HTTP(S) Load Balancing.


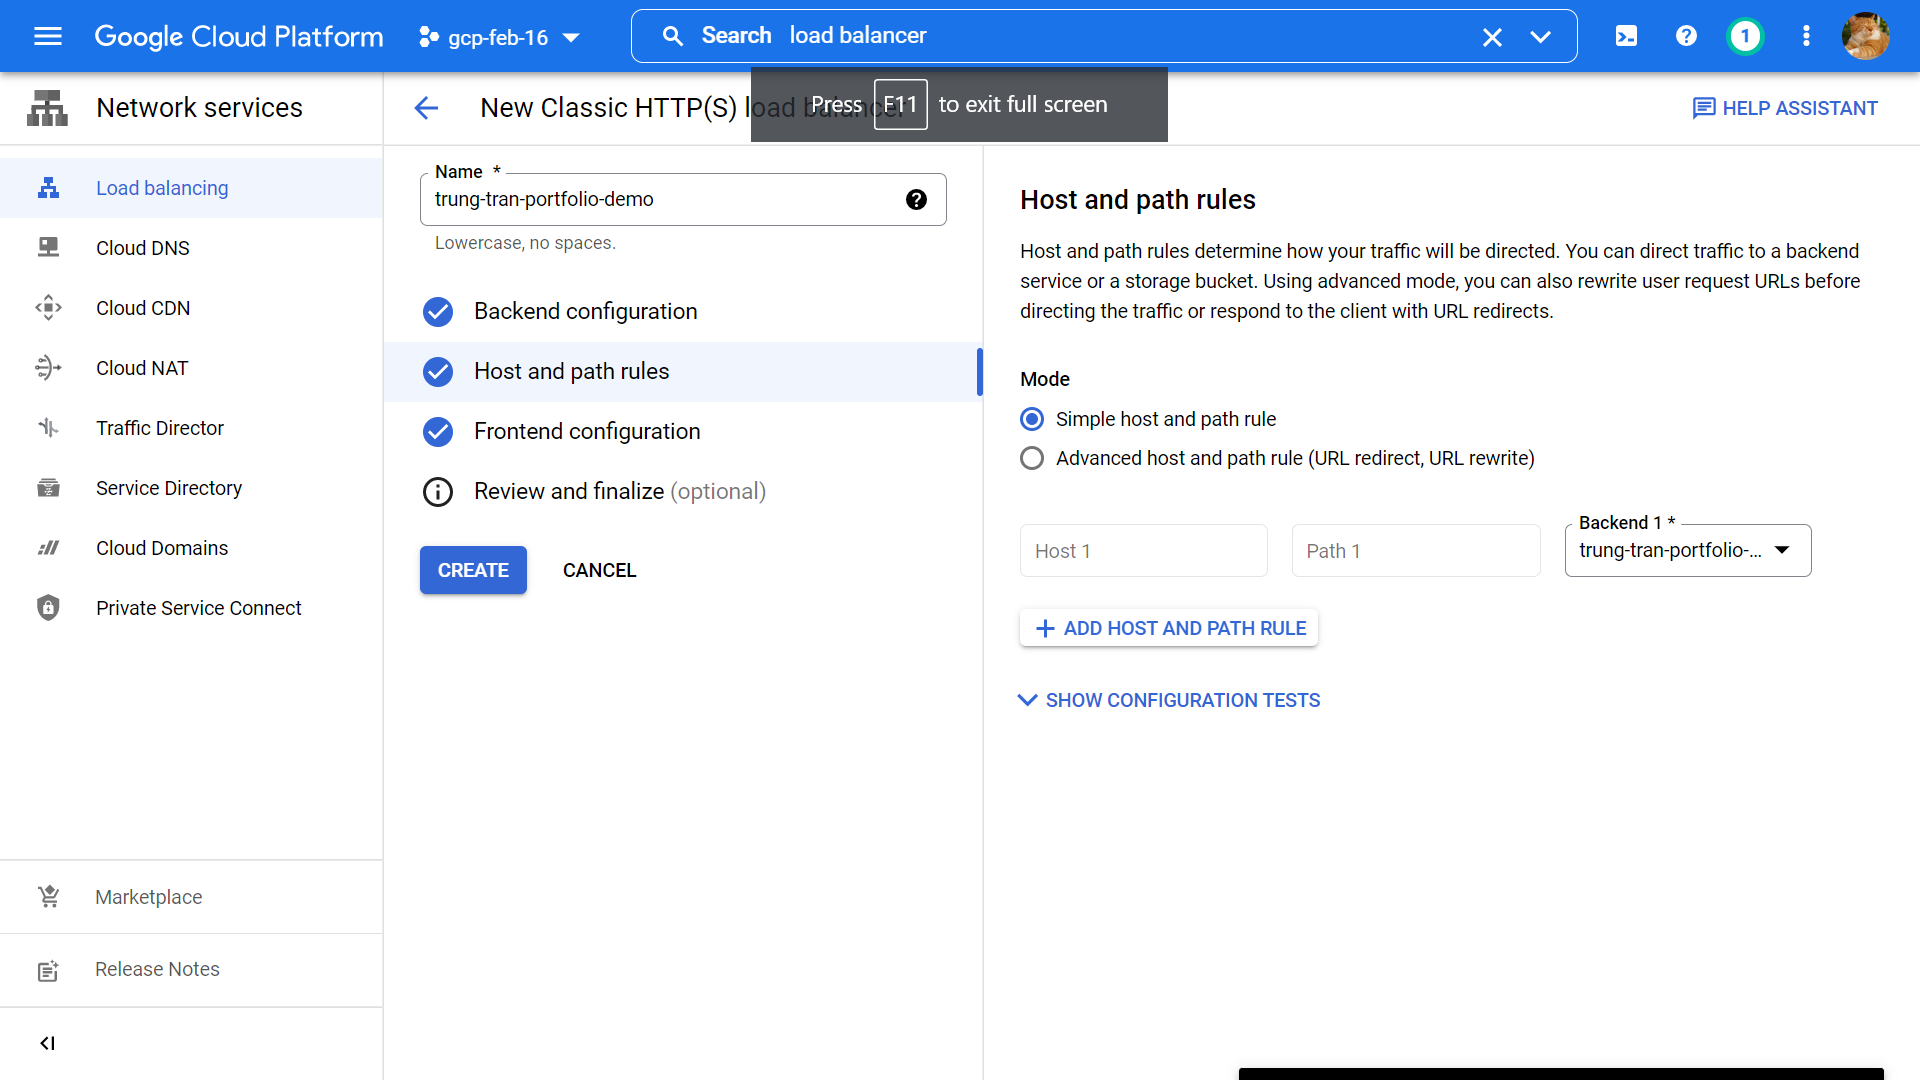
The load balancer will be responsible for routing all traffic to the storage bucket, which serves as the static web server.
After the HTTP load balancer is created, go to the detail page and get the frontend IP address.

Step 5: Finish the setup & observe the output.
Optionally, if you want to have a custom domain for your portfolio, go to your DNS manager site and add an A record point to the IP V4 of the load balancer.
Congrats, you finish the lab and successfully host your own portfolio profiles in Google Cloud Platform using Cloud Storage & Load Balancer. Hope you enjoy the journey and learn helpful knowledge.
Thanks,
Trung Tran.