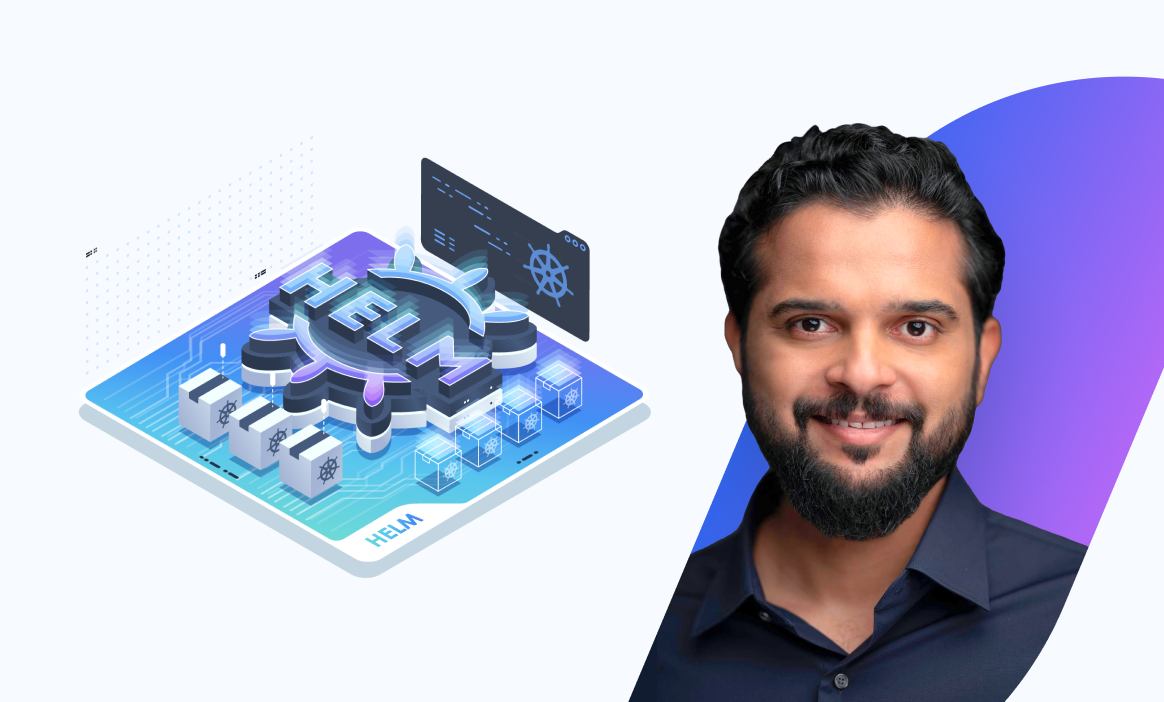
What is Helm in Kubernetes? (Role & Benefits Explained)
Kubernetes is a powerful tool for managing containerized applications, but it can also be quite complex. One of the main reasons for this complexity is that Kubernetes is designed to be highly flexible and customizable, which means that there are many different ways to configure and use it. Additionally, running an app in Kubernetes requires the configurations of multiple components, such as deployments, services, Daemonsets, Secrets, etc.
One of the best ways to get past Kubernetes' complexity is by using Helm Charts. This blog explains what Helm is and how it solves the complexity problem.
Kubernetes Complexity
A typical app on Kubernetes usually comprises a collection of objects that need to interconnect to make everything work. For example, even a relatively simple WordPress site might need the following:
- A persistent volume to store the database
- A persistent volume claim
- A service to expose the web server running in a Pod to the Internet
- Secret for storing sensitive data such as passwords.
- A deployment to declare the Pods you want to run: MySQL database servers, web servers, etc.
- And maybe even more if you want extra stuff like periodic backups.
Each of the objects above might need a separate .yaml file. This means we must kubectl apply -f every .yaml file to deploy the WordPress site - a tedious process that's prone to errors.
Imagine we download these .yaml files from the Internet. We’re not happy with the defaults, so we start changing stuff. The persistent volumes are 20GB, but we know our website will need much more storage. We go to the .yaml files where persistent volumes/claims are declared, and we change it from 20 to 100.
If we have more stuff to change, we'll have to open up every .yaml file and edit it according to our needs. It gets worse: Now imagine 2 months go by. We now have to upgrade some components in our app. Back to editing multiple .yaml declarations carefully so we don’t change the wrong thing.
What if we decide to delete the app? We’ll need to remember each object that belongs to our app and delete them all. This would translate into many commands like
kubectl delete -f wordpress-service.yaml
kubectl delete -f wordpress-deployment.yaml
kubectl delete -f wordpress-pvc.yaml
# and so on
But some people might be thinking, “Hey, it’s no big deal; we can just write all object declarations in a single .yaml file.” That’s true, but it might make finding the stuff we’re looking for even harder. We’d have to continuously search for stuff we need to edit in something that could be 25 pages of text. At least in multiple files, they’d be somewhat organized: for instance, we’d know we’ll find MySQL deployment-related stuff in “mysql-deployment.yaml”.
NOTE: Kubernetes doesn’t really care about our app as a whole. All it knows is that we declared various objects, and it proceeds to make each of them exist in our cluster. It doesn’t know that this persistent volume and that deployment and that secret and that service are all part of a big application called WordPress. It looks at all the little pieces the administrator wanted to have in the cluster and takes care of each individually.
Enter Helm! It simplifies app management in Kubernetes.
What is a Helm?
Helm is a powerful tool that allows developers to package and deploy their applications quickly and easily. It provides a standardized way of managing dependencies and configurations.
Helm was built from the ground up to simplify app objects' management. That’s why it’s sometimes called a package manager for Kubernetes. It looks at those objects as part of a big package - as a group.
Whenever we need to perform an action, we don’t tell Helm the objects it should touch. We tell it what package we want it to act on, like our WordPress app/package. Based on the package name, it then knows what objects it should change and how, even if there are 100 objects belonging to that package.
To make this easier to understand, think about this:
A computer game is contained in hundreds or thousands of files. There are a few files with the program’s executable code, other files with audio, game sounds, and music, other files with graphics, textures, images, files with configuration data, and so on. Now imagine we’d have to download each of them separately. That would be very tedious.
Fortunately, we don’t have to endure such horrors, as we get a game installer. We run it, press “next, next, next,” choose the directory where we want to install, game settings, and the installer does the rest, putting thousands of files in their proper location. Helm does a similar thing (and more) for the .yaml files and Kubernetes objects that make up our application.

Benefits of Using Helm
Below are some of the advantages we get from using Helm:
- We use a single command to install our whole app, even if it needs 100 objects. Helm automatically adds every necessary object to Kubernetes without bothering us with the details.
- We use a single command to uninstall our app. It keeps track of all the objects each app uses so it knows what to remove. We no longer need to remember each object that belongs to one of our apps or use 10 separate commands to remove everything. Helm does all the work.
- We can customize the settings we want for our app/package, by specifying desired values at install time. But instead of having to edit multiple values in multiple .yaml files, we have a single location where we can declare every custom setting. In a file like “values.yaml” we can change the size of our persistent volumes, choose the name for our WordPress website, the admin password, settings for the database engine, and so on.
- We can upgrade our application with a single command. Helm will know what individual objects need to change to make this happen.
- We can rollback to the previous so-called “revision”. For example, upgrading a Helm package/app might take us from revision number 4 to revision number 5. If the upgrade doesn’t work how we expect - maybe we get new bugs we don’t like - we can rollback (revert) to the previous revision, i.e., go back from 5 to 4. Although similar, this shouldn’t be confused with restoring from a backup. It does not get old data back. For example, if we accidentally delete a database, this will not recover it. Helm rollbacks are just a way to get the Kubernetes objects of our app back to the exact state they were before, in a previous revision.
- We can also potentially use Helm to automate installs. For example, imagine the following scenario. A user requests our website; he chooses some settings. These settings get passed on to a Helm command, which then launches an app according to the user’s preferences.
Helm works as a sort of install wizard (or package manager), uninstall wizard, and upgrade/rollback manager (release manager). The core thing is that it lets us treat our Kubernetes apps as apps instead of as a collection of objects. This takes a huge burden off our shoulders, as we no longer have to micromanage each Kubernetes object; Helm can do that for us.
ENROLL in our Helm for Beginners Course to dive deeper into these and more Helm concepts.

Helm for Beginners
Conclusion
Helm charts are recommended when deploying and managing complex applications with multiple components and dependencies. Helm charts simplify installing, upgrading, and removing applications by packaging all the necessary resources and configurations into a single package. This makes maintaining consistency across different environments easier and reduces the risk of errors or conflicts.
Helm charts also enable you to share and reuse application templates with others in the community, saving time and effort in the long run.
Check out our Kubernetes Learning Path to better understand Kubernetes tools such as Linode, Kustomize, Lens, etc.
Watch this video to learn more about Helm’s works.
More on Helm:
- What are Helm Charts?
- Writing a Helm Chart
- Helm Architecture
- Helm Chart Tutorial: A Quick Guide to Working With Helm
- What is a Template Function and Pipeline in Helm?