MinIO is an open-source, high-performance object storage system that is compatible with the Amazon S3 API. It is designed for cloud-native and containerized environments, providing a scalable and distributed storage solution. MinIO is built to be lightweight, simple to deploy, and highly available. It is often used as a self-hosted alternative for cloud storage services like Amazon S3, enabling organizations to store and manage large amounts of unstructured data within their own infrastructure.
Here are several key advantages:
- Scalability: It can scale seamlessly as storage needs grow, accommodating large volumes of data.
- Cost-Effectiveness: By deploying MinIO on-premises, organizations can benefit from cost savings compared to using cloud storage services and have full control over their data as well
- S3 Compatibility: MinIO is fully compatible with the Amazon S3 API, making integration and migration easy for existing S3 applications.
- Versatility: MinIO is flexible and suitable for various use cases, from static asset storage to data lakes and machine learning workloads.
Note:
Ubuntu version 22.04.3
Docker version 20.10.21
MinIO version RELEASE.2023-07-07T07-13-57Z
Prerequisites:
Docker installed.
Read, write, and delete access to the folder or drive used for the persistent volume.
MinIO Installation
In the document, you can deploy MinIO in multiple ways such as Linux, Docker, Kubernetes,… In this article, I will use Docker and run a MinIO container on a Ubuntu server.
In order to do that, first you need to create a new local directory which will be mounted into MinIO container
$ mkdir -p /mnt/data
Then, run MinIO container with the command
$ docker run \
-d \
-p 9000:9000 \
-p 9001:9001 \
--name minio \
-e "MINIO_ROOT_USER=admin" \
-e "MINIO_ROOT_PASSWORD=YourPassword" \
-v /mnt/data:/data \
--restart=always \
quay.io/minio/minio server /data --console-address ":9001"
Note: Remember to set the environment variables MINIO_ROOT_USER and MINIO_ROOT_PASSWORD, respectively. These can set the root user credentials. Change the example values to use for your container.
To verify that we have installed it successfully, run this command:
$ docker ps
The following output as
Connect your Browser to the MinIO Server
Now you can access the MinIO Console. If you run this container locally you can browse to http://localhost:9000, otherwise you browse to http://YourVmIP:9000
While port 9000 is used for connecting to the API, MinIO automatically redirects browser access to the MinIO Console. You also can access the MinIO Console directly with port 9001.
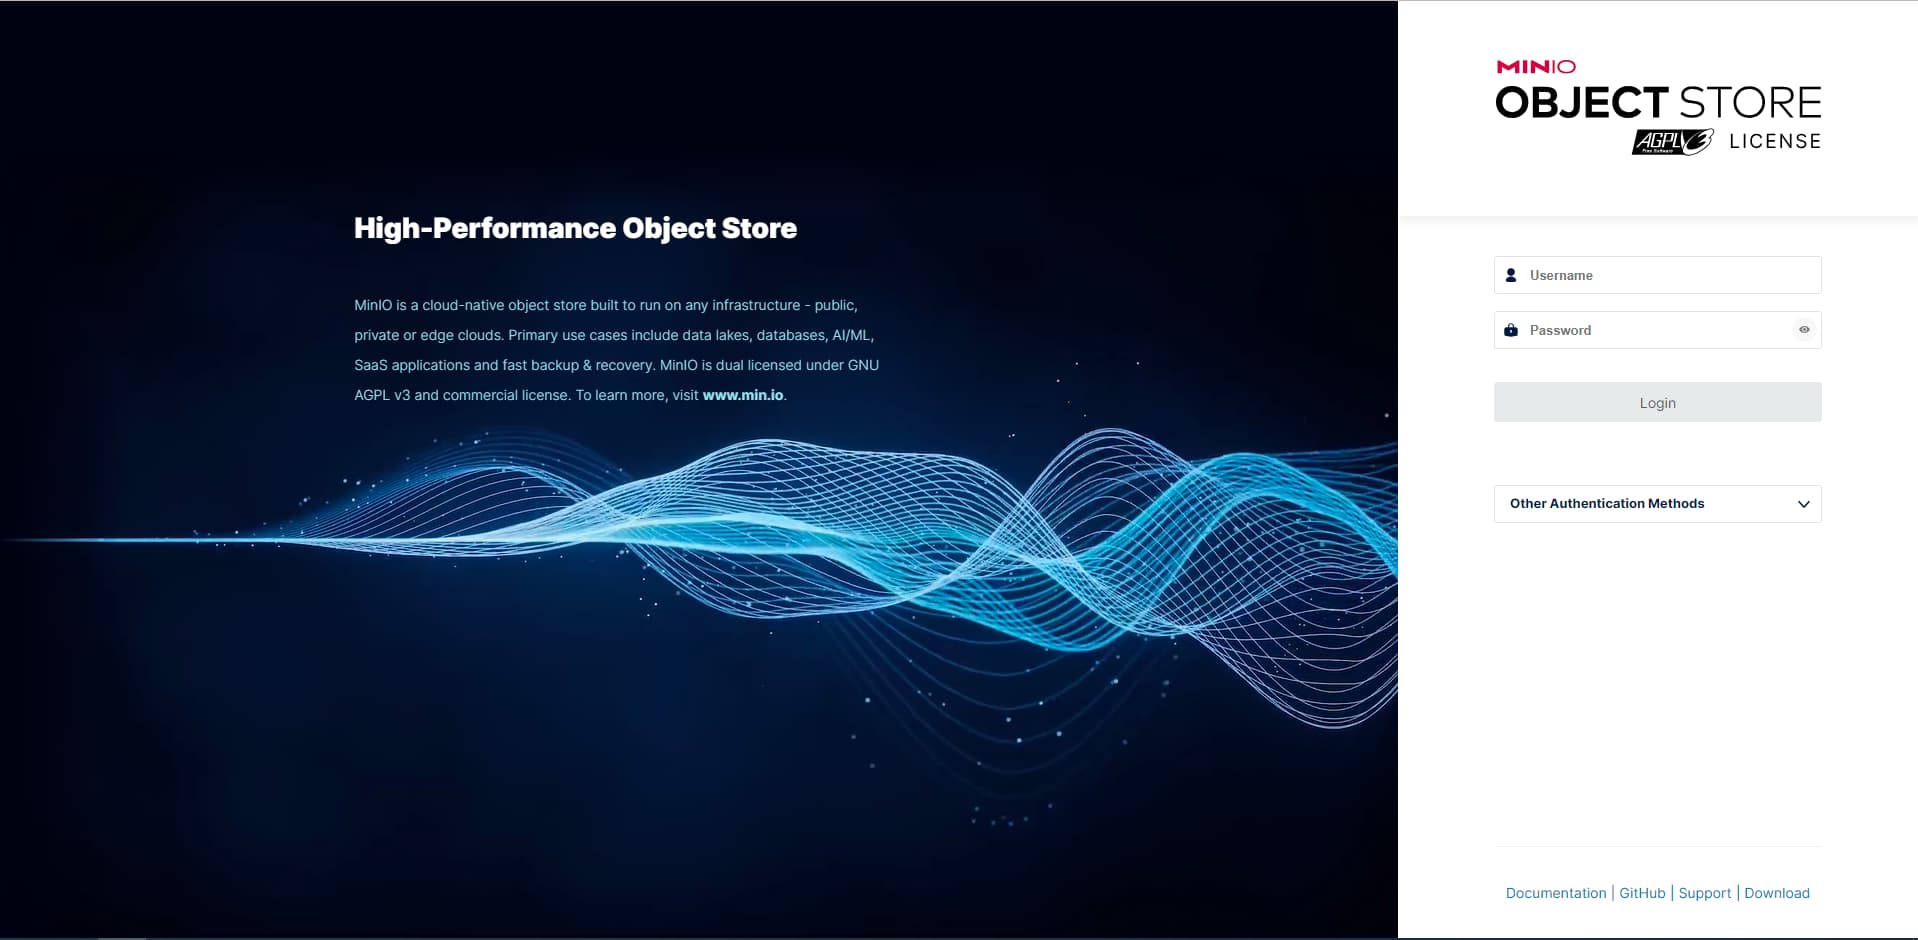
Next, Log in to the Console with the credentials you defined in the MINIO_ROOT_USER and MINIO_ROOT_PASSWORD environment variables.
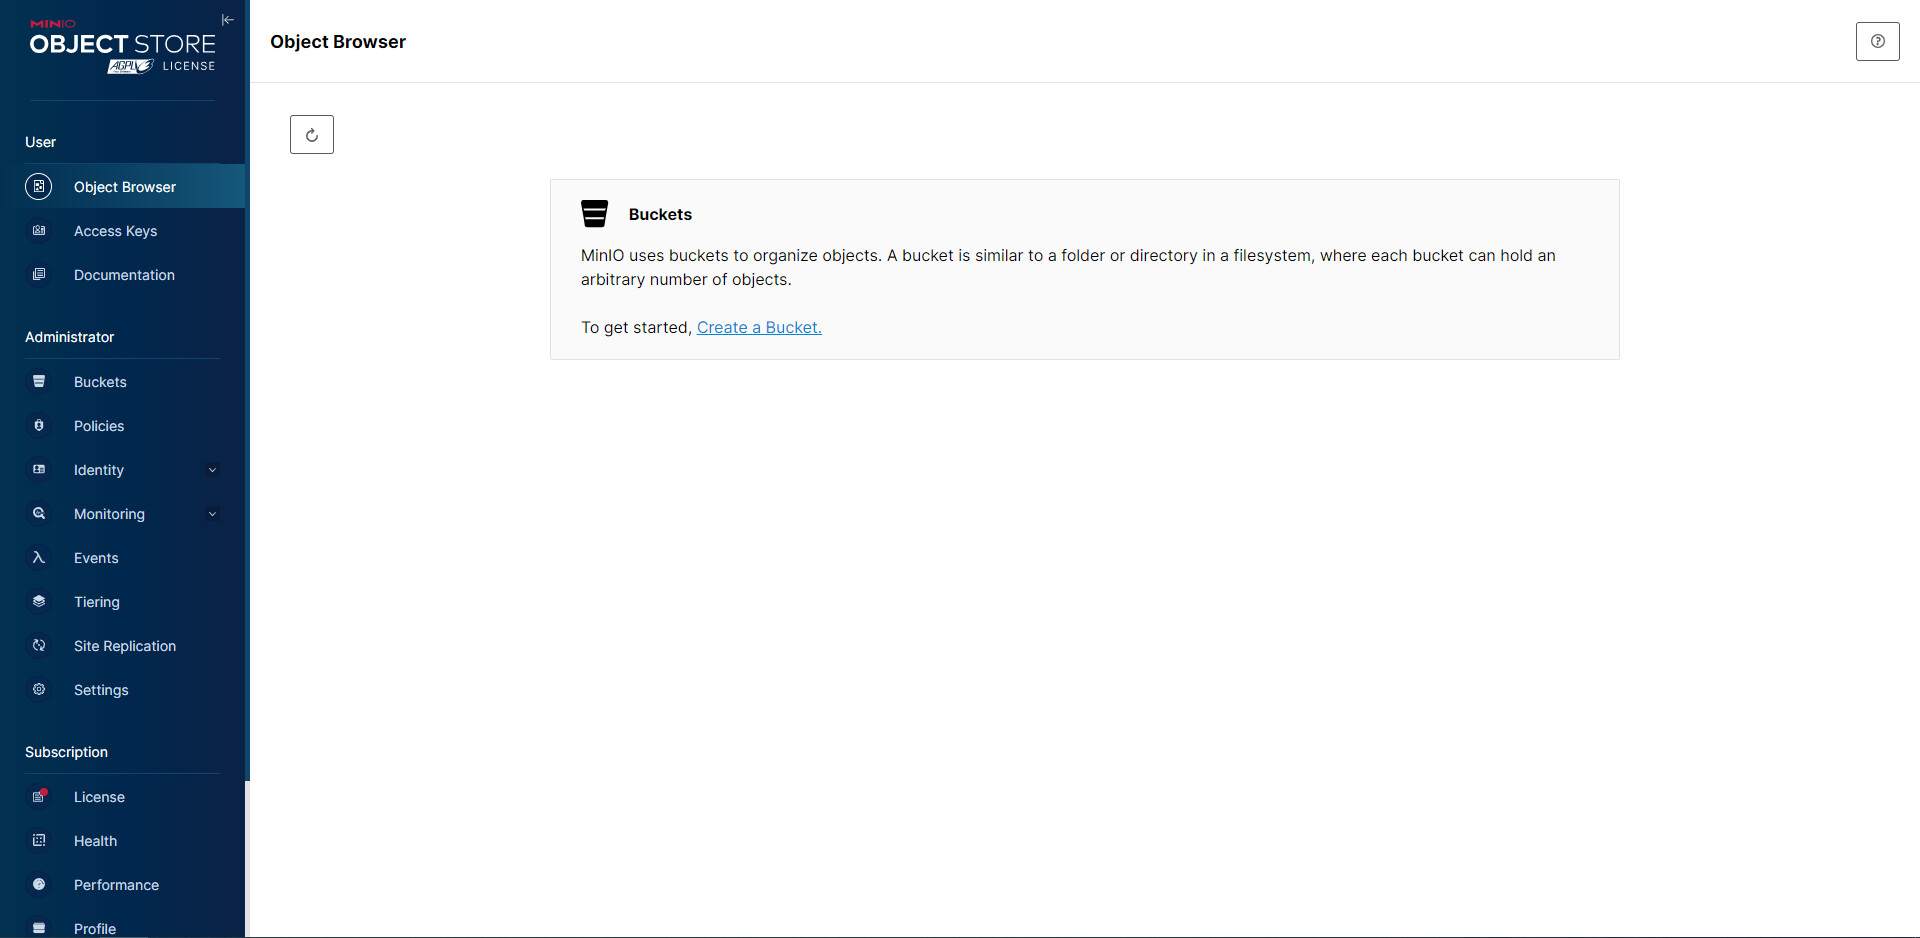
After logging in successfully, you will see the Object Browser page as below
Upload files with MinIO Console
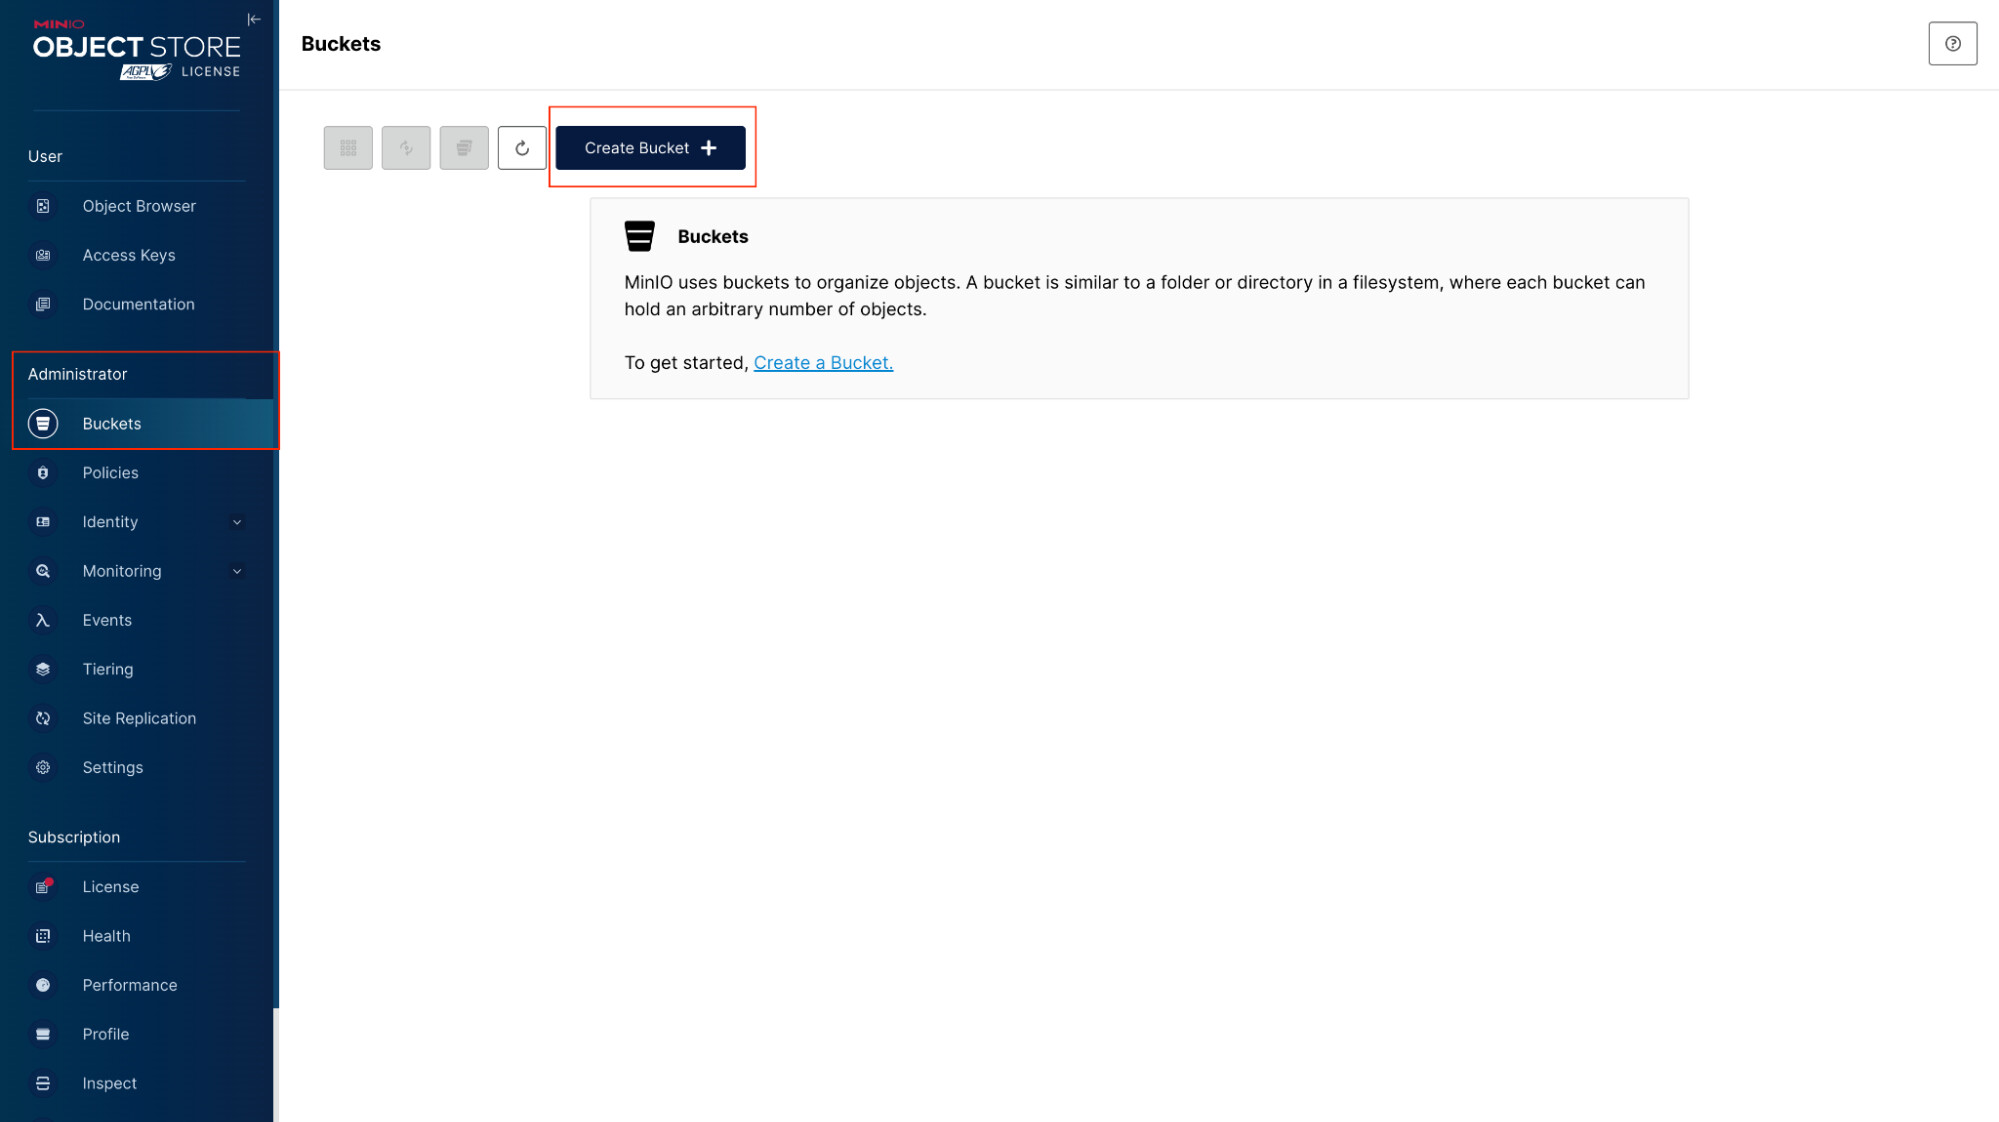
At this point, in order to upload a file to MinIO you need to create a bucket. On the Object Browser page, click on Buckets menu and choose Create Bucket
Input the Bucket Name field here as “demo” then click on Create Bucket
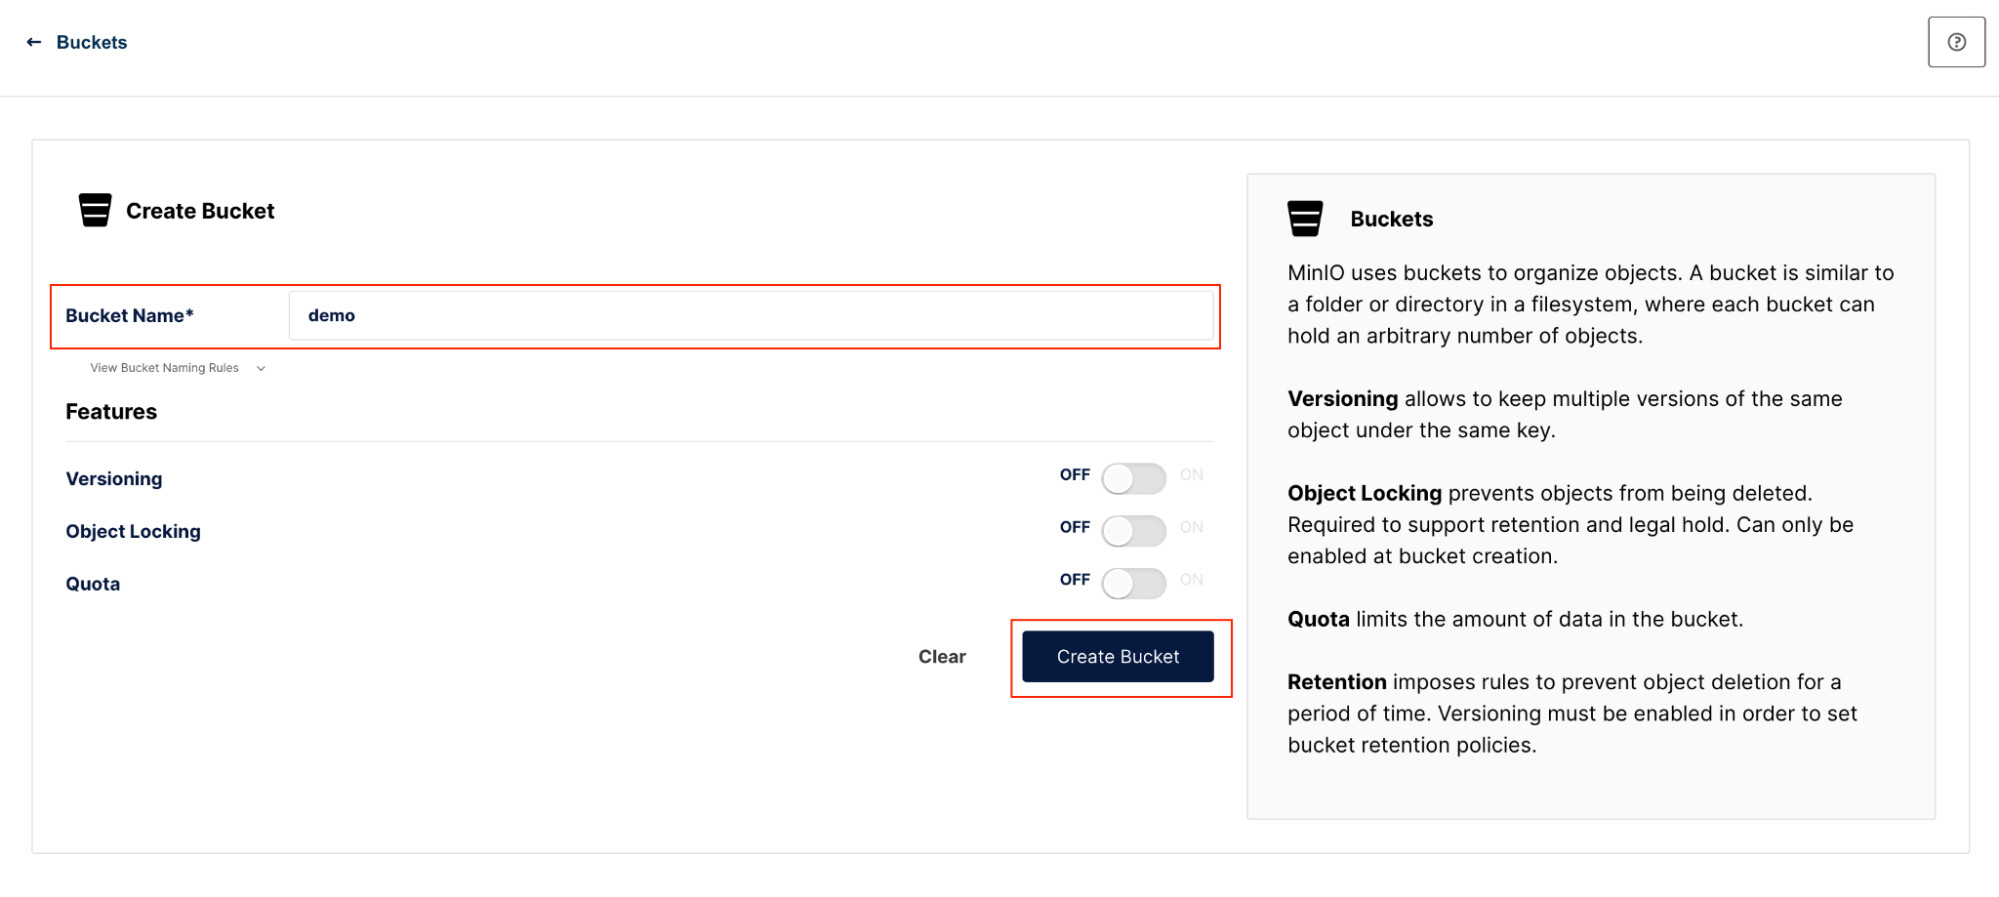
The following page will be

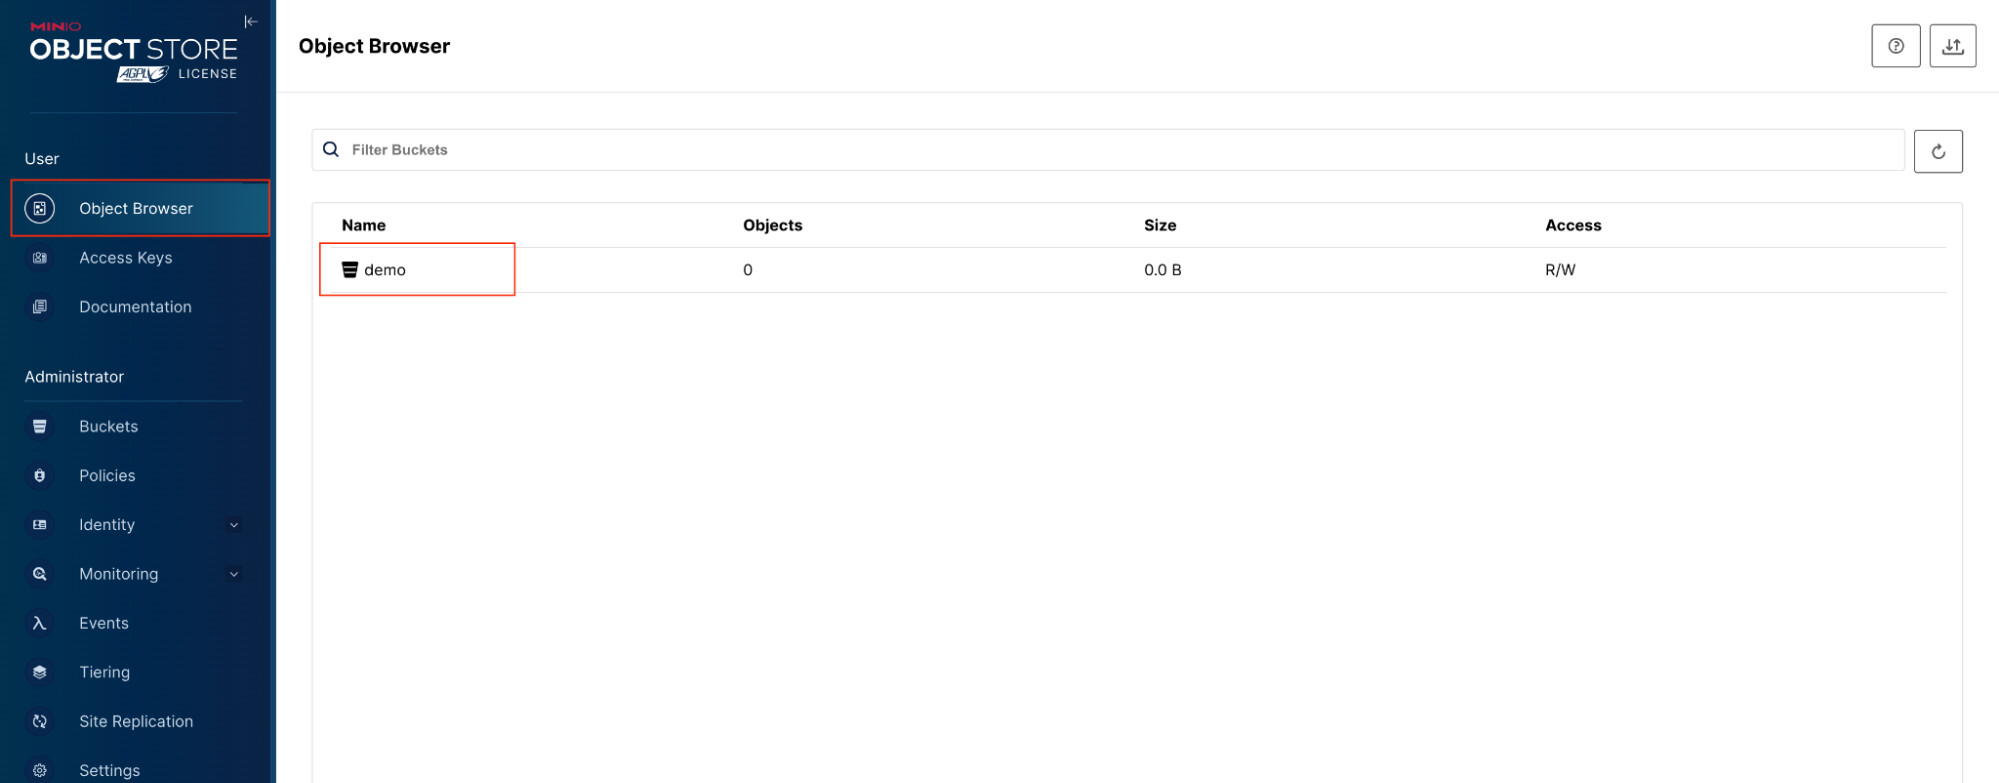
Now, if you click on Object Browser menu, it will show the demo bucket
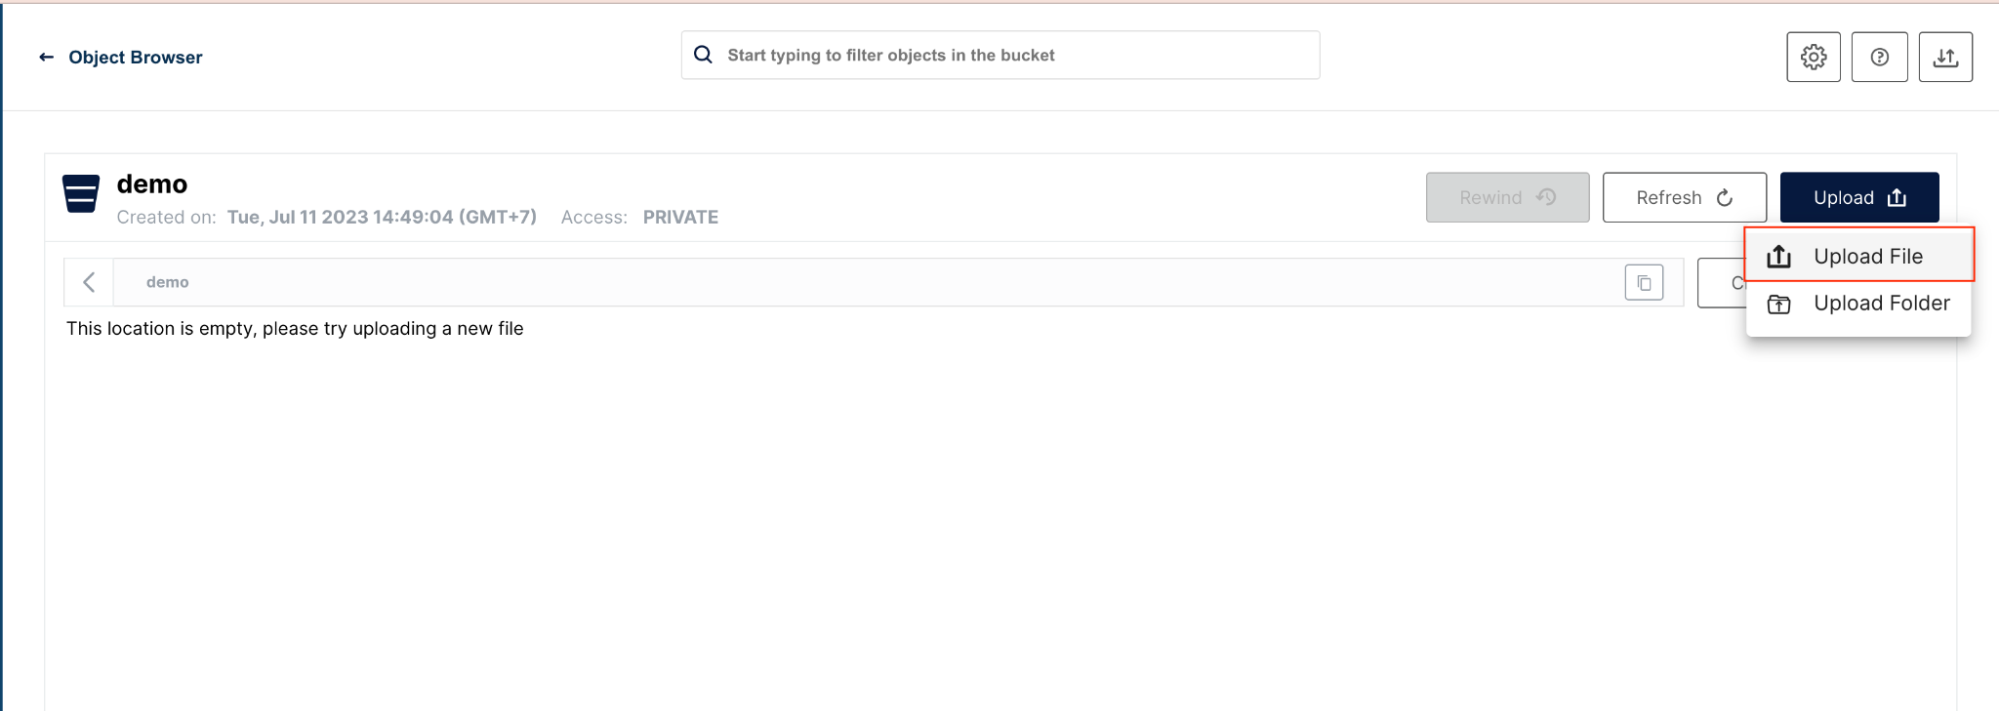
Then, choosing demo bucket and selecting Upload File
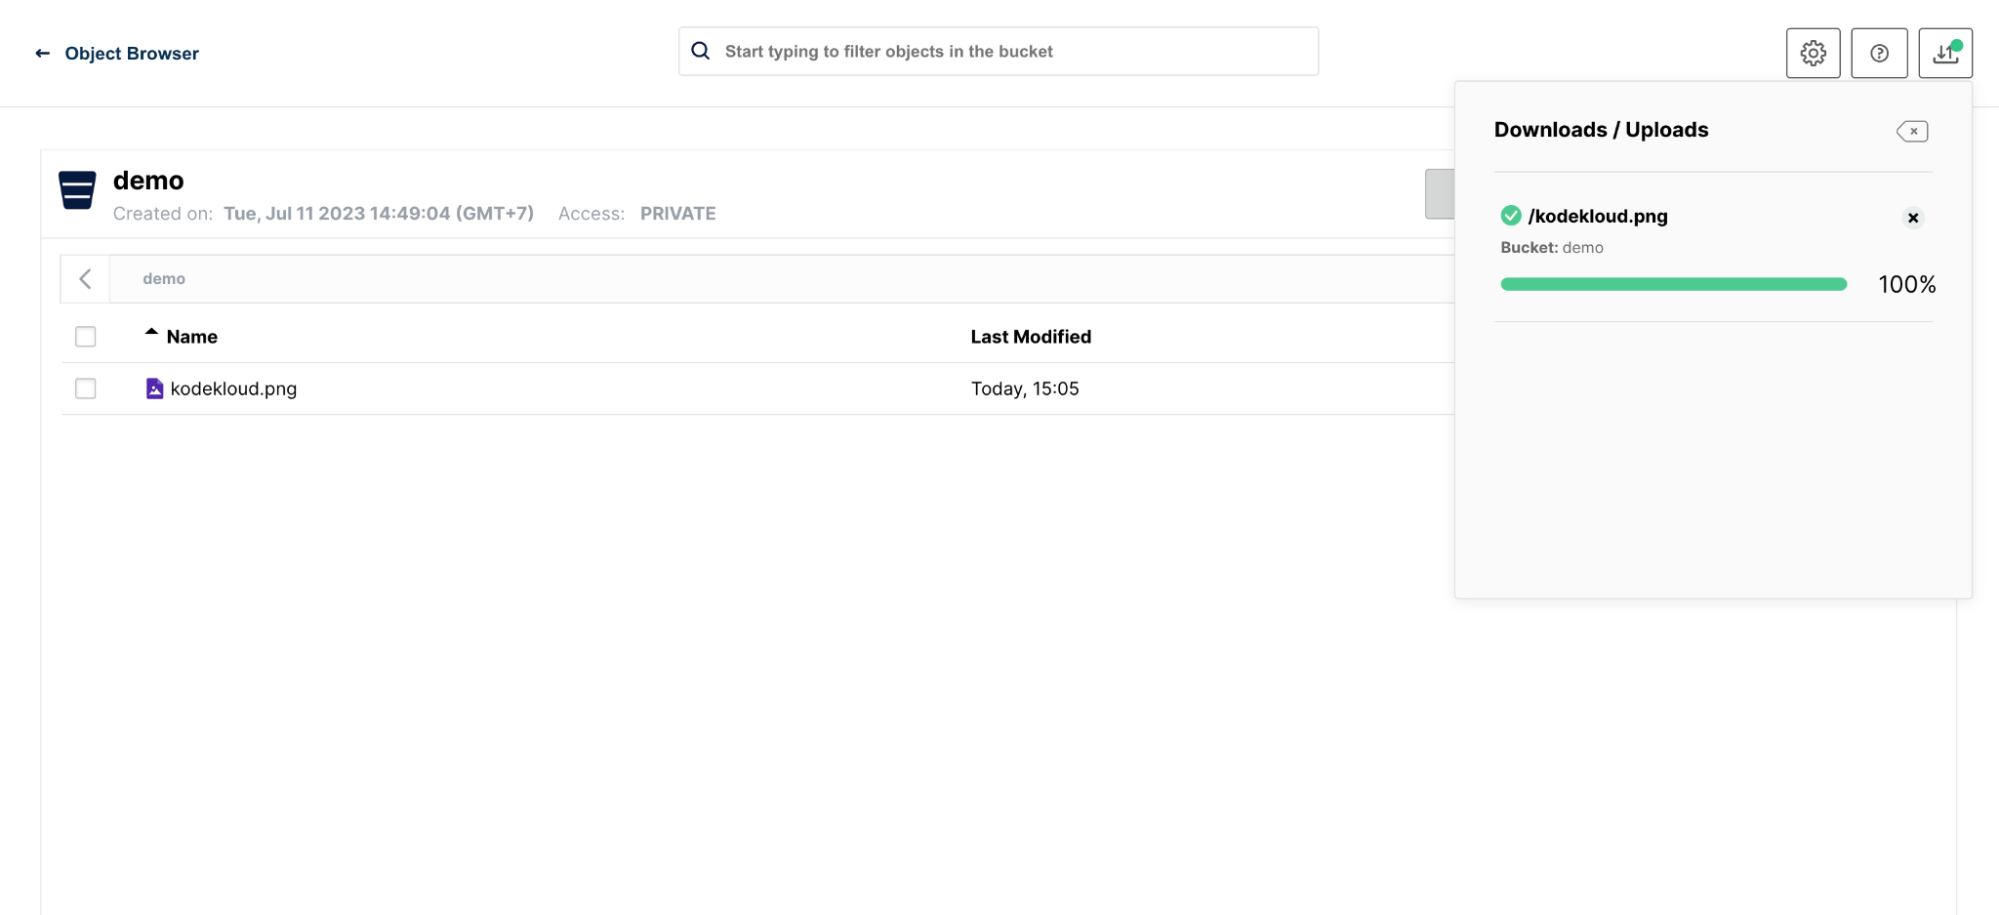
Eventually, upload an image successfully
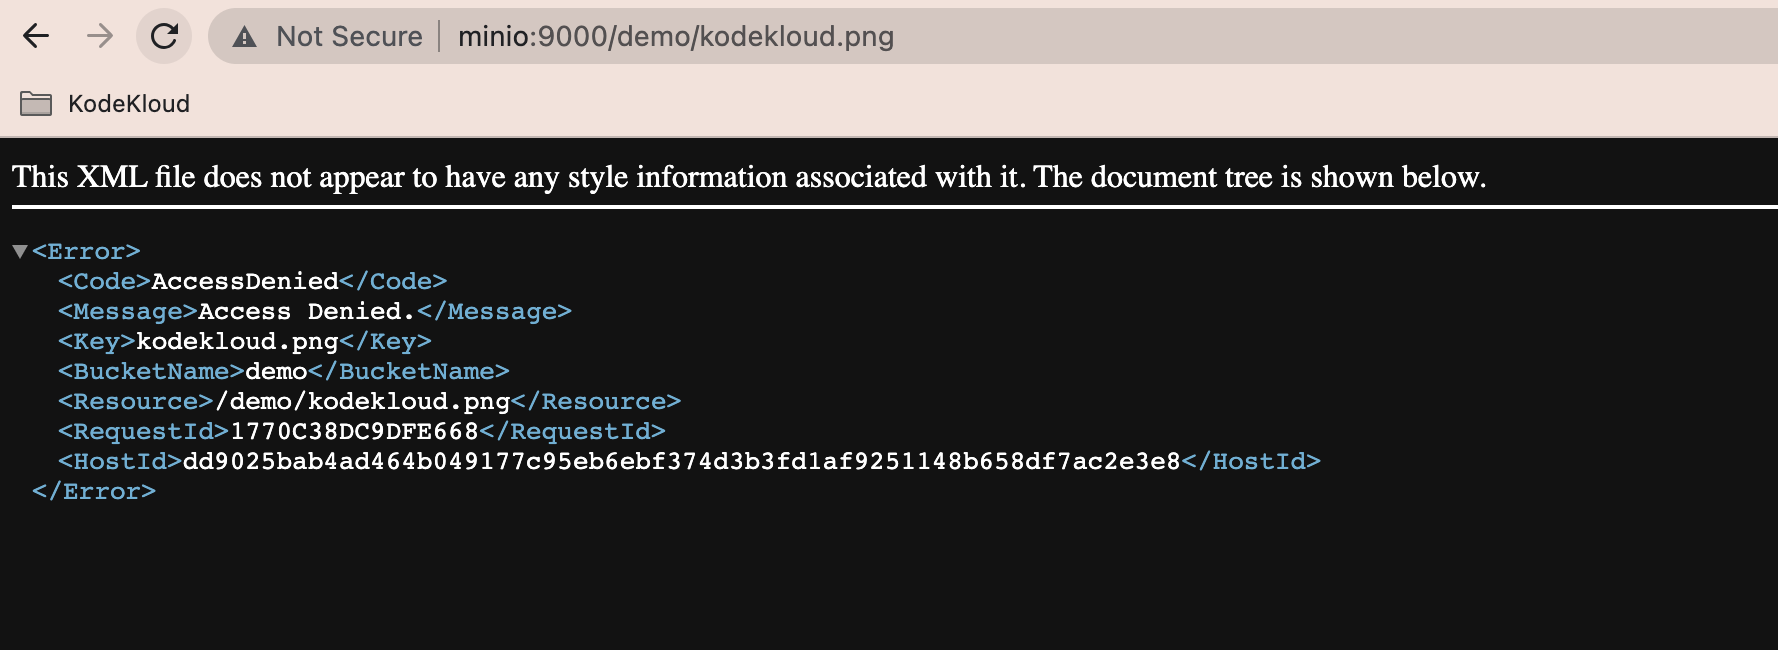
You can view the image by accessing to http://YourVmIP:9000/demo/YourImage. In my case, it is http://minio:9000/demo/kodekloud.png
Actually, you will get an AccessDenied error, which means the demo bucket is private
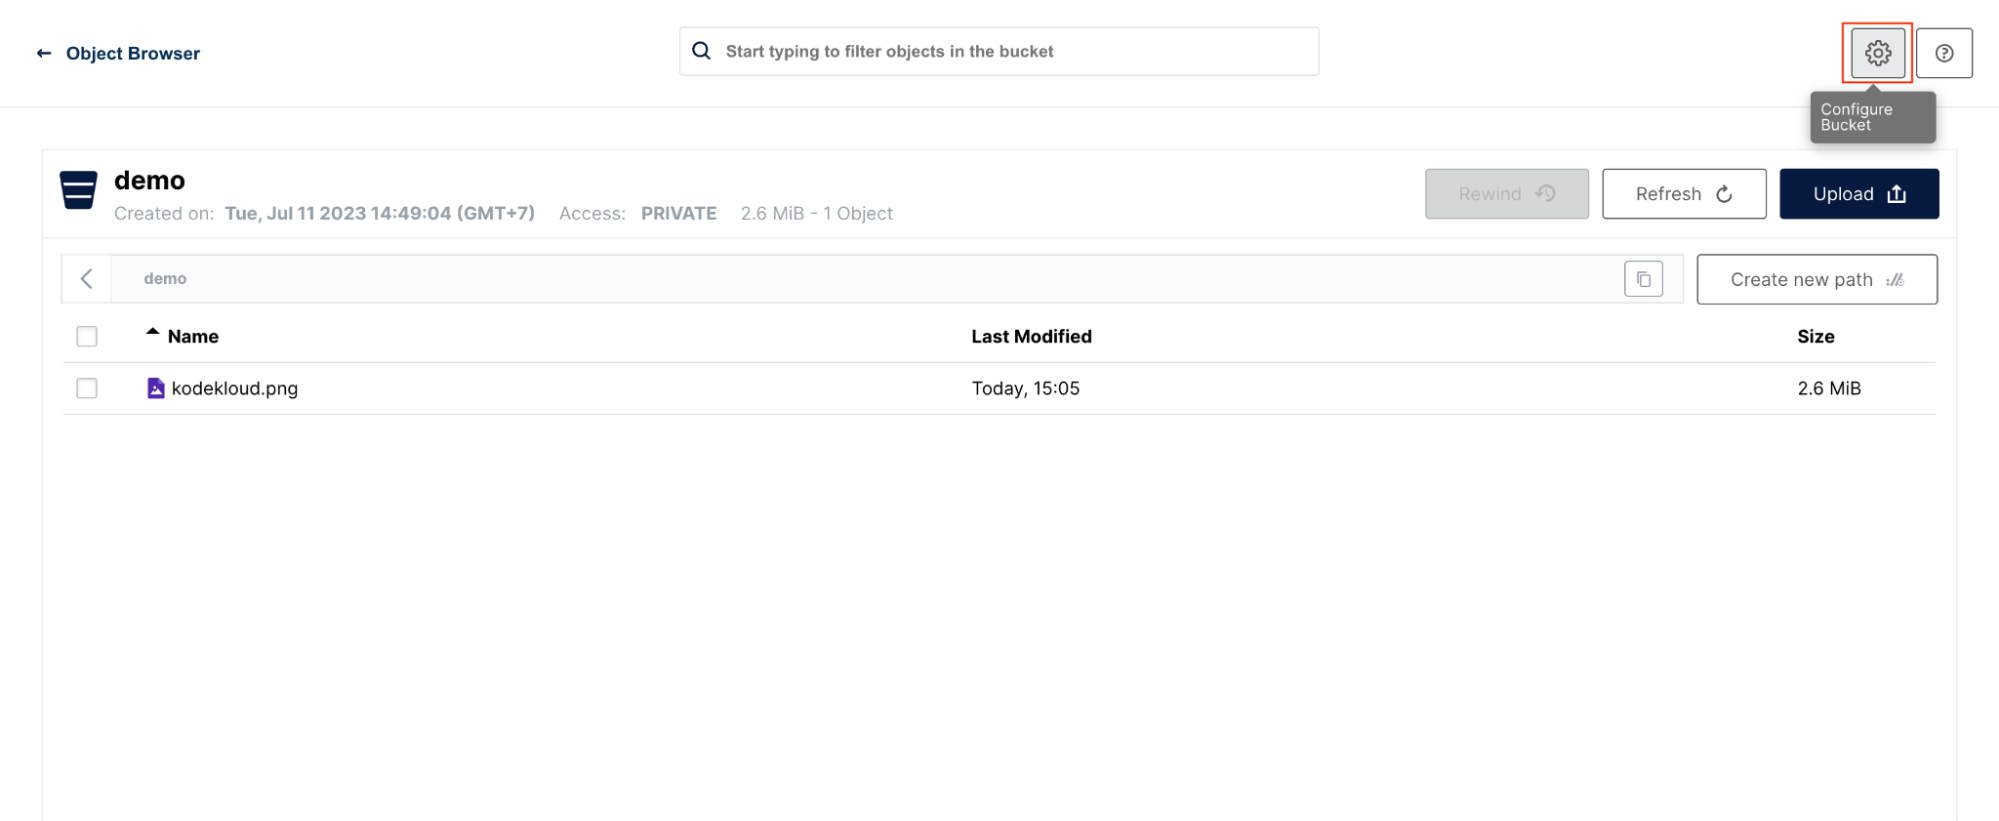
In order to public this bucket, from demo bucket page, click on Configure Bucket
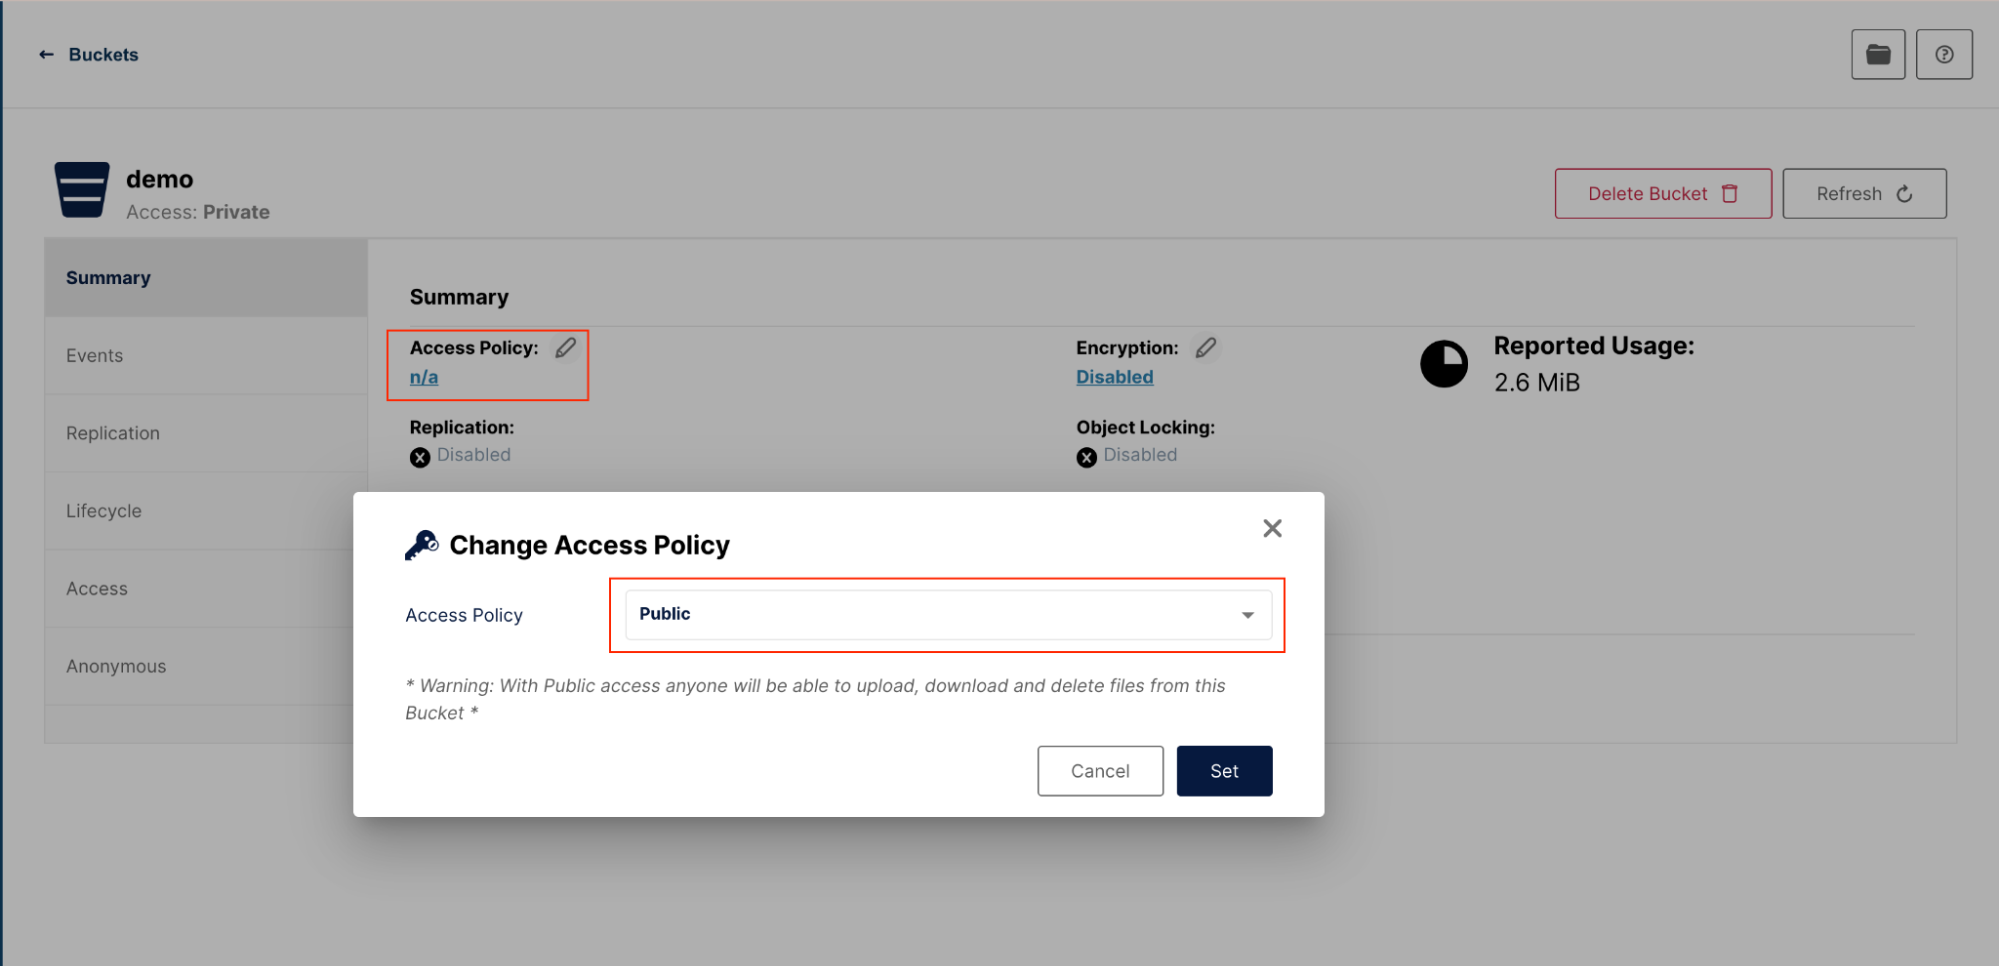
From the Summary page, click on Access Policy, select Public and choose Set.
Finally, coming back and reloading the AccessDenied error page, you will see the image

Using Python to upload files with MinIO Api
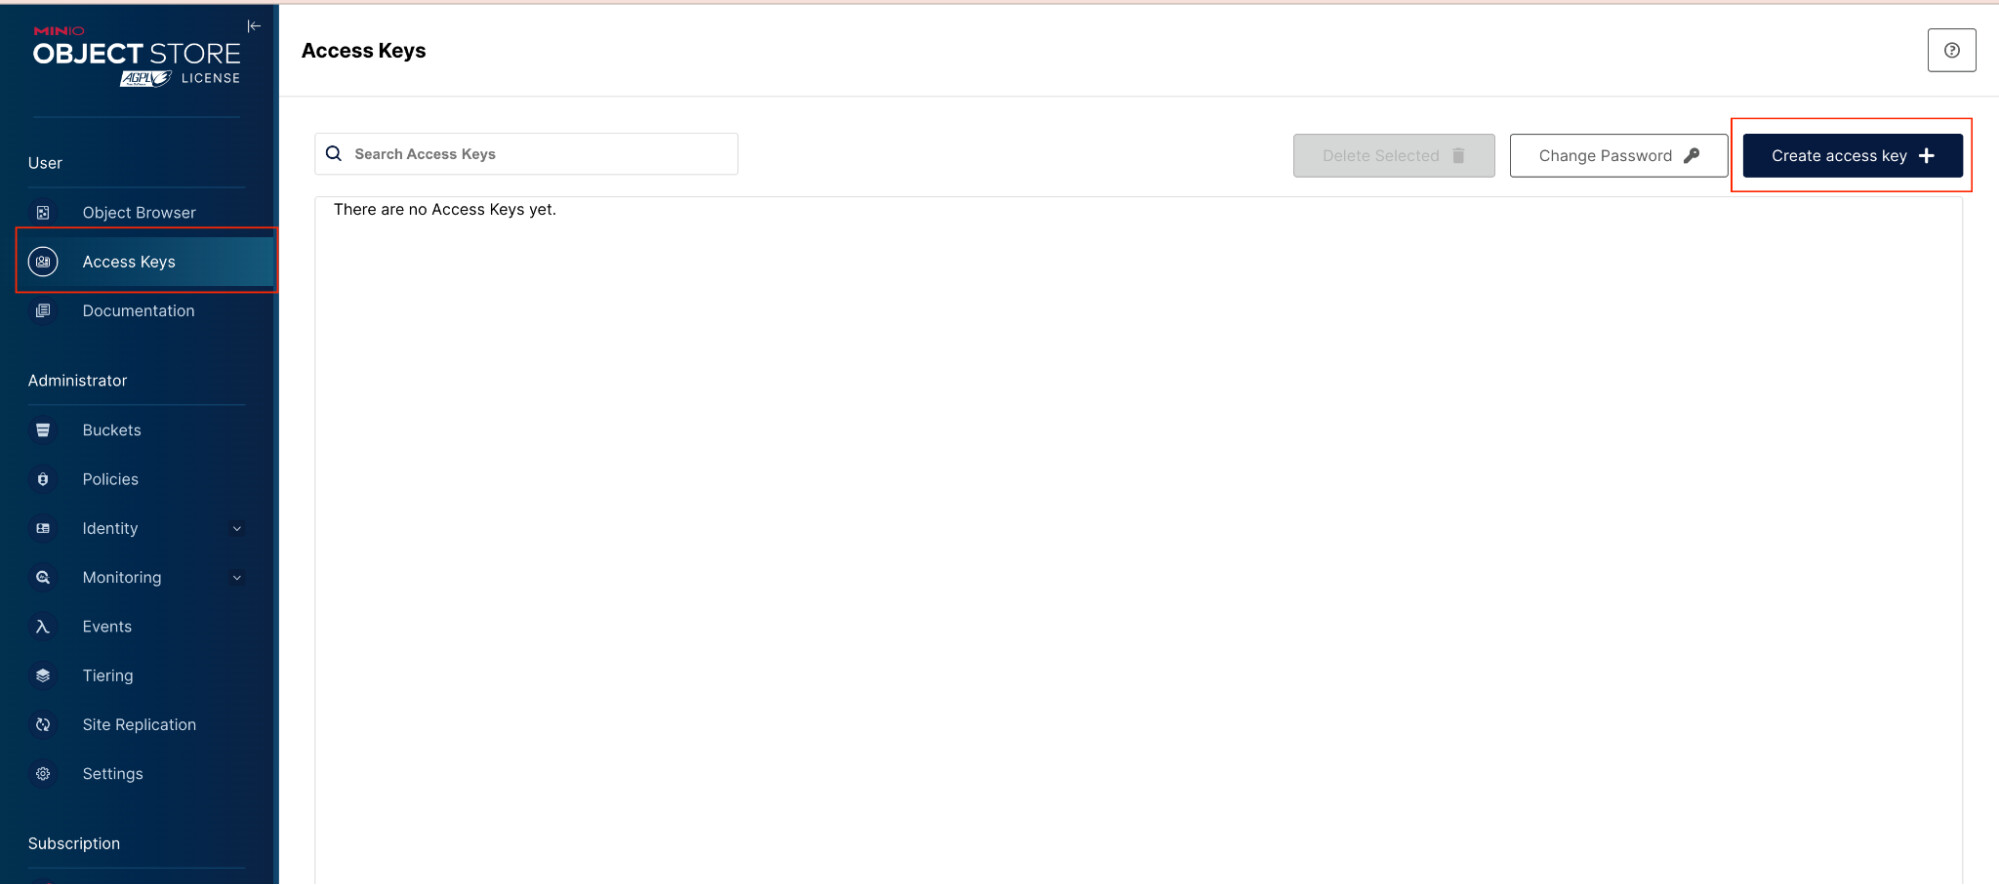
To upload files with API MinIO, you need to have Access Key and Secret Key. You can use the admin credential here but I prefer to create a new Access Key.
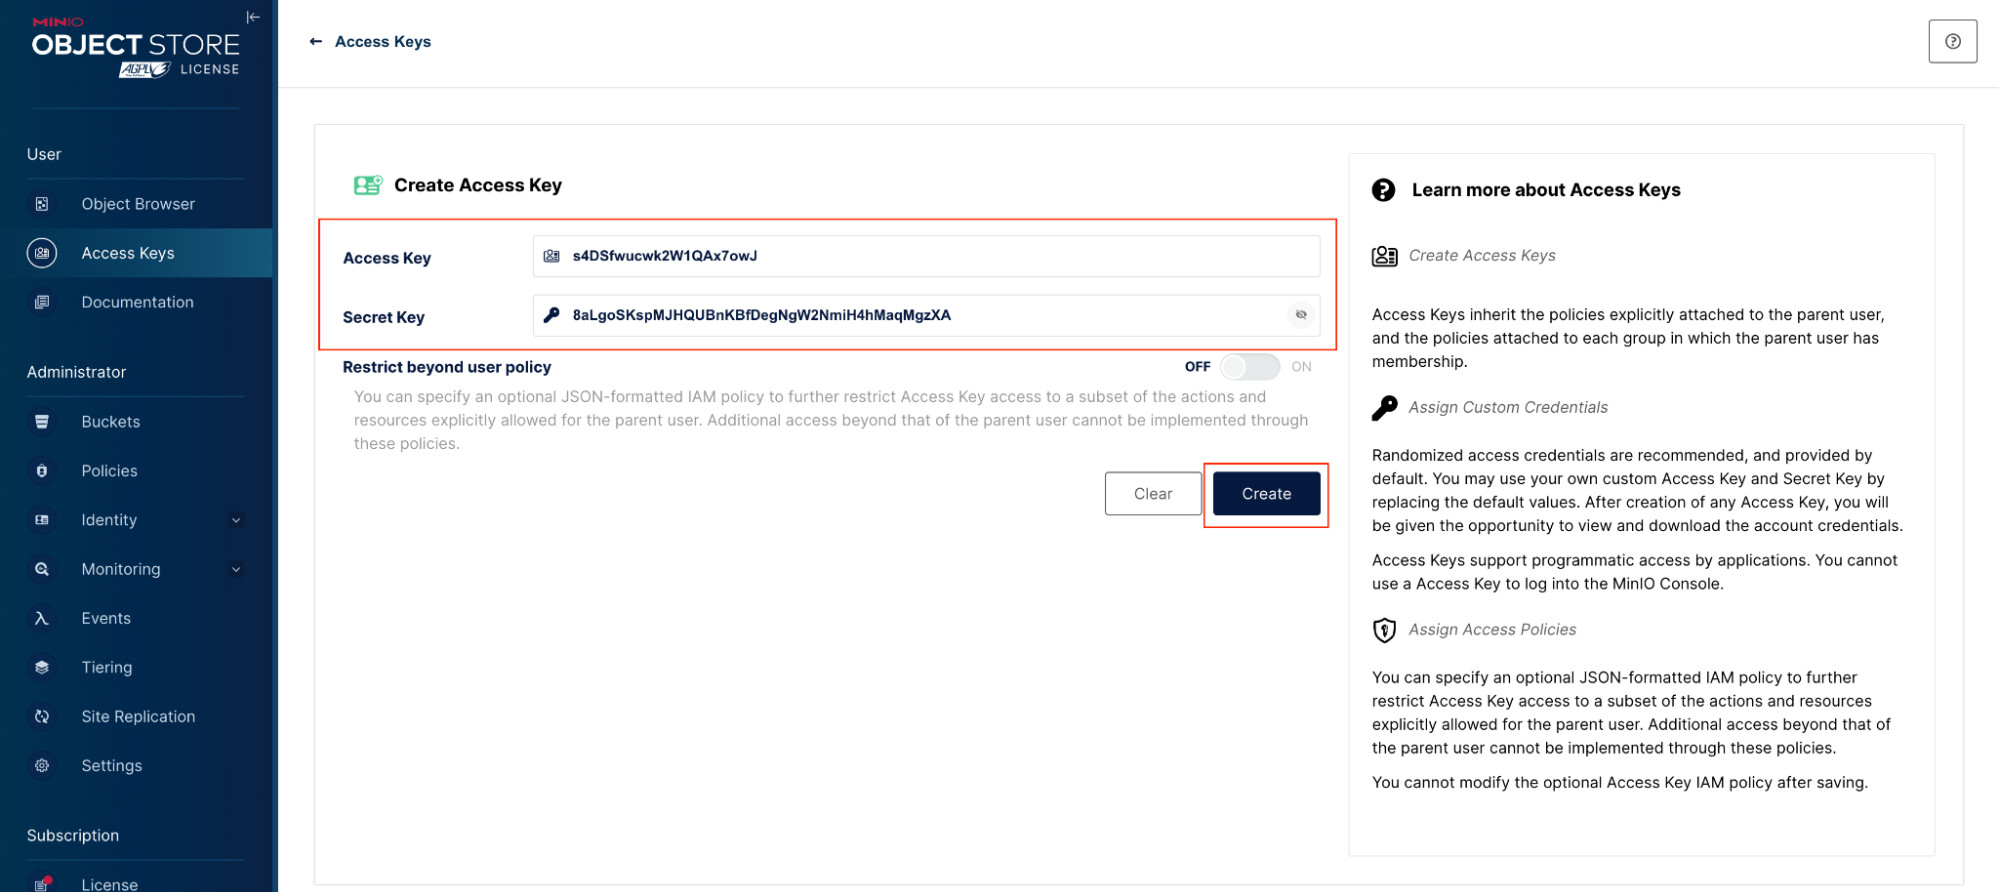
First, go to Access Keys page and click on Create access key
Next, click on Create and save Access Key and Secret Key
As you may know, MinIO provides support for several programming languages, including Python, Go, JavaScript, and .NET, among others.
Here is an example with Python upload.py
from minio import Minio
from minio.error import S3Error


def main():
   # Create a client with the MinIO server playground, its access key
   # and secret key.
   client = Minio(
       "minio:9000",
       access_key="YourAccessKey",
       secret_key="YourSecretKey",
       secure=False,
   )

   # Make 'demo' bucket if not exist.
   found = client.bucket_exists("demo")
   if not found:
       client.make_bucket("demo")
   else:
       print("Bucket 'demo' already exists")

   # Upload 'minio.jpg' as object name
   # 'minio.jpg' to bucket 'demo'.
   client.fput_object(
       "demo",
       "minio.jpg",
       "./minio.jpg",
   )
   print(
       "'minio.jpg' is successfully uploaded as "
       "object 'minio.jpg' to bucket 'demo'."
   )


if __name__ == "__main__":
   try:
       main()
   except S3Error as exc:
       print("error occurred.", exc)
In this example, you need to update four values:
- Your MinIO API endpoint
- Access Key
- Secret Key
- An image or you can use any file
The directory structure

And then run
$ python3 upload.py
The following output as below
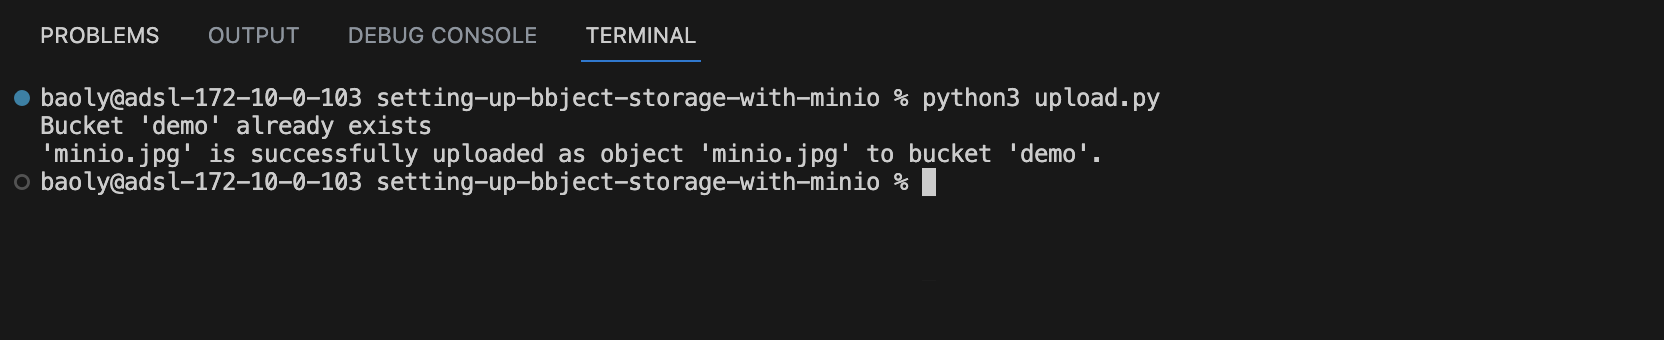
Then come back to demo bucket on MinIO Console, there is a new updated image minio.jpg

Congratulations, you have updated files with MinIO API successfully. Setting up object storage with MinIO offers a flexible and powerful solution for managing large amounts of data. By following a few steps, you can easily configure MinIO to serve as your object storage server. Once MinIO is set up, you can start interacting with it using the supported programming languages, such as Python, Go, JavaScript, or .NET, to store, retrieve, and manage objects efficiently. With MinIO’s rich feature set, scalability and compatibility with various programming languages, you can build robust and scalable object storage solutions tailored to your specific needs.