


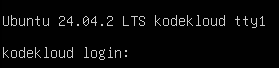
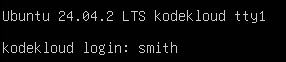
Maybe you created a server in the cloud, on a platform like AWS, Azure, or Google Cloud. Or maybe you have a virtual machine that you want to be able to SSH into. Whatever the case, you're stuck on a screen like this:

A so-called "console login" where you have a sort of "remote view" to your server's login screen. Not quite SSH. It's more like a "remote desktop to a monitor" showing a text-based login. So it doesn't quite cut it. Maybe you want to be able to transfer files to / from these Linux servers. Or do something else that requires SSH.
So, from a login screen like this, how do you enable SSH access to an Ubuntu server?
Prerequisites
First, what user account do you use to log in here?
If you log in as the root user, you should go through a few extra steps. To create a non-root user for your SSH logins.
There are automated attacks constantly trying to brute-force SSH logins. And these attacks usually try to log in as the root user, in combination with random passwords. By closing off access to root logins, you can reduce the risk from these attacks. Especially if you also disable password logins too, and use SSH keys instead. Instructions for SSH keys will be included later in this tutorial.
Create a User with sudo Access
If the only user you have is "root" then do this to add an extra non-root user with sudo privileges:
1. Log in as root in your console session.
At the login: prompt type the username, root. And then type the password for the root account at the Password: prompt.
Note that nothing will be displayed as you type that password. That's normal.

2. Create a new user.
Name it however you want. In this example, we'll name it smith, but you can change this to whatever you wish.
adduser smith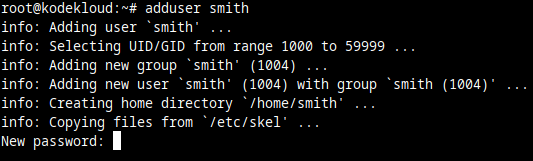
At this New password: prompt pick a strong password for this user.
Note that as you type it, nothing will be displayed on the screen; that's normal. After you type the password press Enter.
Then you'll be prompted to type the same password again:
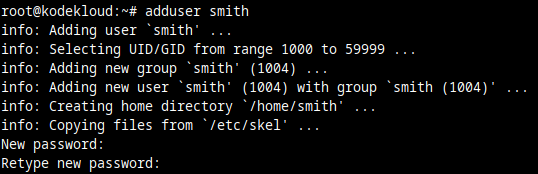
And you'll get confirmation that the password was set successfully.
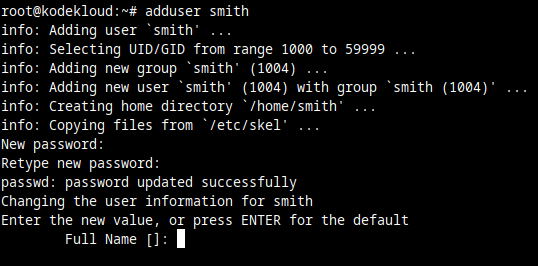
At this point you can set additional details, such as the user's full name, or phone number. These are optional so you can just press Enter at each prompt to skip setting these details.
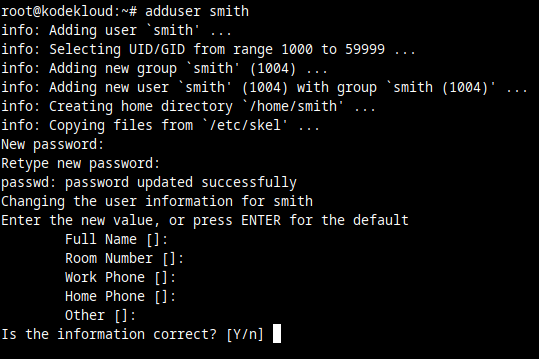
And that's it. When you're asked Is the information correct? type y, then press Enter, and you're done. The new user is created.
3. Add the new user to sudo group.
To allow this new user to run administrative, sudo commands, you can add it to a group called sudo. But first, make sure that the sudo software package is installed:
apt update && apt install sudoNow add the user you created previously, to the sudo group. In the next command, replace the username smith with the username you created.
adduser smith sudo
And now you have a separate, non-root user, that can still execute privileged (root) commands with the help of sudo.
If you want to log out from this root user, you can type:
exit
And this will bring you back to the login console.
Here, you can type your new username, and password, to log in as that newly created user.
Now let's see how we can actually enable remote SSH logins to an Ubuntu server.
Step 1 — Install OpenSSH
A program called the SSH daemon needs to be listening for incoming connections to this Ubuntu server. That's what allows you to connect to it through SSH. This program is contained in the openssh-server software package, which you can install with this command:
sudo apt update && sudo apt install openssh-serverThis is actually built from two commands that run one after the other:
sudo apt updatetells the system to update what it knows about the latest software available. It downloads this information from remote servers.sudo apt install openssh-serveris what actually installs the OpenSSH daemon, and all its dependencies.
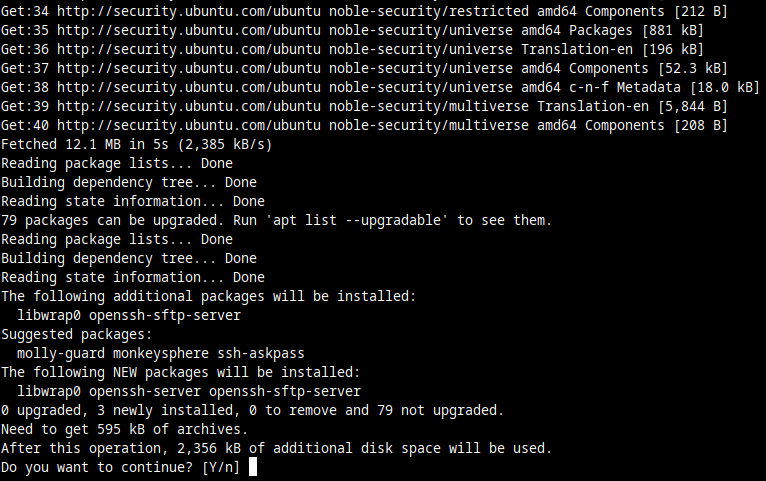
At this screen, type y to pick "yes" to continue, then press Enter.
Just in case the OpenSSH daemon is already installed, the command will inform you about it, and nothing will happen. If it's not installed, it will of course install it.
Normally, when you install the openssh-server package, this will also automatically start the OpenSSH daemon. But maybe you hit an edge case. Where the OpenSSH server is installed, but for some reason, it's disabled.
To make sure the OpenSSH daemon is started, run this command:
sudo systemctl start sshAnd to tell your system to automatically start the OpenSSH daemon every time it boots up, run this:
sudo systemctl enable sshAt this point, you might already be able to log in through SSH. But let's make sure nothing is blocking those connections.
Step 2 — Configure UFW Firewall to Allow SSH Connections
The default firewall manager on Ubuntu is UFW. Sometimes it's active, sometimes it isn't. It all depends on how you installed Ubuntu, and how your cloud service provider customized it (if you're running a server in the cloud).
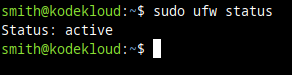
To check if UFW is enabled, run this command:
sudo ufw statusIf you see it's inactive, you can skip the rest of the steps in this section.
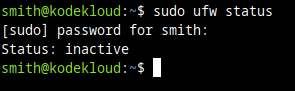
Because this means that UFW is not blocking anything, so it's not necessary to allow SSH connections.
But if UFW is active:
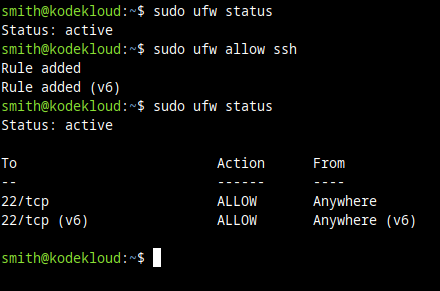
Then you can enable / allow SSH connections through the UFW firewall, with this command:
sudo ufw allow sshAnd now if you check the UFW status again:
sudo ufw statusYou should see some rules for port 22 (the one which SSH uses) were added:
At this point things should already work. On your local / personal computer you should be able to run a command like this, to connect through SSH:
ssh smith@1.2.3.4Where you'd replace smith with your actual username on the Ubuntu server. And you'd replace 1.2.3.4 with the external / Internet-reachable IP address of your server.
ssh smith@1.2.3.4 to connect through SSH to a Linux server.Just in case you still cannot SSH into your Ubuntu server: Check with your cloud platform if they block port 22 from their firewall. This is not something that you configure on the server itself (on the command line of that server). But rather something you can change through a web page, wherever your server is hosted. It should be something related to network, or firewall settings, where you can enable traffic to port 22. Just google something like "allow port 22" and add the name of your cloud compute platform at the end of this search.
Find the Public IP of Your Server
If you don't know the public IP of your server, here are some commands you can run to get this IP address:
curl icanhazip.com
curl checkip.amazonaws.com
curl ifconfig.me
If the curl command is not available, you can read more in this blog about how to get the IP addresses of a Linux server. Instructions on installing curl are also included.
So let's say the public IP you get back is 1.2.3.4. To SSH into this Ubuntu server, you run this on your personal computer:
ssh user_name@1.2.3.4Of course, you replace user_name with the actual user name you created on your Ubuntu server. And replace 1.2.3.4 with the actual IP of your server.
Use SSH Keys to Improve Login Security
If you log in with a user and password, this is susceptible to what is called a brute-force attack. Essentially, a large number of bots, or infected computers, will try a large number of random passwords until they can guess the correct password to log in to your server. You can avoid this by using SSH keys instead.
These cannot be brute forced, as they're much more complex than passwords. And they don't really work like passwords anyway.
An SSH key pair is more like a lock, and key. And you generate both of them on your own computer. So you generate an unique lock, but also the unique key that unlocks it.
- The "lock" is called a public key. Which you "install" on your server. So you can "lock" the door on it.
- And the key used to unlock that door is called a private key. Which you keep on your personal computer.
You can check out our Quora answer that explains how private / public key pairs work, in combination with SSH.
This setup also has added benefits, like allowing programs to automatically log in on your behalf. For example, you can give a program your private key, then it can automatically log in, take some backups, and log out. Whereas with a classic password, it's a bit more complicated to do this.
Anyway, you can check this out to learn how to generate an SSH key. Or to be more accurate, how to generate the public + private key pair. Those steps will work on all operating systems. Follow them to generate your keys, and skip the rest of the steps when you get to the instructions for GitHub.
The gist of that tutorial is that you run a command like this (on your local / personal computer, the one you want to SSH from):
ssh-keygenAnd then follow the on-screen instructions.
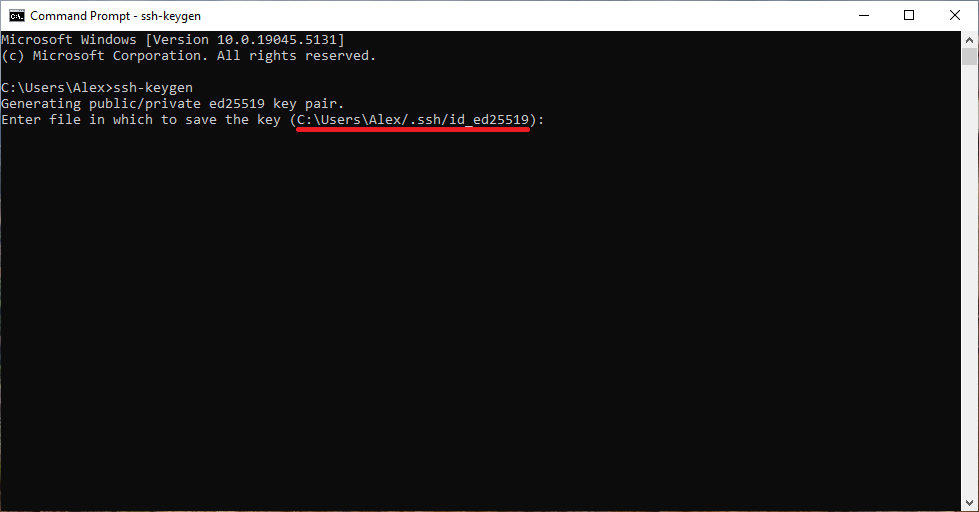
If you don't want to change the defaults, just press Enter at every prompt. In fact, when you're asked for file in which to save the key you should almost always press Enter to go with the default path. As most programs will expect SSH keys to be in those locations.
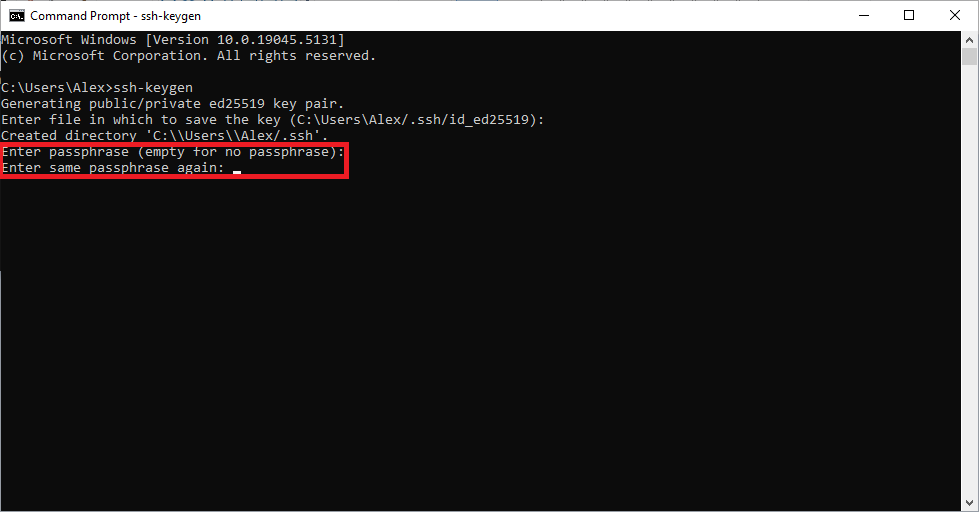
When you're asked for a passphrase, that's an optional password you can use to encrypt your private key.
- If you just press
Enter, no encryption password will be used. - If you type a passphrase, you'll be asked for that password every time you want to use your private key.
Note that it's different from a login password. It's not to "log in" as someone, but rather to decrypt the private key that was encrypted with that passphrase.
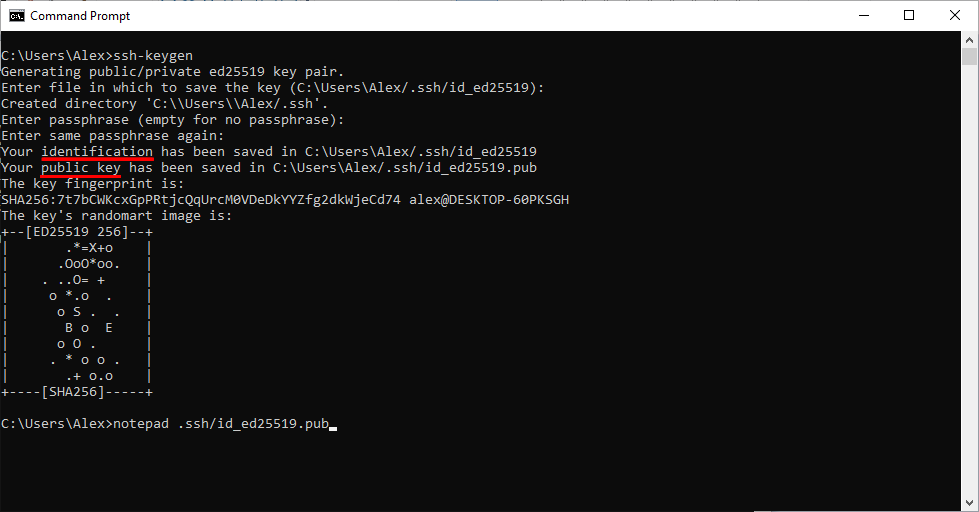
At this point you have a public + private key pair on your personal computer. The path to the private key is noted as identification in the command's final output (as seen in the screenshot above).
Also, on your personal computer, you then run this command to copy the public key (the lock for the door) to your remote Linux server:
ssh-copy-id smith@10.11.12.14Replace smith with the username you use for SSH logins. And replace 10.11.12.14 with the actual Internet-reachable IP of your server. Or internal, LAN IP if you're doing this with a local virtual machine.

Now try to log in with a command like this:
ssh smith@10.11.12.14Instead of being asked for the user's password:

You should see something different, if the SSH private key is used for the login. Either you'll just be logged in directly, without typing any password; since the key can be used directly if it's not encrypted.
Or, if when you generated that private key, you chose to encrypt it with a password, then you'll be asked to provide that encryption password here:

Note the slight difference. It does not ask for the user's password, but rather the key's password. The one used to encrypt / decrypt it.
Disable SSH Password Logins to Use Only SSH Keys Instead
At this point, to eliminate password-based brute force attempts on your SSH logins, you can change the SSH daemon configuration.
You can use the nano text editor, and tell it to create a file at this location:
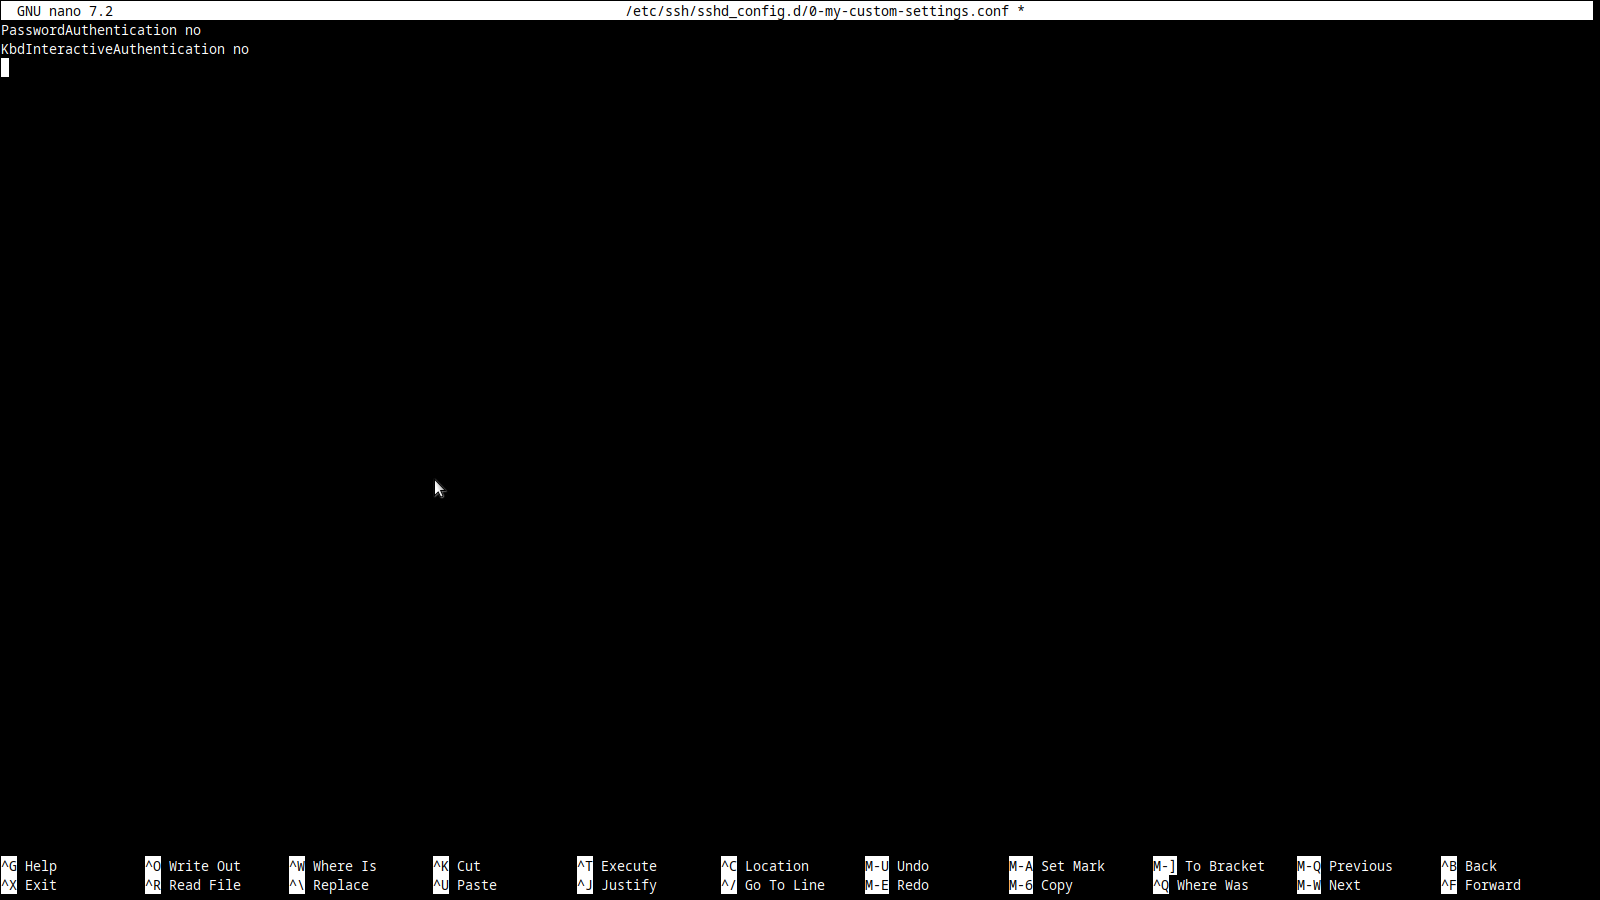
sudo nano /etc/ssh/sshd_config.d/0-my-custom-settings.confHere, add these two lines of text:
PasswordAuthentication no
KbdInteractiveAuthentication no
Your editor should now look like this:
To save the file, press CTRL+X key combination. You'll then see this at the bottom:
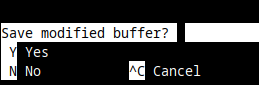
Type y, and then press Enter.
Now, to apply these new settings to the SSH server / daemon, run this command:
sudo systemctl reload sshAnd that's it, password-based logins are disabled. You can now log in through SSH, only by using SSH keys. Or, to be more accurate, public / private key pairs instead of passwords.
Conclusion
Did this solve your problem? Or are you using some cloud services platform that made some custom changes to Ubuntu that is preventing you from enabling SSH on your server? If that's the case, leave a comment below and we'll try to add a fix, if it's a common problem for people using a certain platform.
And if you're just starting out, and want to learn more about Linux, check out this easy-to-understand course for Linux beginners:

Or, if you want to break through, and get your first job in this Linux world, you can check out a more comprehensive learning path for Linux:

Thank you for reading, and see you in the next blog!


Discussion